Magnetic fixtures for R/C aircraft building
thingiverse
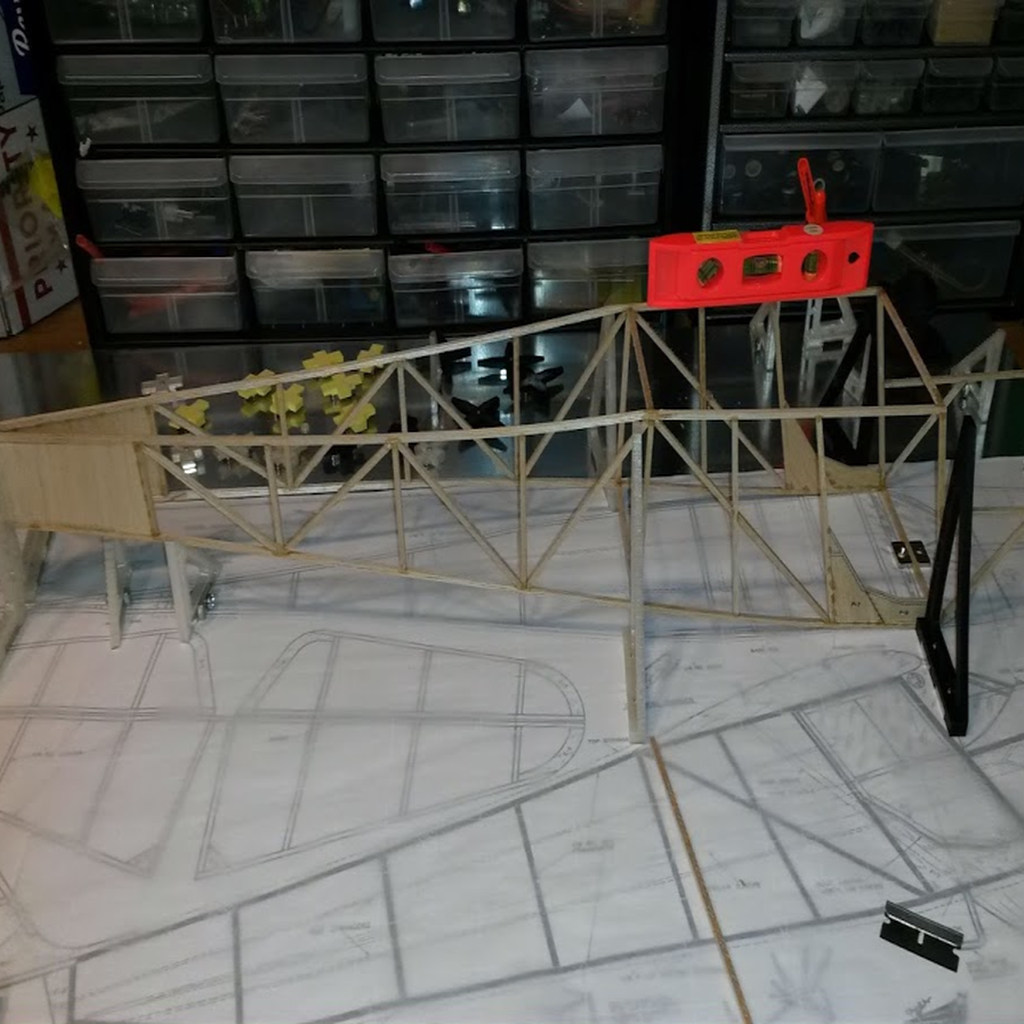
I got back into building balsa R/C and FF models in 2017 after a 15-year break from the hobby. At first, I was okay with traditional construction methods, pinning parts to a soft flat board, but I soon discovered that magnetic building boards and 3D printing go hand-in-hand like peanut butter and jelly. I started out using Marco_D's excellent fixtures, but through several builds, I've gradually designed more of my own fixtures as opportunities arose. All my fixtures use the same 20x10x4mm rare earth magnets found in many of Marco_D's designs. To attach these magnets, I include holes in the parts that can accommodate a 4-40 flathead screw without requiring tapping - M3 screws may also work but I haven't tried them yet. The slotted triangles, bridge beam, and press arms take #10 or M5 screws. However, the press arm holes will need to be tapped in either case. I've included a ZIP file containing the source parts in Solidworks 2016 format for your reference. Pictures should give you an idea of how fixtures are used, but here are some additional notes on each component: - **Tapped Holddown**: A remix of Marco_D's design, this fixture holds down parts with thicknesses of 1/16", 1/8", 3/16", and 1/4". - **Ext_Hold_Down**: Similar to the tapped holddown but with extended tapered fingers for better reach into corners. - **Tall 4-Way Holddown**: Same as the tapped holddown but designed for heights of 3/8", 1/2", 5/8", and 3/4". - **Step Triangle**: A remix of Marco_D's design with a slot modified to use rare earth magnets. - **Large Tri and Med Tri**: These fixtures can be used by themselves to hold parts square to the board or in conjunction with the bridge beam or press arm as needed. - **25/50/75/100mm Press Arm**: Attach this fixture to a slotted triangle and adjust the vertical screw to hold large parts down. - **Bridge Beam**: Attach two slotted triangles to support parts in midair. - **Magnetic Former Jig & Former Jig Holddown (WARNING - UNTESTED)**: I designed this for an old-timer design with a horizontal crutch and elliptical formers, which requires the whole fuselage to be framed up in midair. The idea is to set the crutch on the top surface and use the holddowns like hooks while using additional holddowns as pressing fingers to hold the former to the face in the correct position. A CAD image might explain it more clearly. Very specialized, so you probably won't ever need it.
With this file you will be able to print Magnetic fixtures for R/C aircraft building with your 3D printer. Click on the button and save the file on your computer to work, edit or customize your design. You can also find more 3D designs for printers on Magnetic fixtures for R/C aircraft building.