Magsafe Tripod & GoPro Mount - With ColdShoe (Neodymium)
prusaprinters
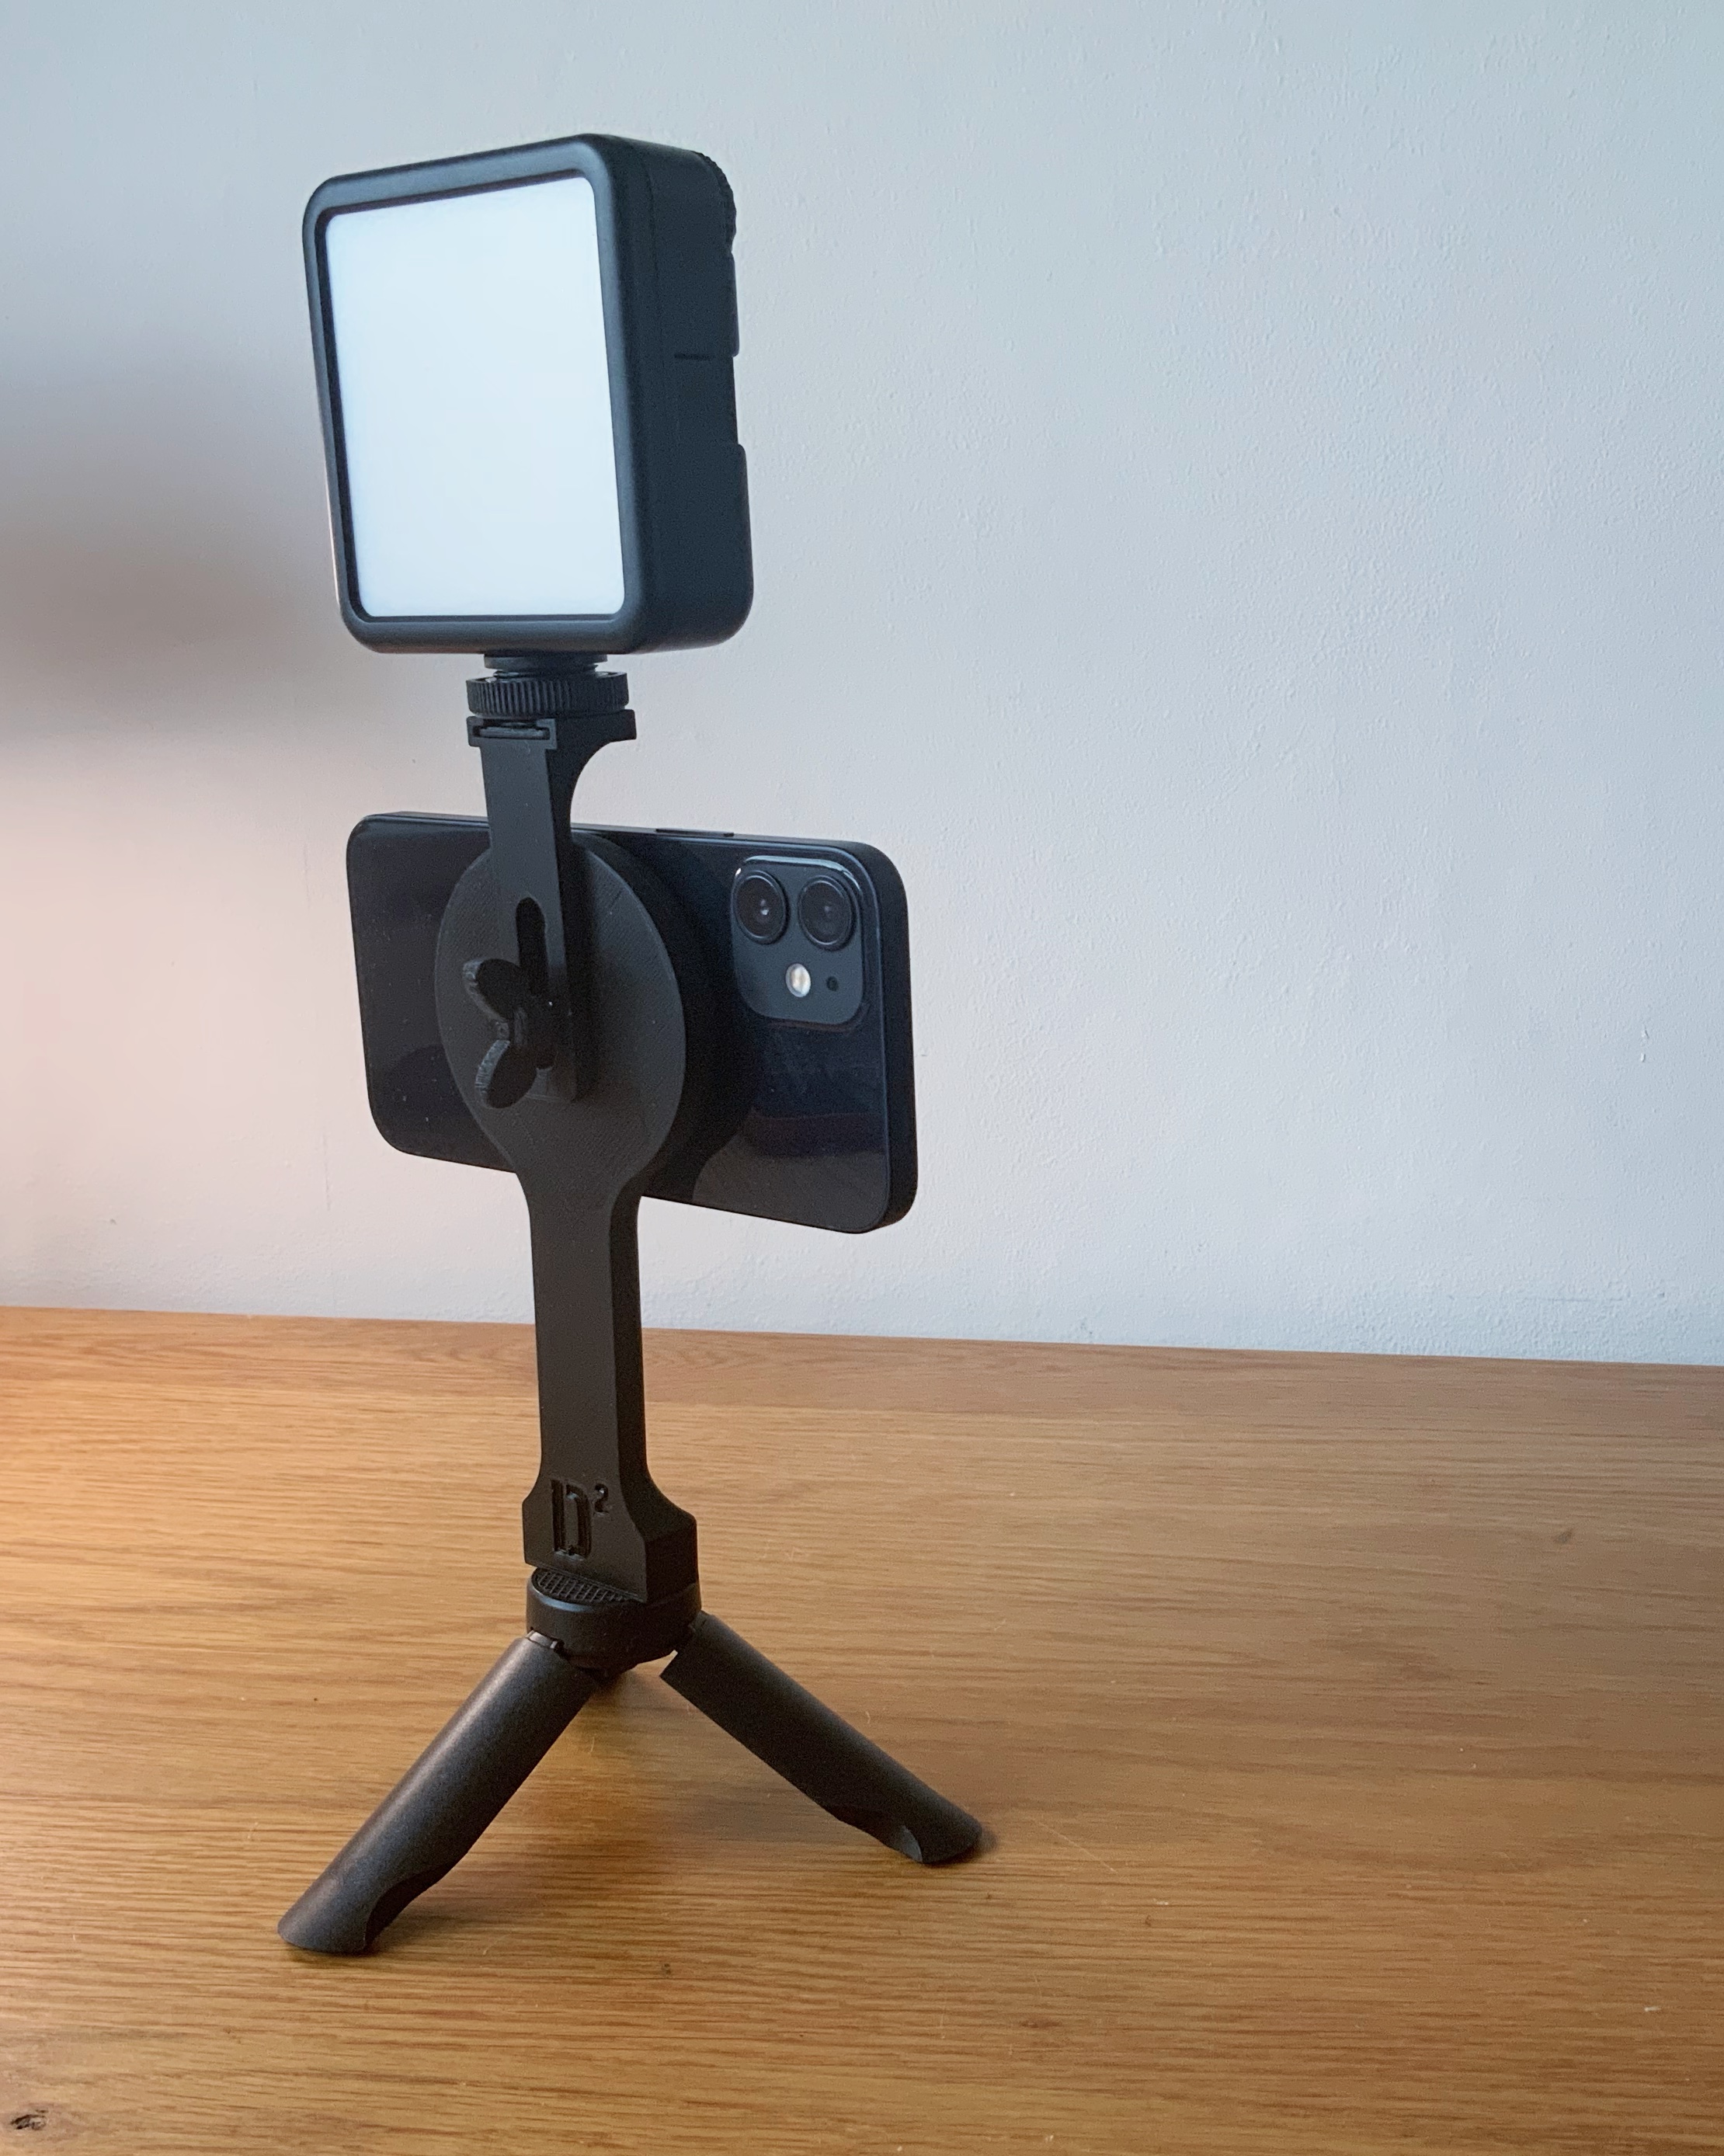
<h3><strong>D2 Magsafe compatible Tripod and GoPro Mount</strong></h3><p>The convenience and versatility of Magsafe on the iPhone 12’s is great but their aren’t many options for tripods yet. I decided to create a few Mounts to use for photography/videography. <br>These have the option of having a Coldshoe (aka Hotshoe) Mount on the rear for attaching lights and microphones. This has been tested with every model of iPhone 12 (mini to Pro Max) and it works really well with or without a case.</p><p>If you have stumbled across this and you don't have a 3D Printer or if you can't source some of the components then you can purchase these on my <a href="https://DD3DPrints.Etsy.com">Etsy Store</a>.</p><h4>Assembly:</h4><p>You will need to put a small amount of glue in the holes for the magnets to hold them in and stop them jumping out but the nuts don't need glue. <strong>The magnets need to be put in the right orientation in order to work</strong>. My magnets arrived with a red dot on one of the poles which needed to face outwards (so the magnets are on their side). You can download the magnet test print to practice getting the correct alignment and test the strength if you need to.</p><h4>Slicing:</h4><p>I’ve included 3mf and gcode (for MK3S) that include the pausing of the printer for embedding the magnet and nuts. For those of you that haven’t used this, the printer will stop at certain points and move out the way for you to embed the nuts and magnet (It will also eject the filament and get you to insert it again). </p><p>This great video shows how to do this if you don’t want to use my pre-prepared files:</p><figure class="media"><oembed url="https://www.youtube.com/watch?v=dXbTw9YBUNQ"></oembed></figure><p>As an alternative if you are confident editing your Gcode Files, just add these commands at the layer heights required to insert the nuts and magnets. (I have already done this in the provided gcode files) The benefit of this gcode is that you don't need to take the filament out and the print bed will move forward rather than back:</p><pre><code class="language-plaintext">G1 X10.000 Y200.000 E0; parking position M1; user stop M105; return to current temp</code></pre><h4> </h4><h4><strong>Required Parts: </strong></h4><ul><li>16 x 5x5x5mm N42 Neodymium magnets - <a href="https://e-magnetsuk.com/product/neodymium-rectangular-magnets/?utm_source=e-magnets&utm_campaign=6674ccaeb8-EMAIL_CAMPAIGN_2020_08_21_11_25&utm_medium=email&utm_term=0_562b8780a6-6674ccaeb8-408765218&mc_cid=6674ccaeb8&mc_eid=b4ff72c38a">I purchased them here</a></li><li>2 x square ½” nuts - These measure 3/8" across the flats and are 1/8" thick (available on eBay)</li><li>1 x ½” 9.5mm Long Socket Cap Head bolt to hold coldshoe (available on eBay)</li></ul><h5><strong>GoPro Version is also compatible with Modular Mounting System:</strong></h5><ul><li><a href="https://www.thingiverse.com/thing:2194278">Designed to work with the “Modular Mounting system” by HeyVye</a></li></ul><p> </p><h3>Updates:</h3><ul><li>I found the Socket Cap Head bolts for the cold shoe a bit hard to easily adjust and make tight enough to hold the ColdShoe mount so I designed a “WingBolt Hat” that you can glue and force down ontop of the bolt.</li></ul>
With this file you will be able to print Magsafe Tripod & GoPro Mount - With ColdShoe (Neodymium) with your 3D printer. Click on the button and save the file on your computer to work, edit or customize your design. You can also find more 3D designs for printers on Magsafe Tripod & GoPro Mount - With ColdShoe (Neodymium).