Mail Arrival Flag
thingiverse
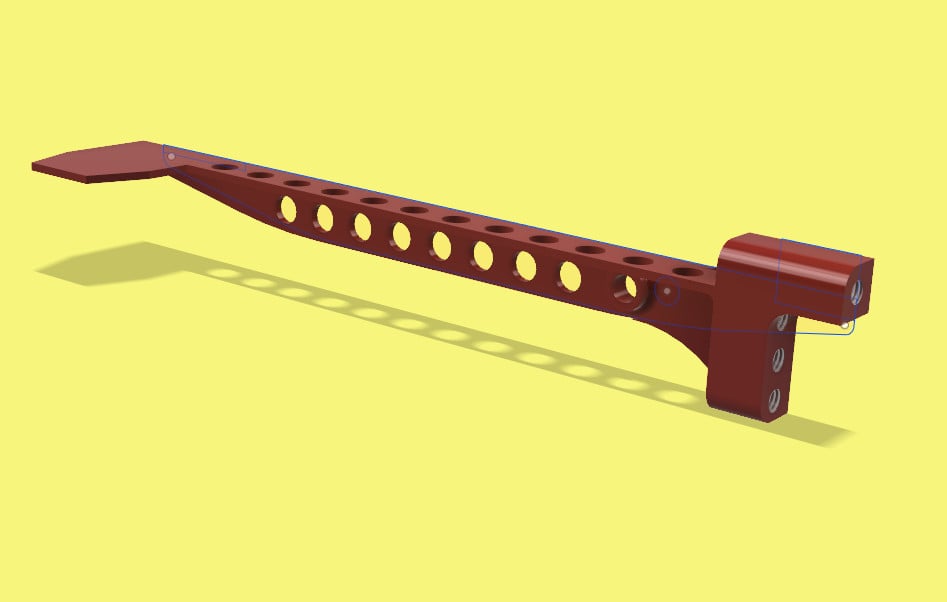
I originally printed a "mail arrived" flag by PERGO which you can find here: https://www.thingiverse.com/thing:2069215\r\nIt didn't work well on my mailbox because my door opens 180 degrees, causing the flag to go over center where it was hard to see from my house.\r\nSo, I made a different design; however, it was definitely inspired by PERGO without whose design I would not have come up with this idea on my own. Full credit to him.\r\nMy arrival flag uses hardware recycled from eSUN filament spools but you can use any similar 6mm bolts and nuts. You'll need four or five bolts and a few nuts for the pivot axles as well as the ballast weights.\r\nYou can ballast with fewer bolts and more nuts, or more bolts without nuts; suit yourself.\r\nIt helps to use self-locking nuts with nylon inserts on the pivot bolts along with some jam nuts so you can snug the bolts up to the mailbox sheet metal in order to make the bolts rigid without squeezing the plastic parts.\r\nIn other words, install the pivot bolts in such a way to trap the mailbox sheet metal between two jam nuts and leave a tiny bit of play so that the flag and arm rotate without too much friction.\r\nI printed these parts in PETG because I don't use ABS, but I suppose ABS would be preferable. PLA won't last long out in the sun.\r\nI used black filament and then painted the flag a bright color which makes it easy to see even from a long distance.\r\nWhen it's cocked you can't see the thin edge of the flag, especially if your mailbox is black. But when it's triggered, the bright flag stands out really well.\r\nThe flag is cocked by closing the mailbox door and then rotating the trigger arm and flag so that the head of the upper flag bolt rests on the short arm of the trigger.\r\nThe other two or three bolts are strictly for ballast and should not contact the release arm. When the door is opened, the trigger releases the flag which rotates to the "arrival" position because of the weights of the bolts.\r\nYou'll have to figure out the exact geometry for yourself based on your individual mailbox. Measure twice and carefully drill two holes in the appropriate places.\r\nMost mailboxes have a little skirt on the bottom edge where the bottom is riveted to the sides. Drill there.\r\nYou don't have to position the holes exactly because the release bolt on the flag can be adjusted in and out so that it engages the release arm sufficiently so that wind won't release the flag but not too far so that the mechanism won't work correctly.\r\nPlay around with the two parts for a few minutes so that you understand how it works before you start drilling.
With this file you will be able to print Mail Arrival Flag with your 3D printer. Click on the button and save the file on your computer to work, edit or customize your design. You can also find more 3D designs for printers on Mail Arrival Flag.