Make a Bathroom Pass
thingiverse
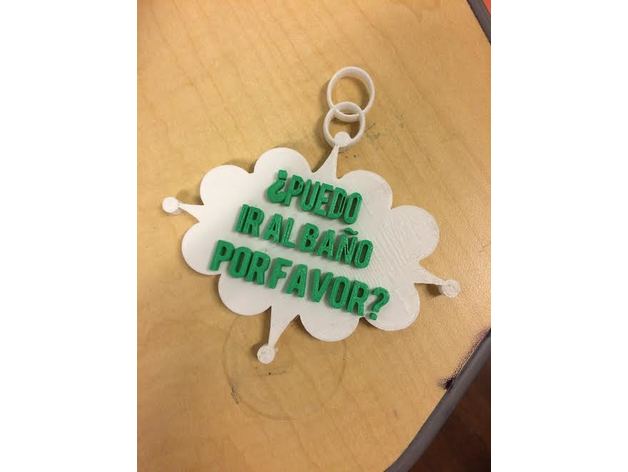
Student’s collaborate to design and print bathroom passes appropriate for each class in the school, allowing for an interdisciplinary assignment the students can create and donate to their school. Standards CCSS Overview and Background Students collaborate to design and print bathroom passes appropriate for each class in the school. Students have a purpose for the print, to add to their community and design what the paired teacher/staff member is requesting - more than just a grade. The students work on interdisciplinary skills, creating content-specific bathroom passes as well as their collaboration skills. Extension: Have students print hooks for the bathrooms to hold the passes and adjust the prints for this. You can print a hand hook for the pass to lay across the hand or have a hole in it and hook it on a finger. You can provide the students with Thingiverse files to import and scale or have them start from scratch depending on the level of difficulty needed. Lesson Plan and Activity Project: Design A Bathroom Pass Project Overview: Student’s collaborate to design and print bathroom passes appropriate for each class in the school. • Extension: Have students print hooks for the bathrooms to hold the passes and adjust the prints for this. You can print a hand hook for the pass to lay across the hand or have a hole in it and hook it on a finger. • You can provide the students with Thingiverse files to import and scale or have them start from scratch depending on the level of difficulty needed. • Ex: Jewelry Hand Coat Hook Student Grouping: I would find out how each student is performing in their classes and pair them up so that they are working on a pass for a class they are weak in. The students can create passes specific to the topic they are working in that class at that moment. Step 1: Research quotes/pictures that can relate a trip to the bathroom with this class. Example: For an English class a pass might say “To pee or not to pee, that is the question.” Step 2: Prepare your meeting with the assigned teacher. In order to be prepared, you should have the following ready: a. An overview of how the 3D printing process works and a sample of what we have made – make sure the teacher understands what we can print and has appropriate expectations. b. A few CAD mockups to show along with relevant pictures/quotes. c. A list of questions for the assigned teacher – how large do you want it to be? Any particular shape? Colors? Step 3: Create your digital design and send it to your teacher for approval. Give student restrictions to follow such as maximum/minimum volume and surface area. Step 4: Print the design. Step 5: Adjust anything and complete 2nd print if needed. Step 6: Upload to Thingiverse and tag with print time, final print photos, etc. Step 7: Present to assign teacher. Duration of Lesson About 7 - 10 class periods (45 minutes each) Rubric and Assessment STANDARDS 6th Grade Math: Solve real-world and mathematical problems involving area, surface area, and volume.
With this file you will be able to print Make a Bathroom Pass with your 3D printer. Click on the button and save the file on your computer to work, edit or customize your design. You can also find more 3D designs for printers on Make a Bathroom Pass.