Maker Select v2 Lever Guard / Filament Guide
thingiverse
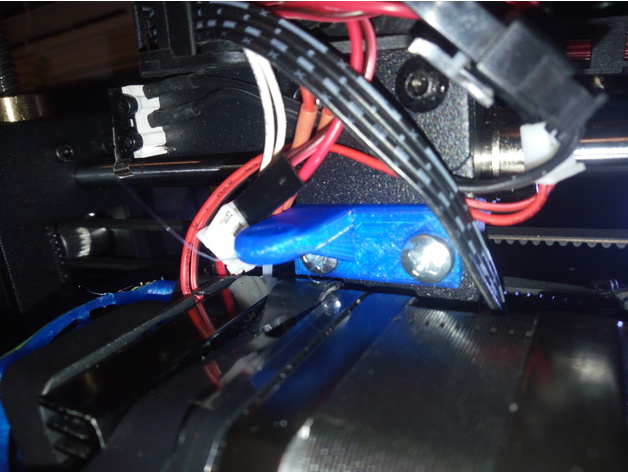
I was examining the filament release lever on my Maker Select v2.1 just a few days ago and observed that one of the sides of the filament insert hole had become misshapen - it looked as though constant friction from the filament against it had worn away part of it.\nI determined it would be much simpler to design and print a replacement part to prevent future damage to the guard than it would be to replace the entire guard eventually, so I used Tinkercad to create this new component. \nParts required:\n2 M4 x 12 screws\nInstallation instructions:\n0: (optional) Rotate your extruder motor back so that there are no wires obstructing the installation process. I believe this step is optional, but I'm not entirely certain whether the guard will fit properly if you don't do it.\nRemove any filament from the extruder block. Remove the two bottom screws holding the extruder to the x-axis bearings. \nAttach the lever guard to the block using the 2 M4x12 screws\nFeed the filament through to ensure a snug fit.\nCarefully raise your z-axis to its full 180mm height to verify that the guard doesn't scrape (it shouldn't, but it's better to check now).
With this file you will be able to print Maker Select v2 Lever Guard / Filament Guide with your 3D printer. Click on the button and save the file on your computer to work, edit or customize your design. You can also find more 3D designs for printers on Maker Select v2 Lever Guard / Filament Guide.