Makerbot 5th Gen Complete modification
thingiverse
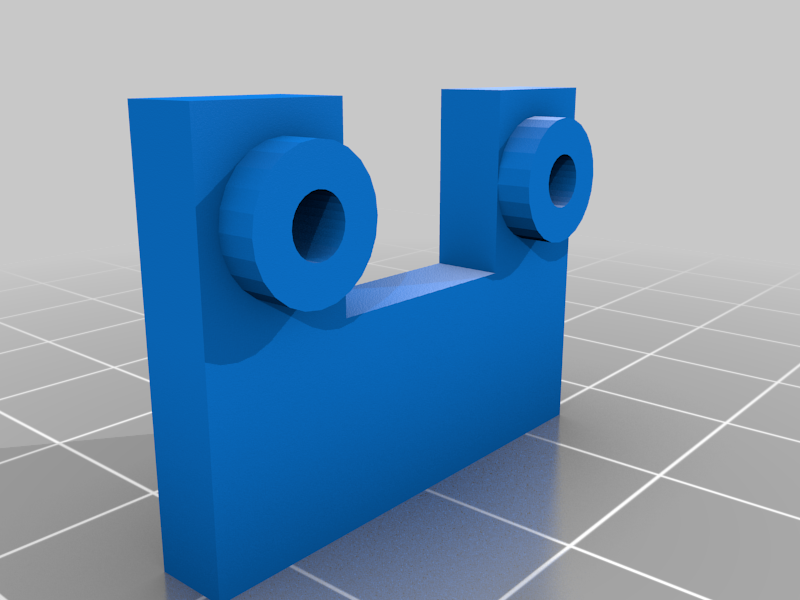
This is a complete rebuild and modification for the MakerBot replicator 5th gen printer. I originally purchased this printer secondhand in a non-working condition. After removing all the electronics i then began to work out how to get this unit back up and working better then before. All of the designs i drew up for this are still being tested and are not fully complete but the parts will make the printer functional. These printers have linear rails that make it a smooth running printer with the H-Bot design. Ender 3 v2 Hotend: The stock extruder setup was a big failure point with the 5th gen printers so i decided on using the ender 3 v2 hotend assy. These hotend units can be purchased cheap and are very compact. The mount has a bltouch that also doubles as the Z axis endstop switch. Orbiter extruder: With the ender 3 v2 hotend i didnt like the Bowden setup so decided to use the obiter extruder which is compact and light. The extruder had to mounted a bit high to clear the back of the printer. This still works fine and does not cause any wobble. There is PTFE tube that is compressed inside the mount that feeds into the e3 hotend. this seems to work fine and loading filament is very easy. Endstops: The 5th gen does not use endstop switches. so these need to be mounted for the x and y axis. Mainboard: Lerdge mainboard is used for this just for the easy setup. Seems to work ok. The touch screen is mounted in the top panel. some cutting is needed for it to fit and you will need a 1mtr long screen ribbon cable to reach the board as its placed in the back. Heated Bed: The heated bed is a generic 300x200 24v bed with some glass on top. the mounts i quickly drew up work for this bed. 4 mounting screws are installed. Some disassembly of the 5th gen bed is needed. the mounts are rough but work fine. PSU: 24v 20amp power supply that is mounted where the filament used to go. The spool carrier is cut in half and the psu is screwed to that. the fan has good flow but i did have to reverse the fan so it wouldn't blow air into the print chamber. At this point i am still dialing the printer e-steps in. I have it pretty close now and the prints are working well and reliable. All parts are printed in ABS with 4 walls and 20% infill. The parts are not finished yet and my cad skills are not the best but the basic fitment parts are there to modify. Once i have the e-steps dialed in I will share here.
With this file you will be able to print Makerbot 5th Gen Complete modification with your 3D printer. Click on the button and save the file on your computer to work, edit or customize your design. You can also find more 3D designs for printers on Makerbot 5th Gen Complete modification.