Makerbot Filament Spindle v0.4
thingiverse
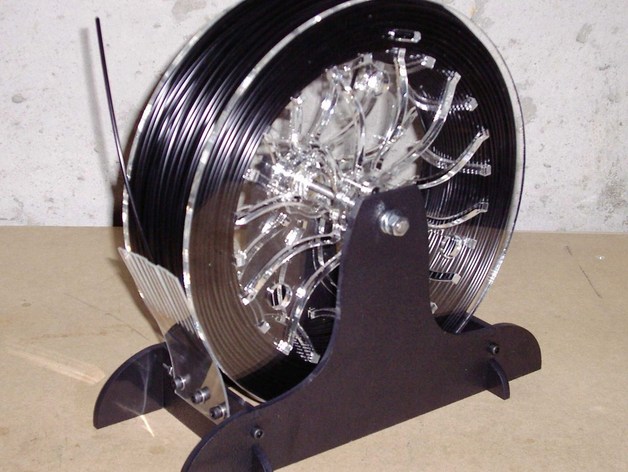
For my upcoming MakerBot, I plan to modify a fantastic design by adding stability with side feet that eliminate extra M8 bolts. Additionally, I will construct a 1/16" PETG comb for tension control on the spool to prevent unraveling. The wheel components are cut from 1/4" acrylic, stand parts from 1/4" ABS, and the tension comb from 1/16" PETG. To assemble, install bearing clamps with M5x25 bolts and nuts, glue captive nut plates, fit bridging pieces between wheels, and fasten with washers and M8 nuts. Attach the stand by poking threaded rod through large stand plates and securing with lock washers and M8 nuts. Finally, install M5x25 bolts/nuts into T-slots in the stand before populating the spool with plastic and attaching the tension comb with M5x15 bolts and washers for smooth gliding without unraveling.
With this file you will be able to print Makerbot Filament Spindle v0.4 with your 3D printer. Click on the button and save the file on your computer to work, edit or customize your design. You can also find more 3D designs for printers on Makerbot Filament Spindle v0.4.