Makerbot Mini Idler - reduces noise
thingiverse
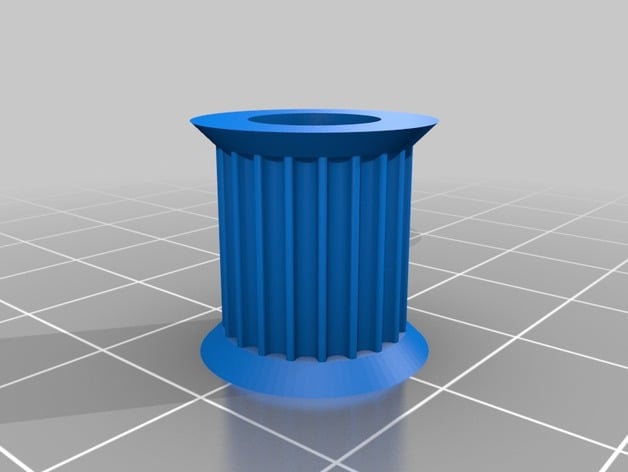
I, like many Mini owners, was surprised at the noise such a wee machine could make. I measured normal printing noise at about 96-102 db. Yes, it was a noisy beast. But not so much anymore! Now the same print is down to 72-80 db. How did I do this? I printed new idler pulleys for the front pulleys that have 20 GT2 teeth. These toothed pulleys :) reduce noise caused by the flat surface stock rollers. You will need 2 of these and, yes, you can print them on your Mini. Just wear ear protection. I used http://www.thingiverse.com/thing:16627 as the basis for creating this pulley. Use at your own risk, your mileage (noise) may vary, etc., etc. Enjoy! Instructions WARNING: This mod could possibly void your warranty. Use at your own risk! Print 2 idler pulleys. Use standard or high setting. Allow Mini's extruder to cool then turn off and unplug the power cord. The idler pulleys are located in the top front corners of the machine. You sort of have to stick your head partly into the machine to find them. Just follow the belt. See photos. Do one side at a time. Use a 2.5mm allen wrench and remove the bolt securing the pulley. Make sure to keep track of the nut on top of the pulley mount. Pull the bolt out and then remove the pulley. The pulley has 2 bearings that are pressed in. Carefully use the long end of the allen wrench to push out each bearing applying pressure on one side then another until you work them out. Don't use excessive force. In fact, hide all of your hammers, drills, and other sharp objects first. The bearings are pretty sturdy but if you damage one, you may have to search long and pay dearly for a replacement. Did I mention this may void your warranty? Once the bearings are removed, press them into the new idler. They should fit really tight. If too tight, you can use a heat gun to heat the pulley (not the bearing) until the bearings press in. Use caution when doing this as a heat gun can burn you if your accidentally touch the nozzle while hot. Install the new idler taking care to ensure the belt is properly positioned on all of its rollers and the stepper motor in the rear. You will need to use moderate pressure to hold the idler in place while you insert the bolt. Repeat for the opposite side and enjoy your somewhat quieter (but by no means silent) Makerbot Mini! :)
With this file you will be able to print Makerbot Mini Idler - reduces noise with your 3D printer. Click on the button and save the file on your computer to work, edit or customize your design. You can also find more 3D designs for printers on Makerbot Mini Idler - reduces noise.