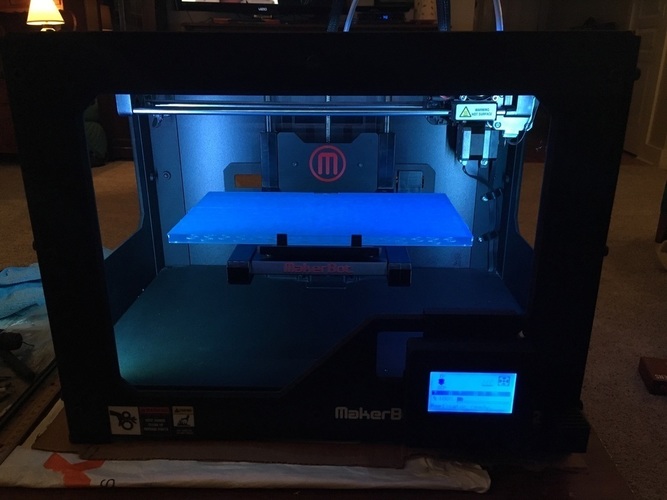
Makerbot Replicator 2/2X Ramps 1.4 Conversion Upgrade Fix (Only
pinshape
Here is an overview of the project: **Pre-Build** * Rip out original electronics, leaving wiring and connections intact * Purchase all necessary parts from the parts list * Glue power supply, Ramps 1.4 board, and external thermocouple board to the bottom of the Makerbot **Building** * Connect components to their proper places on the Ramps 1.4 board using jumper cables * Wire Ramps 1.4 board to power supply * Mount reprap LCD controller to front of printer and run ribbon cables through original hole to Ramps 1.4 board * Install heater cartridge in hot-end (new cartridge required due to voltage difference) * Optional: wire LED light board and install new RGB light strip **Firmware** * Build custom version of Marlin firmware using Arduino IDE * Load firmware to board using USB cable * Use custom firmware at your own risk **Calibrating** * Test printer, ensuring proper movement and motor settings * Do a few test prints, which may require trial and error **Printing** * Congratulations! You have completed the conversion to Ramps 1.4 * Share your experience and add any new discoveries on this page
With this file you will be able to print Makerbot Replicator 2/2X Ramps 1.4 Conversion Upgrade Fix (Only with your 3D printer. Click on the button and save the file on your computer to work, edit or customize your design. You can also find more 3D designs for printers on Makerbot Replicator 2/2X Ramps 1.4 Conversion Upgrade Fix (Only.