Makerbot replicator conversion 2xto Ramps 1.4 + marlin 1.8
thingiverse
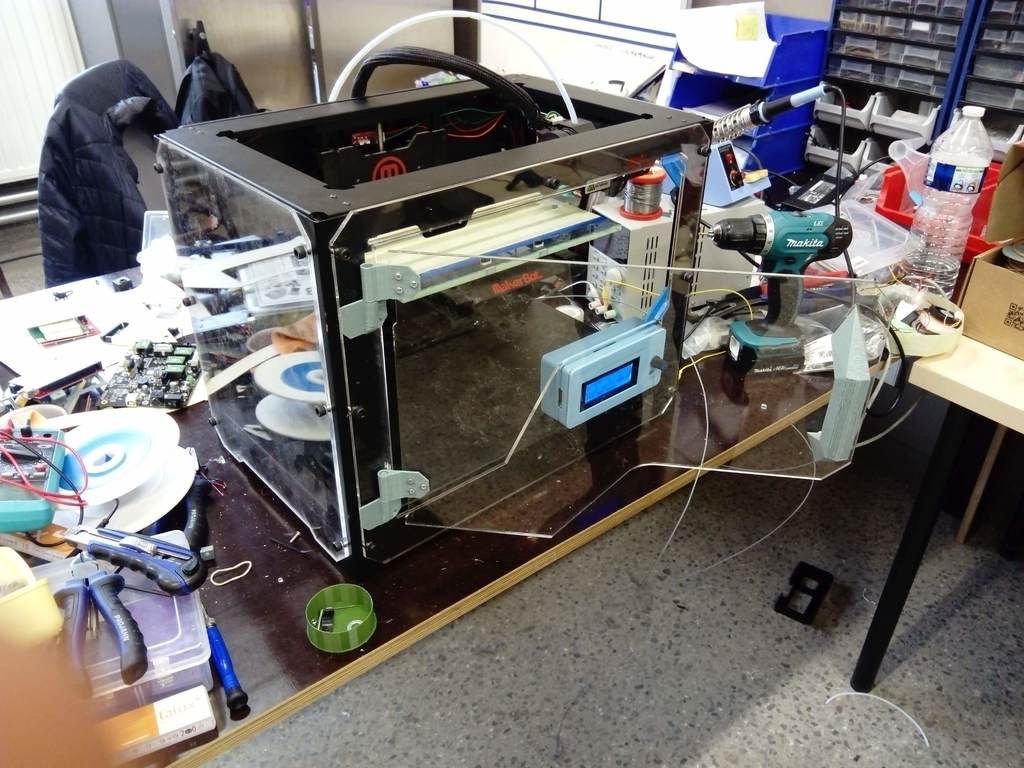
It was necessary to change the motherboard which cost a whopping five hundred euros, so I decided to take my old Ramps and remake an entire machine. 1. First, you need to follow this tutorial for the wiring: https://hackaday.io/project/12954-replicator-k#menu-description. 2. Next, print out new supports for your Ramps motherboard because the original design wasn't quite right for me. My version isn't perfect yet, but it's already better than before and allows you to pass a USB cable from the Arduino. 3. I also redesigned the screen support because none of the previous versions looked good enough to me. I remixed the designs and created my own custom version. 4. On a side note, I thought Makerbot's design was pretty cool, so I decided to recreate it in my own way too. I used a little bit of everything people had done before and even got some maps from Thingiverse to model correctly. 5. After that, I put all the parts together neatly and closed it up tight. For the power supply unit, I simply drilled a hole through the metal tray at the bottom and screwed in two bolts. 6. Finally, for the firmware, I took Vivasentenza's version because my nozzle is almost identical to an EV6. All I had to do was adjust the number of steps in Marlin for E from 90 to 88.
With this file you will be able to print Makerbot replicator conversion 2xto Ramps 1.4 + marlin 1.8 with your 3D printer. Click on the button and save the file on your computer to work, edit or customize your design. You can also find more 3D designs for printers on Makerbot replicator conversion 2xto Ramps 1.4 + marlin 1.8.