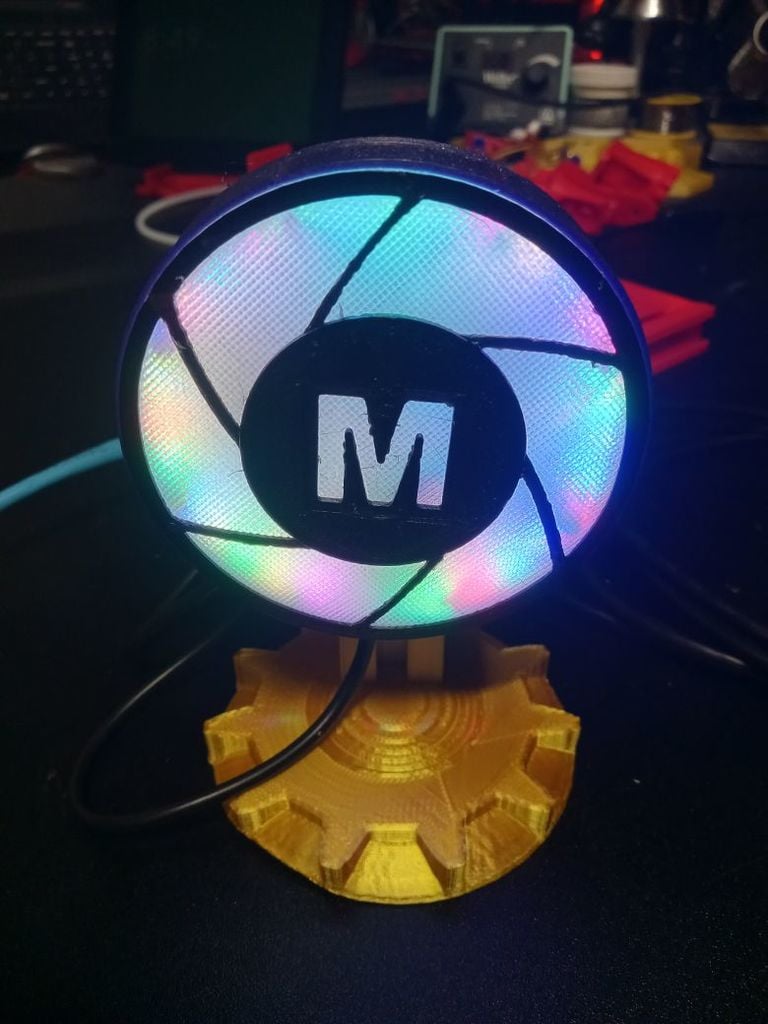
MakerDeck LED Logo and Stand
thingiverse
MakerDeck WLED firmware and esp8266 LED logo with stand. Powered by standard 5V USB power source. Needed supplies: Filament: Black for logo insert Clear or logo insert Purple for case Optional Color for stand Hardware: 1X Short length of WS2812B 5V LEDs. https://www.amazon.com/dp/B088B85G38 1X Wemos D1 mini ESP8266 https://www.amazon.com/Internet-Development-NodeMcu-ESP8266-Compatible/dp/B07W8ZQY62 3X short pieces of wire 1X Micro USB cable (Must have power and data pins for programming) Soldering iron and solder Wire strippers Optional 3mm t-nut a screw to mount logo to stand or to printer frame. Software: WLED Firmware: https://github.com/Aircoookie/WLED https://install.wled.me/ This site allows you to use the Chrome browser to install WLED firmare to the Wemos Mini without having to download the WLED firmware from github and using 3rd party software. Printing Instructions: Print the logo in clear filament and do a filament swap/pause at layer 8 to change to black. Print the logo case in purple. Print the optional stand in desired color. The logo case has a screw slot so you can use a t-nut and screw to mount it to the stand or directly to a 2020 extrusion. Assembly instrcutions: 1. Cut a length of 29 LEDs from the led strip. 2. Strip the ends of the 3 short pieces of wire and solder them to the input side of the LED strip. There will be a 5V+, ground, and a Data pads on the LED strip. These are very close to the LED so make sure you have a decent iron and skills. I like to use a razor blade to clean the solder pads, then put a dab of solder on each, then use the iron to press the wire onto the dab od solder previously placed on the LED strip pads. 3. Solder the 3 wires to the Wemos D1 Mini using the first 3 holes, 5V+, GND, and D4. Do not use the pins that come with the D1 Mini as they are not needed and will not fit in the case. 4. Plug the Wemos into your computer using the USB cable. You should (on PC) get a new device detected sound and in the Windows device manager a new COM Port should show up. 5. Open Chrome and use the previously listed WLED install website to install the firmware. After clicking install a pop up window should open showing the new COM Port. If it does not, and you have an Uknown Device in Windows Device Manager you will need to download the CH340 USB-Serial drivers and install them. 6. After the firmware has installed you will be given the option of setting your WiFi network and password so the Wemos can connect to your network. If you do not the Wemos will create it's own WiFI access point so you can connect your phone or computer directly to the Wemos and controll the LED strip. (There is also a WLED app for Android/Apple device if you do not want to use your browser. Android App: https://play.google.com/store/apps/details?id=com.aircoookie.WLED&hl=en_US&gl=US Apple App: https://apps.apple.com/us/app/wled/id1475695033 7. Once you have connected to the Wemos via your browser or the App you will need to click on Config, then LED Preferences and set the # of LEDs to 29 and ensure the GPIO is 2, color order is GRB, LED type is WS281x, Voltage is 5V and click save. There are multiple options in WLED for connection it to Alexa, Home Assistant, Philips Hue, etc. 8. Disconnect from the USB cable and carefully insert the LED strip and Wemos into the rear case. The Wemos should pop into place with a little force. 9. Feed the USB cable through the case slot and plug into the Wemos. 10. Align and press MakerDeck logo cover into place. 11. (Optional) Mount to the stand or printer using the T-nut and screw before placing front cover on. Bonus: If you use the WLED plugin with Octoprint you can wirelessly control the LEDS with preset printer events such as warming, printing progress, error, cooling, etc. https://plugins.octoprint.org/plugins/wled/ Original design remixed from K2DesignLab: https://www.printables.com/model/174959-makerdeck-logo
With this file you will be able to print MakerDeck LED Logo and Stand with your 3D printer. Click on the button and save the file on your computer to work, edit or customize your design. You can also find more 3D designs for printers on MakerDeck LED Logo and Stand.
