MakerGear M2 Z-axis Home Switch spacer to prevent drift of Z-home
thingiverse
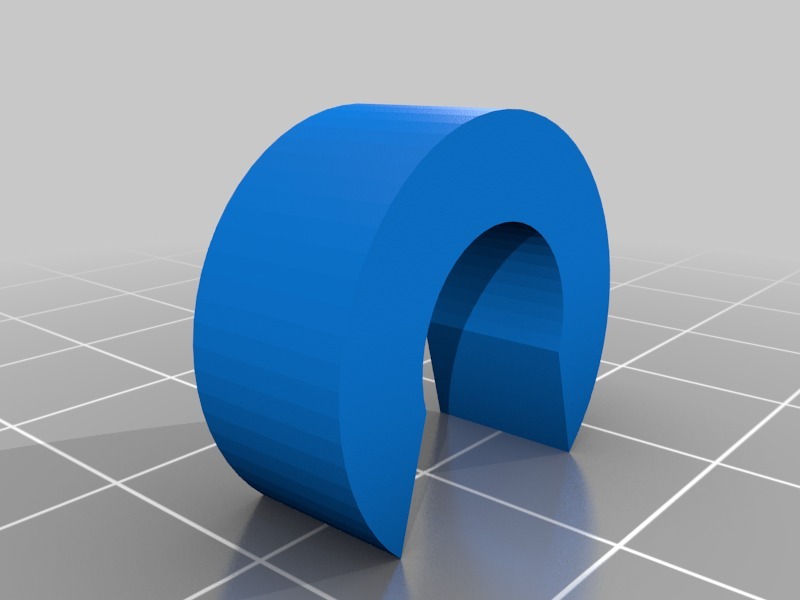
I noticed that my Z-axis was wandering a bit after 5 or 10 prints. The distance between the nozzle and the bed was closing-up. This would lead to tears in my tape or vinyl. After investigating a little, I discovered that every time the Z-axis homed, the switch was moving ever so slightly up the linear rail from being bumped during the homing process. I tightened the screws some more, but it still tended to drift, so I made this. Loosen the screws that hold the Z-home switch, slide it down a little. Clip this thing above it. Slide the switch up until it bottoms out against the spacer, then tighten the screws and readjust your Z-axis home for probably the last time ever. NOTE: This is for MakerGear M2 printers with the V3b extruder. The newer V4 equipped printers have a new home switch design which solves this problem in a similar way.
With this file you will be able to print MakerGear M2 Z-axis Home Switch spacer to prevent drift of Z-home with your 3D printer. Click on the button and save the file on your computer to work, edit or customize your design. You can also find more 3D designs for printers on MakerGear M2 Z-axis Home Switch spacer to prevent drift of Z-home.