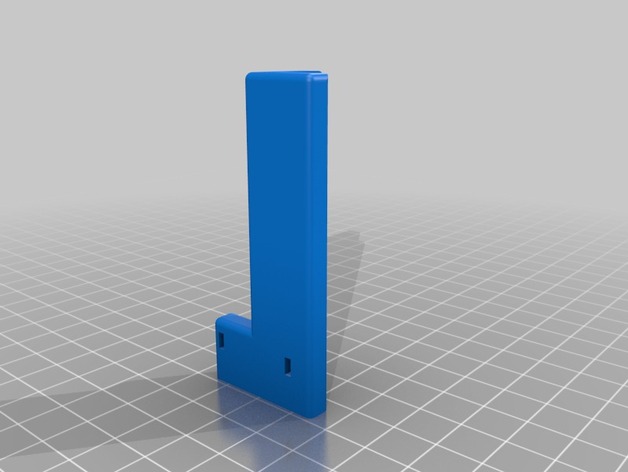
Makergear Y-Axis cable track
thingiverse
Add a cable track to the Y-Axis of a Makergear M2. Got tired of the cable snagging on the electronics box. Lots of step, but it took me less than 1 hour to do. Instructions Material Needed: The 'thing'. Print this first!!! 2 X M3X20mm SHC screw to replace the two used on the motor. 19 links of Amico Black Plastic Drag Chain Cable Carrier 10 x 15mm for CNC Router Mill available from Amazon 1 X M4X12mm FHSC screw 1 X M4 flat washer 1 X M4 ny-lock nut 400MM of 18AWG wire 30MM of 3/16 heatshrink solder Tools: 4.5mm drill 60 degree countersink bit soldering iron heatgun or lighter Procedure: NOTE: the pics contain text. you may need to zoom in to see it. 1) remove hb glass and put it away in a safe location. 2) cut all cable tys around the hb cable, even those wrapping other cabled. 3) remove sheathing on the hb cable to the y-axis motor. DO NOT CUT YET. 4) unplug and remove hotbed. 5) open up electronics box. 6) drill 4.5mm hole in hb (see pic for location) and countersink it from the top side. NOTE THE PIC is viewed from the TOP side of the hb. 7) unplug hb heater and thermo sensor. unscrew heater wires. solder additional 200mm of wire to each, finish off with heatshrink. 8) remove 120mm of sheathing from the end of the sheathing remove from the hb cable, then dress the hb cable on the electronics box side (see pic) screw the heater connector on,then plug it and the thermo back in. I alway add a bit of rtv to the connectors that do not have locking features. 9) feed hb cable though chain. its should start in the side with tab link and end with the hole link. see pics of the hb and you'll understand what I mean.. 10) remove 1 link and attach it to the hb using m4 and associated hardware. make it tight, but loose enough to pivot. 11) feed cable though the attached link and connect to hb electronics. 12) on the far side of the track, pull excess cable then add ty-wrap to the hb end around the cable and one link (see pic). 13) put the hb in place as you are done with it. 14) Add the Y-axis mount to the y-axis motor (see pics) 15) attach track with ty-wrap. you can not safely cut un-needed sheathing, but leave 50mm or so to feed back into the track. 16) attach ty-wraps as shown in the "mtor side completed" pic. 17) Dress remaining cables, install glass, print print print. Problem solved.
With this file you will be able to print Makergear Y-Axis cable track with your 3D printer. Click on the button and save the file on your computer to work, edit or customize your design. You can also find more 3D designs for printers on Makergear Y-Axis cable track.
