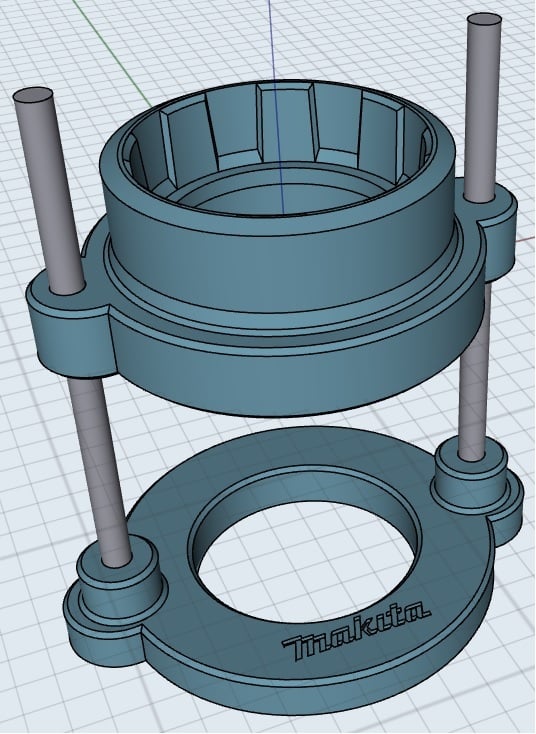
Makita Drill Press Attachment
thingiverse
Designed this based on a reference model. Build quality with 50% infill is good. Used a brass rod with 6 mm diameter. Bang the rod in tight and add some glue to have it fit to the base. Make sure you glue the bottom part only but have the top part on when the glue sets. The drill that I am using is a Makita 18v chordless drill model DDF456. Please let me know what you think and if you have any improvement. Work in progress... After testing this one, it works! - Will try to grease the rods to have an easier slide. - Will add a stop ring - Will add screw holes to keep rods in place on the bottom part - Will try with springs - I may add a third back part at the end of the machine to make it slide easier - I may do a brass bushing version. Improvements - Will fatten the bottom part a little so the friction fit with the rod gives less play. Download v2 of bottom. - Will add some thickness to the top part and a little play to give easier slide, diam 6,1 mm. Download v2 of top Printing Just print. No supports needed.
With this file you will be able to print Makita Drill Press Attachment with your 3D printer. Click on the button and save the file on your computer to work, edit or customize your design. You can also find more 3D designs for printers on Makita Drill Press Attachment.