Makita Festool Guide rail wall mount
thingiverse
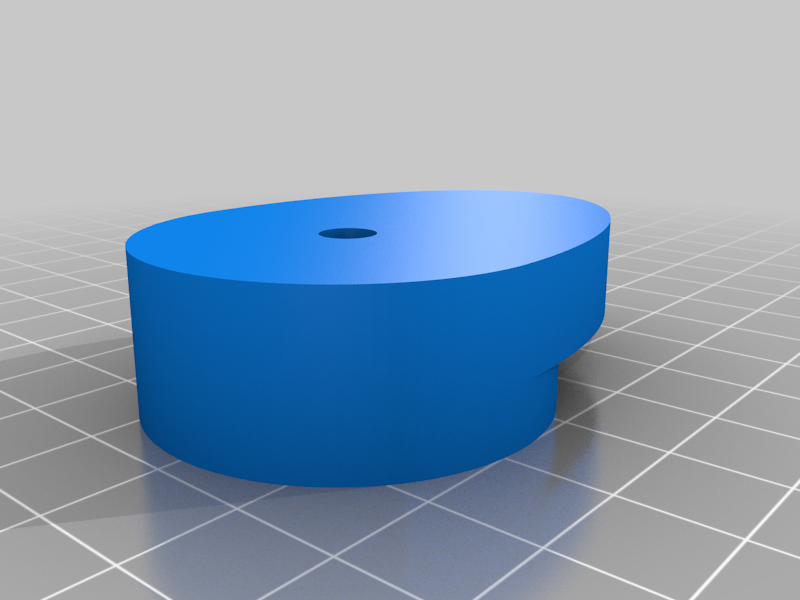
The hooks are to hold the thicker side of the Guiderail and the Cams lock the thin side (with the rubber lip) in place. First mount the hooks to the wall, then use the little points on the cam mount to align them with the top of the rail. After mounting the cam mounts at the correct height, the "nipples " can be cut off. I suggest inserting an M5 Thread into the Cam mounts and tightening the cams to the mounts with an M5 screw with a washer. This allows the cams to be tightened or loosened to preference. Die Haken halten die dickere Seite der Führungsschiene, oben wird die Führungsschiene durch drehbare Nocken in der Halterung gesichert. Als erstes sollten die Haken an der Wand montiert werden. Danach wird die Führungsschiene eingehangen und der Nockenhalter oben angebracht. die kleinen Nippel neben den Schraubenlöchern dienen als Führung um die Halterung in der korrekten Höhe anzubringen und sollten nach der Montage mit einem Messer oder ähnlichem entfernt werden. Ich empfehle eine M5 Gewindemuffe im Nockenhalter einzulassen um ein einfach die Festigkeit zwischen Nocken (mit M5 Schraube mit Unterlegscheibe) und Nockenhalter nach Wunsch einzustellen. Pictures to follow soon/Bilder folgen bald
With this file you will be able to print Makita Festool Guide rail wall mount with your 3D printer. Click on the button and save the file on your computer to work, edit or customize your design. You can also find more 3D designs for printers on Makita Festool Guide rail wall mount .