Mako's MakerRack - A Completely Modular Display for Keys, Rings and Other Things
prusaprinters
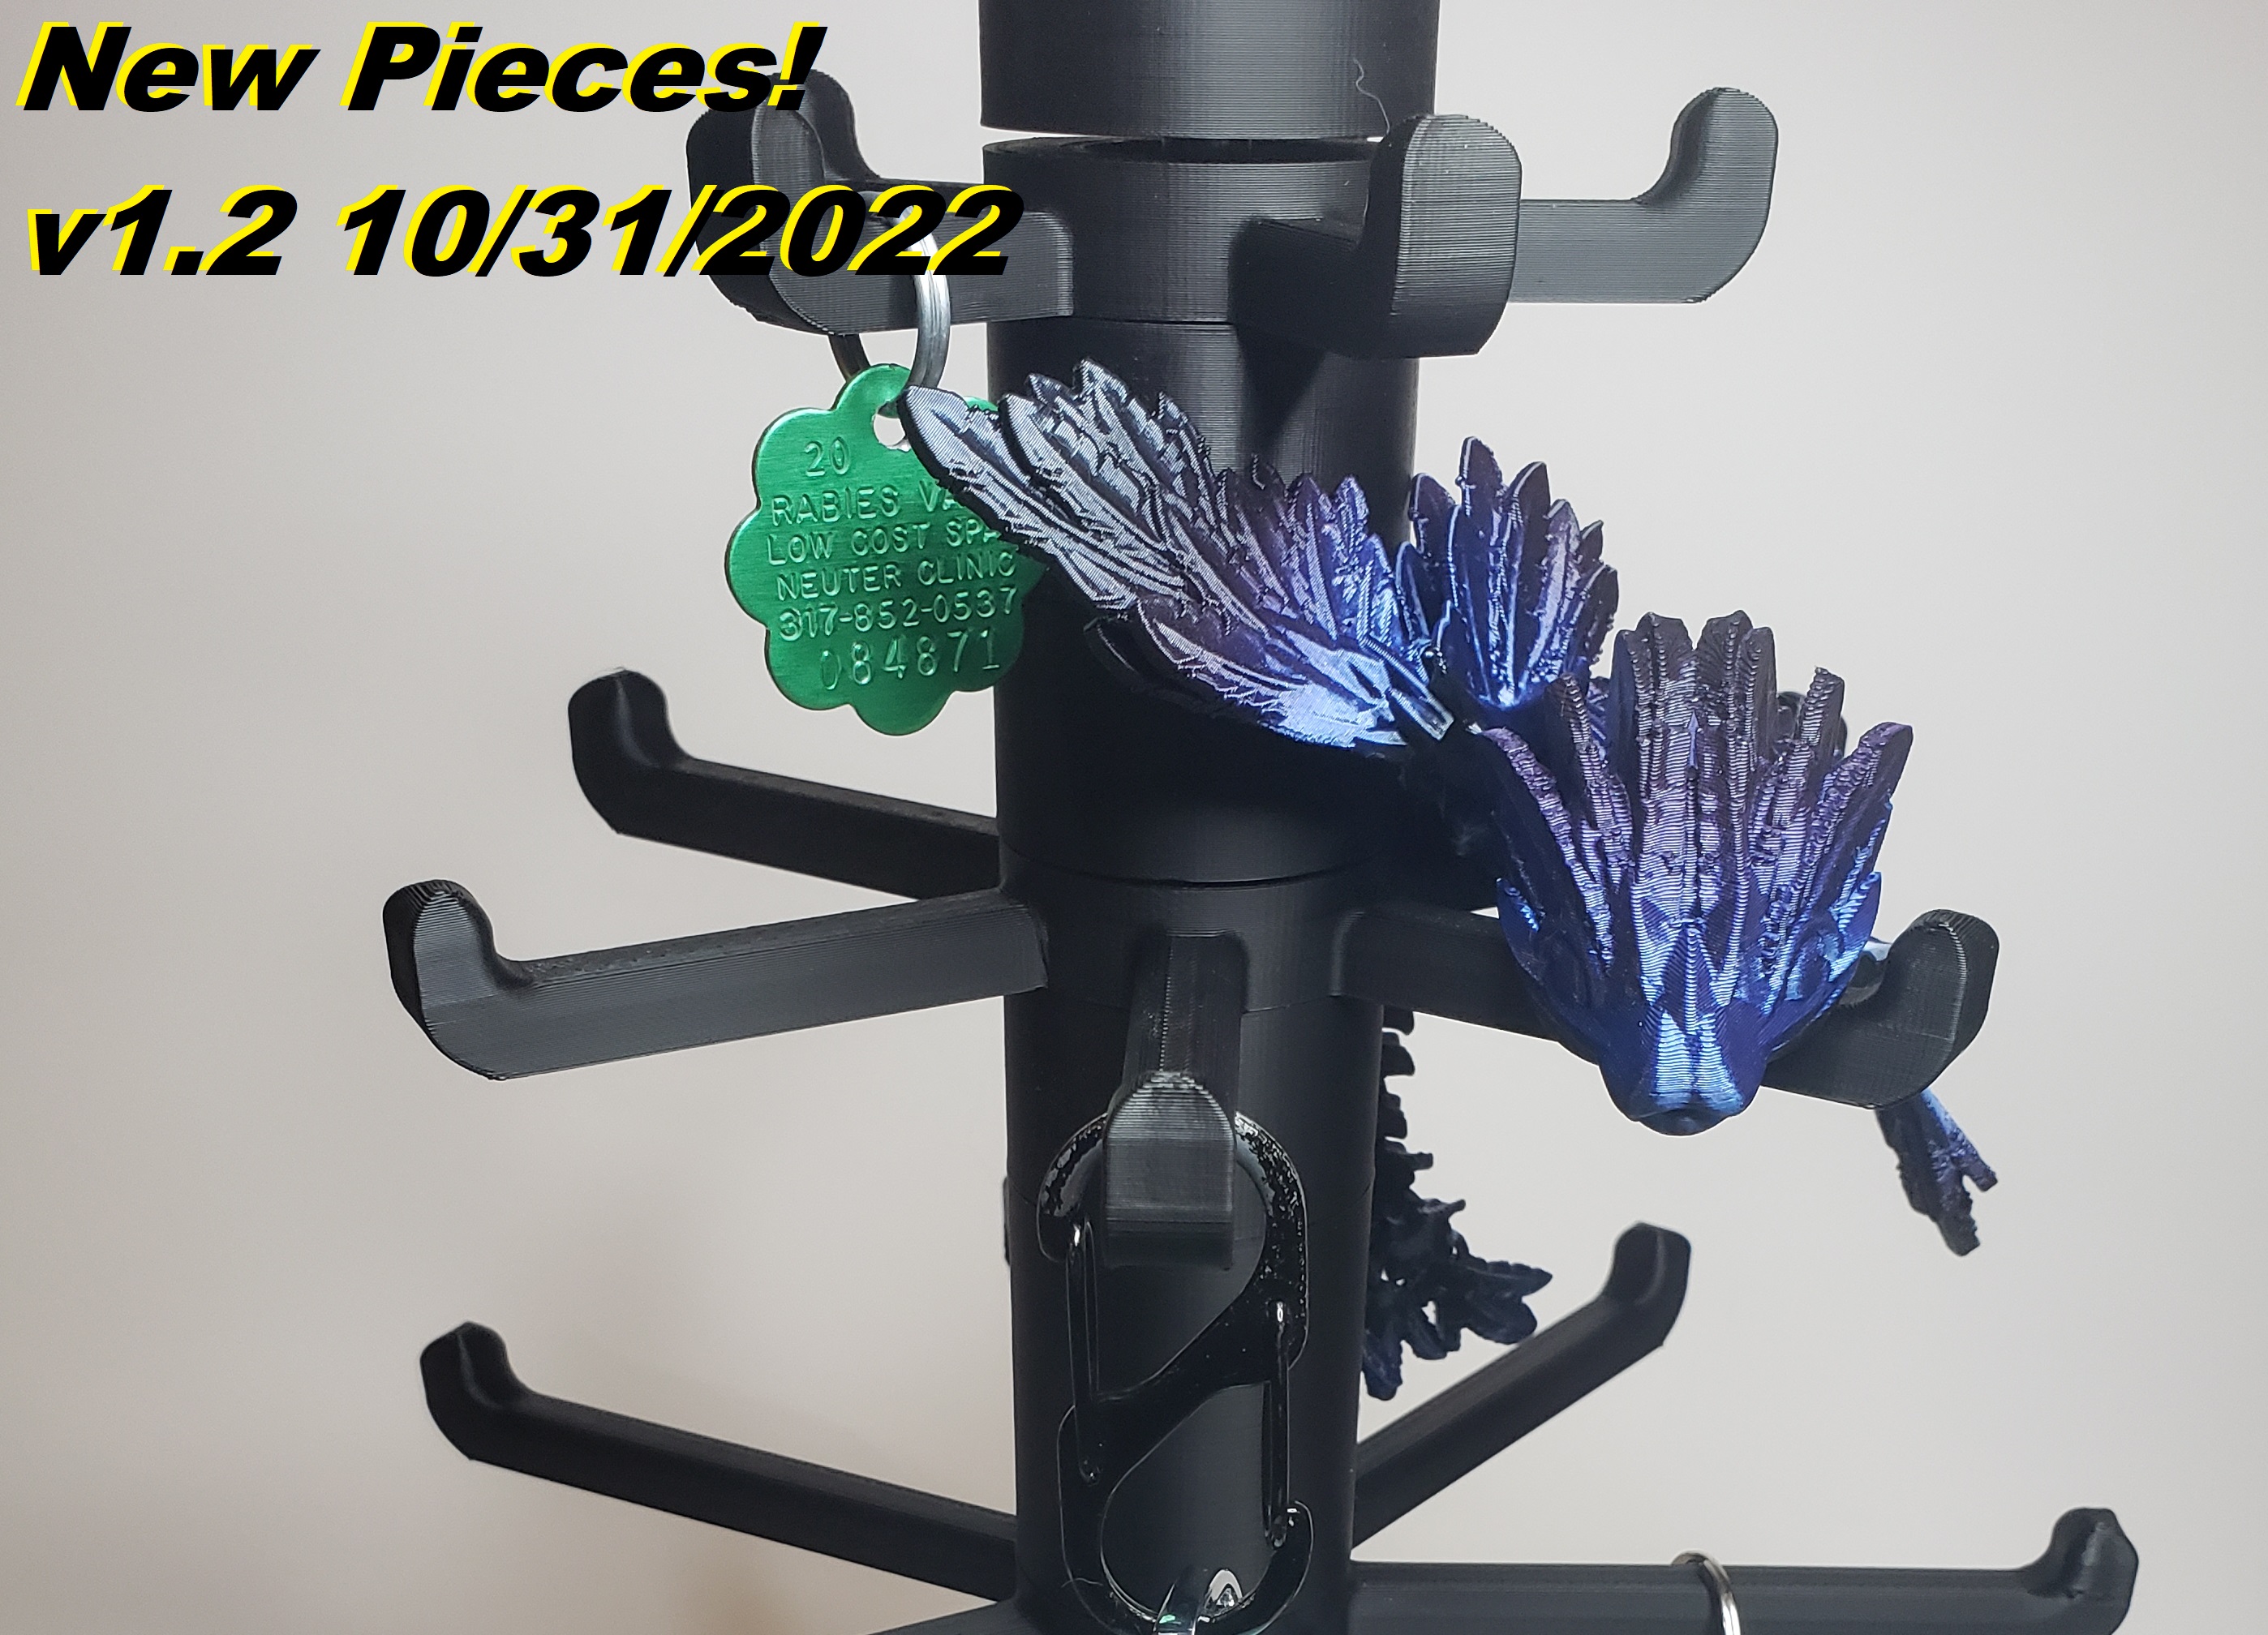
<h5>Updates</h5><p>[v1.2, 10/31/2122] - <strong>5 New Topper options!</strong> “Central”, "Parallel," “Carousel,” “Cross,” and “Card.”</p><p>Card - Simple thin slot for sticking a laminated paper sign or cardstock into. This Topper still has a 12mm deep hole, but I made it a little taller to accommodate the slot.</p><p>All the other new Toppers have 10mm deep slots for… things! Whatever you can think of! All slots are 3.1mm wide, which is enough to fit most laser-cut acrylic signage or a slotted 3d-printed item with some wiggle room. (Most widely available acrylic sheets are 3mm thick.)</p><p>Central - Slots are 7.6mm wide each with 9mm of space between them. I made this with the intent of slotting in a singular central item with two teeth, spaced apart just enough to not interfere with the central rod.</p><p>Cross - Slots have the same dimensions as the 1 Slot, there's just more of them.</p><p>Parallel - Slots are 20.1mm by 3.1mm.</p><p>Carousel - Slots are 12.1 by 3.1mm.</p><p>[v1.1, 10/14/2022] - <strong>Basic Base V2</strong>, now has a 24mm deep hole for the rod (up from 12). While testing the Extender Topper, the whole assembly felt slightly wobbly when spinning any rack aggressively. Deepening the hole for the rod should help remedy the issue. Oh, and the Extender <i>does</i> work! You can stack at least two rods together with this. A little further testing is needed to see if the holes need to be deepened for this one too, so any feedback is welcome.</p><p><strong>New Spacers</strong> - 18, 5, 10, 15, 20, 25, and 50mm. Available in all three clearances.</p><p>[v1, 10/13/2022] – Initial upload. Extender Toppers are included but haven't been tested yet. Try at your own risk!</p><p>If you like this model a lot, consider sending me a tip! I appreciate any support. <a href="https://ko-fi.com/makokz">https://ko-fi.com/makokz</a></p><h4>MakerRack</h4><p>Every day I talk to a handful of fellow people in the community who sell prints at in-person events as part of their income. Keychains and other hanging trinkets are pretty popular, but I've heard them talk about there not being an ideal or easily accessible way to display these items. There's racks you can purchase but those can be expensive or cumbersome to pack to events, and there are already existing 3d-printed ones that can be fiddly to assemble.</p><figure class="media"><oembed url="https://youtube.com/watch?v=tu6LMrEg9cM"></oembed></figure><p>So as a challenge to myself, I created this project to hopefully work as a <i>mostly</i> printable, modular rack that can be quickly and easily assembled, disassembled and customized. Simply print the pieces you want to use, and if you need to swap them out later? It's simple to take it apart and do so.</p><p>In reality the entire thing could be designed to be 100% printable, but the pieces that are not were carefully took into consideration to give the entire assembly extra stability (the central rod) and make it spin buttery smooth the way I think a spinning rack should (the bearings). These extra parts are easy to obtain, inexpensive, and you may already have them if you like to tinker.</p><h5>Terminology</h5><p>Just to keep things simple, here are how I refer to my modular pieces, which will be capitalized and referred to many times below. The pieces are grouped by their overall “place” in the assembly:</p><figure class="image image-style-align-center image_resized" style="width:75%;"><img src="https://media.printables.com/media/prints/289763/rich_content/b52701f0-ed88-4cae-bdd5-56c7b197a3aa/20221013_032104-a.jpg#%7B%22uuid%22%3A%2291fb5939-018b-4a54-8e8c-05b031620132%22%2C%22w%22%3A4032%2C%22h%22%3A3024%7D"></figure><ul><li><strong>Bases</strong>, always the bottom-most piece</li><li><strong>Racks</strong>, pieces designed to spin. These have a housing to place a bearing into.</li><li><strong>Spacers</strong>, pieces designed to <i>not</i> spin. These are mostly to keep Racks separated from one another.</li><li><strong>Toppers</strong>, generally the top-most piece but may have some extra function.</li></ul><h4>Materials Needed (Non-printable)</h4><p>I tried to make this design use commonly-available parts, some of which a hobbyist probably already has spare. The only things you'll need are <strong>608 ball bearings</strong> and an <strong>8mm diameter central rod of any length. </strong>Though I've only tested plain 8mm, 300mm length steel rods, <strong>an m8 lead screw or threaded rod should work too</strong> – which you may have already if you've made any DIY dry boxes or have ordered some extras for your printers!</p><p>A wooden dowel may also work provided it's the correct diameter, but I have not tested for this and probably won't. If someone wants to try it, let me know how it goes and I'll update this section.</p><h4>Pieces to Print</h4><ul><li>1 Base</li><li>any number of Spacers</li><li>any number of Racks</li><li>Topper piece(s) - might be optional</li></ul><h4>Instructions</h4><p>To save yourself some time and material, I've prepared a simple test print for determining what tolerance you'd like to make your Spacers, Base, etc. From my testing I found that I preferred 8.3mm the most, though 8.2 and 8.4 will both work - 8.2 is <i>very</i> tight against the central rod while 8.4 is loose enough to slide freely up and down. Print these out and try sliding them up and down your central rod and see which ones you like the most.</p><p>From there, print out however many Spacers and Racks you'd like to use, as well as one Base. Each Rack will need a bearing inserted into it; Spacers will not.</p><p><i><strong>Note: You may want your Base or Topper to be fit tighter on the rod compared to your Spacers. </strong>It shouldn't be necessary but I wanted to point out that the option is available if you so choose. If so, just print these with a tighter clearance. I've also uploaded these with an 8.1mm clearance which I would not recommend for any other pieces.</i></p><p>Insert your central rod into your Base and then slide your Spacers and Racks on in whatever configuration you'd like. You can add a Topper piece if you're feeling like it, but it's not strictly necessary. Without it, though, your Racks or Spacers may unintentionally slide off the top in some situations.</p><p>Bearings can be removed from Rack pieces if needed, just push them from the opposite side. Needle-nose pliers or any solid tapered object inserted into the bearing's central hole should do.</p><h5>Printing Details</h5><p>Use a smooth PEI sheet or other similarly smooth printing surface for the best spin. These are the general settings I used:</p><ul><li>3 walls, .2 layer height (I use a .4 nozzle)</li><li>10-20% infill (10% Lightning should be fine, even for the Racks – use something strong like Gyroid or 3D Honeycomb if you're worried about heavy items)</li><li>at least 3 bottom and top layers</li></ul><p>On Bases and Toppers, <i><strong>make sure the area around the central hole is supported with infill.</strong></i> If you're wanting to use the Extender Topper, you may want to give it extra infill/walls to really make sure it's sturdy! I like having “Only infill where needed” checked on for the Base as it gives lots of empty space in the center in the event you want to pause the print and add a filler like sand for extra weight. Barring that, you could just use a denser infill.</p><p><i><strong>Extra Tip for Smooth Spinning:</strong></i></p><p>If you want a real smooth spin as shown in my video, give your Spacers a little wiggle away from your Racks by just the tiniest smidge. You don't want your Spacers too snug against the Racks or else they will interfere and cause the whole assembly to spin slightly.</p><h4>Dimensions</h4><p>The central part of all currently available Racks have a 12mm height; however <i><strong>the hook portion extends up to 17mm. </strong></i>I'd recommend a spacer of at least 6mm between each Rack for back-to-back Rack stacking.</p><p>Currently the largest single printable pieces are the Basic Long Racks.<i><strong> Basic Long Rack - 7 Spoke </strong></i>has the dimensions of 212x217x17mm (rounded up). <i><strong>Basic Long Rack - 6 Spoke</strong></i> has the dimensions of 220x194x17mm (rounded up) so it's of a comparably large size. They should fit on most printers, though check your firmware limits first if you're using a printer like an Ender 3 which may be artificially limited to 210x210 if running stock firmware.</p><p><i><strong>Basic Base</strong></i> is 180x180x52mm with a 24mm deep hole for the central rod. <i><strong>Basic Topper</strong></i> is 40x40x15mm with a 12mm deep hole for the central rod.</p><p>“Long” spokes are roughly 90mm in length.</p><p>“Medium” spokes are roughly 60mm in length.</p><p>“Short” spokes are roughly 30mm in length.</p><p>“Tiny” spokes are roughly 15mm in length.</p><h4>Making Your Own Spacers</h4><p>I've tried to make my pieces available in the sizes I think would work best for a 300mm central rod, so they're multiples of 5 and 6. If you need a Spacer of a different height, a cylinder with an outer diameter of 40mm is what you need. Simply make it the desired height then add a hole to the center with whatever inner clearance you like (probably 8.2, 8.3 or 8.4mm). Failing that, just send me a message and I can make one that's the appropriate size.</p><h4>To-Do (Notes for Myself)</h4><p>This is an evolving project I'm using to re-learn CAD modeling, so I'm adding a list of things I'd like to tackle for my own reference here.</p><ul><li>More Spacers</li><li>New Base/Topper options, including slot-in additions</li><li>New Racks</li></ul><h4>Cat</h4><figure class="image"><img src="https://media.printables.com/media/prints/289763/rich_content/83c7741f-40e1-4aab-8cb7-6515f4ebf078/cat.jpg#%7B%22uuid%22%3A%2209601f43-7e1a-4ab0-a3eb-d248014de6ce%22%2C%22w%22%3A2780%2C%22h%22%3A4032%7D"></figure>
With this file you will be able to print Mako's MakerRack - A Completely Modular Display for Keys, Rings and Other Things with your 3D printer. Click on the button and save the file on your computer to work, edit or customize your design. You can also find more 3D designs for printers on Mako's MakerRack - A Completely Modular Display for Keys, Rings and Other Things.