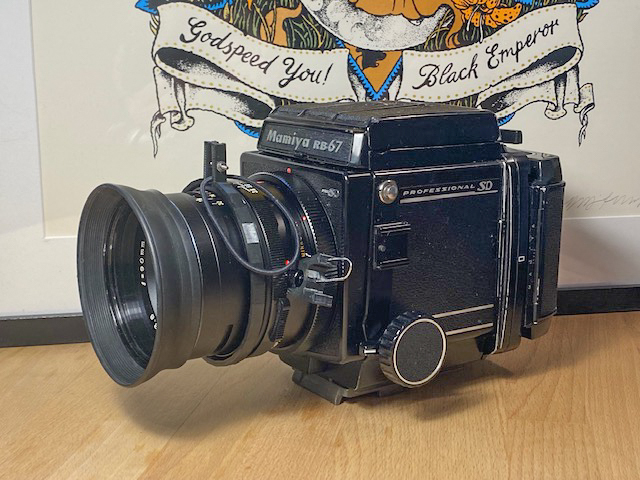
Mamiya RB67 Long Exposure System
prusaprinters
<p>After doing some research on taking exposures longer than 1 second with the Mamiya RB67, I was presented with two choices. The first purchasing the dual threaded cable release on Ebay for ~80$ USD (at the time of writing this) or manually moving the timer ring on the lens from “T” to “1” to close the shutter. While I was successful in employing the second strategy, the process poses a risk to successful long exposures as it requires manipulating the lens directly which could cause vibrations ruining your shot. Not to mention using a paperclip to manually activate shutter mode means that's one more thing you need to keep track of. Having the clip/paperclip attached to the lens means you don’t have to keep it in hand, which is nice.</p> <p>The system I created is my attempt to streamline and minimize those risks. If you have a cable release, the clip which goes over the “mirror up” nob isn’t necessary, you can trigger the shutter/mirror up with the cable and simply use the ring to move the lens from “T” to “1”. As the video shows (linked below), you can set the timing ring to “T” then nudge it over the first “bump” without triggering the “close shutter” if you’re careful. Afterwards, when you tug on the hair elastic, you won’t have pull as hard to get the shutter to close. The hair elastic, or whatever you might have available, should also help minimize vibrations.</p> <p>I tried to keep this as simple as possible, and the required parts reflects this. Feel free to switch out parts for what you have on hand, the concept is pretty simple and I’m sure there are numerous part combinations that could work.</p> <h3>Parts</h3> <ul> <li>Paperclip</li> <li>M2 screw/washer/nut</li> <li>Elastic</li> <li>3D Printed Components</li> </ul> <p>This models are pretty simple, I'm sure you'll be successful with whatever you have on hand although I'd like to give it a go with something along the lines of TPU one day, I feel the flexibility might be helpful.</p> <p>Note: The timer ring might not fit all lenses. It fits my 90mm and 250mm well, however, the diameter of the 65mm timer ring is somewhat larger. A longer screw might work for the 250mm, however, the resulting angle of screwholes might not allow a long enough screw to pass through both "tabs". I suppose you could use something else like fishing wire to keep the ring snug around the lens' timer ring. I'll see about adding additional STL files to better accommodate a wider range of lenses.</p> <p>For a video of this project in action, <a href="https://dorman.photography/portfolio/rb67-long-exposure-system/">https://dorman.photography/portfolio/rb67-long-exposure-system/</a></p> <h3>Print Settings</h3> <p><strong>Printer Brand:</strong></p> <p>Creality</p> <p class="detail-setting printer"><strong>Printer: </strong> <div><p>CR-X</p></div> <p><strong>Rafts:</strong></p> <p>No</p> <p class="detail-setting supports"><strong>Supports: </strong> <div><p>No</p></div> <p><strong>Resolution:</strong></p> <p>200</p> <p class="detail-setting infill"><strong>Infill: </strong> <div><p>20</p></div> <p><strong>Filament:</strong> Hatchbox PLA</p> </p></p></p> Category: Camera
With this file you will be able to print Mamiya RB67 Long Exposure System with your 3D printer. Click on the button and save the file on your computer to work, edit or customize your design. You can also find more 3D designs for printers on Mamiya RB67 Long Exposure System.