MAN-KAT 1
thingiverse
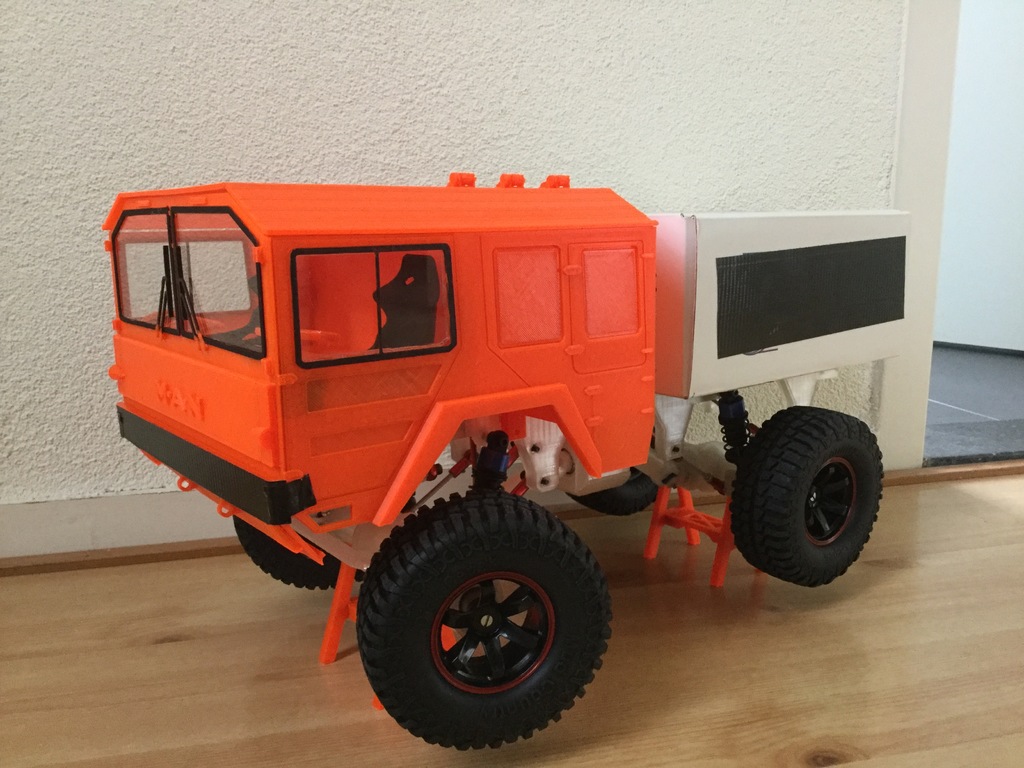
This is the cabin of the MAN KAT1, drawn entirely from scratch based on four drawings found online. It fits perfectly onto the frame v4 of Mr CranckyFace (see https://www.thingiverse.com/thing:2935751). Several key considerations were necessary to bring this design to life: The roof pins need to be made three times, while the prarewheelpins require two prints. Bottom 1 is positioned on the front side, with subsequent parts following the lines of the outer components. To achieve the correct height from the bottom of the front door, middle part of the wheel case, and last part of a side, I used "fittingblock 1, 3, and 5." A note for printing is as follows: Roof plates require a 26.195-degree angle. Front bottom plate, light protection, and attachment eyes demand a 50-degree angle. For the seats, I utilized https://www.thingiverse.com/thing:42443 (chopped base off, scaled 1.5 in all directions) and added the modified file. SeatBase was obtained from https://thingiverse.com/thing:3468514 (used chopped seat-base, printed at x82deg with support). Because I already possessed the v4 frame of Mr CranckyFace, I had to adapt the cabin to fit onto it. Therefore, I created some blocks underneath the bottom parts (part of bottom 1 and bottom 5). In my case, it fitted snugly without requiring glue or a screw. The only addition made to the frame were two blocks to lower the gear for smoother operation (my springs might be too high, but they fit well under the V3 truck of Mr CranckyFace). I fabricated a welding wire for welding parts together. Upcoming tasks include: Wind guiding thing around front corners. Ring around roofhole. Proper RC design. Proper bumper design (currently an apron that is a few millimeters too small). Update: June 27, 2019 Added fitting blocks stills and (to small designed) bumper. Included an extra photo of how to fit the fitting blocks for correct bottom positioning. Apologies for not capturing building pictures. The process involves taping front, one side panel, and bottom plate 1 together, then welding the front and side panel. This is followed by attaching the other side panel in a similar manner. Remove the bottom plate and tape bottom 1 through 5 together before fitting them into the square frame using filing blocks for proper positioning. Next steps include constructing the midpanels, mid-console, and front lower bumper (first attach light security frame and attachment hook/eyes). Finally, build the steer steer console and seats, then create the roof. I made a cardboard copy of the mid-plate to achieve accurate corners, and attached two pieces of wire inside the roof to prevent movement. Update: November 6, 2019 Added the roof security ring.
With this file you will be able to print MAN-KAT 1 with your 3D printer. Click on the button and save the file on your computer to work, edit or customize your design. You can also find more 3D designs for printers on MAN-KAT 1.