MARBLE RUN SEA SAW TOY
thingiverse
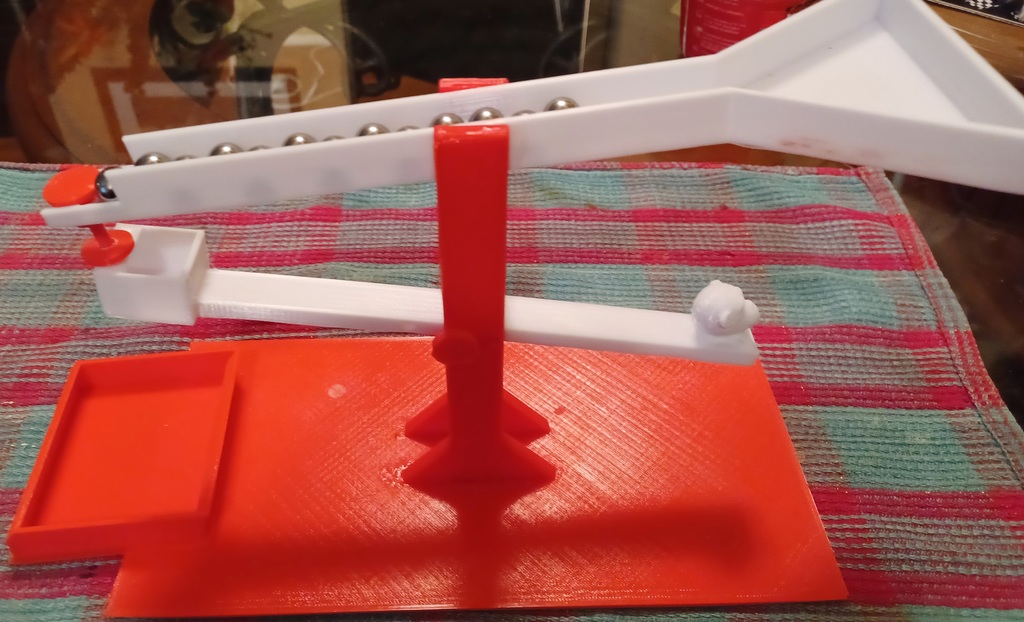
Print the base first. Then print the uprights, then the sea saw of your choice. Then the rest of the parts at 50 percent speed. The up rights should just snap in but also crazy glue to keep secure. To assemble, install the sea saw use the pin with a collar to hold in place. You may have to select different holes to get a offset balance.you want it to tip down on the monkey head side but swing back when a bearing falls into the scoop. Test fit the ramps location to insure the stop pin makes contact with the scoops top cross bar. you may need to trim it. The idea is that bearings line up on the ramp. you start the motion with a gentle swing up on the sea saw. The scoop end of the sea saw strikes the stop bottom of the pin and releases a bearing the weight moves the sea saw downward and deposits the bearing in a small container, then starts all over by itself until ti runs out of bearings. I used 11mm bearing but larger sizes are also possible.
With this file you will be able to print MARBLE RUN SEA SAW TOY with your 3D printer. Click on the button and save the file on your computer to work, edit or customize your design. You can also find more 3D designs for printers on MARBLE RUN SEA SAW TOY.