Mario Box Bath Bomb
thingiverse
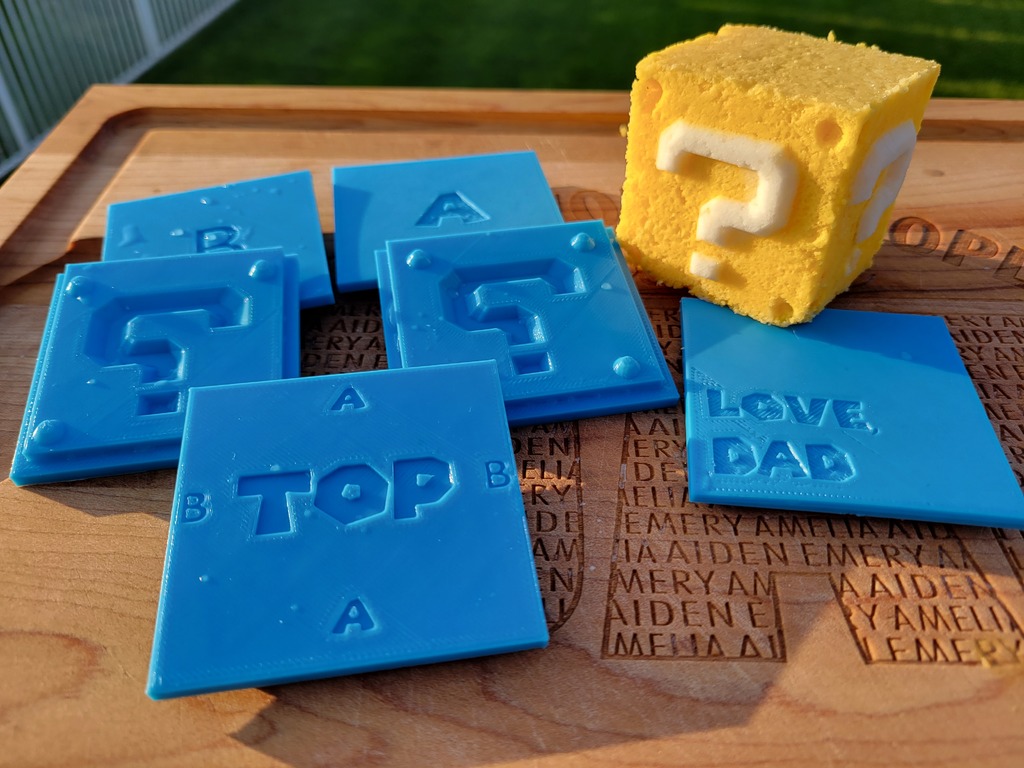
# Printing Printed with 10% infill, supports and a brim to ensure corners don't lift. 3mf file attached should have the settings applied already. I have also attached the .blend file in case you'd like to make updates to the original. --- # Assembly Assembling the box is pretty easy if you have your little helper with you. If not, then just place the sides marked with A and B respectively against the base. Once you place two corners together (and A and a B) then place tape around the edge - repeat for the other two sides. At this point I recommend adding a rubber band, or your kid's hair tie around the box **tightly** as you will be putting a lot of pressure in the box when packing it with the ingredients. ** Optionally leave the box disassembled until step 5 below, as you may want to add white for the question mark before packing the box. ** --- # Bath Bomb Makes a bath bomb is roughly 2" in size. I recommend a 12 hour minimum dry-time so that it pulls well from the question mark and corners. You should be able to fill the box without much extra by using the following as a base. ## Ingredients - 75g Baking Soda - 30g Citric Acid - 15g Corn starch (slows the reaction instead of using a surfactant) - 15g Epsom salt - 2 tbps oil (I use coconut) - Fragrance oils - Yellow liquid or powder dye ## Mixing 1. Mix dry ingredients first 2. Mix wet ingredients separately 3. Slowly mix wet ingredients into dry while whisking - Optionally don't add the dye at this time so you have white for the question mark 4. Once uniform, add a few drops of water (literally like 5-10 drops depending on how dry it is where you are) while whisking quickly, as it will react if you let it sit 5. Pack the box with the ingredients (optionally pack the white first if desired, then mix in food coloring with another drop or two of water) Once it's mixed very well, pack it into the box. After you pack it pretty well by hand, make sure there's extra on top, then place the lid on with the respective A and B sides facing the proper orientation, then pack it very tightly. Make sure to hold the sides just in case the rubber band fails. After it's tightly packed, set it aside out of direct sunlight. I've noticed that it tends to expand when exposed to the warm sun. After 12 hours (recommended) take the rubber band off, and tap the sides of the box on a hard surface to start to loosen the insides where the question mark is. If it's not coming off easily, keep tapping as you may end up ripping the question mark out from the rest. That's it!
With this file you will be able to print Mario Box Bath Bomb with your 3D printer. Click on the button and save the file on your computer to work, edit or customize your design. You can also find more 3D designs for printers on Mario Box Bath Bomb.