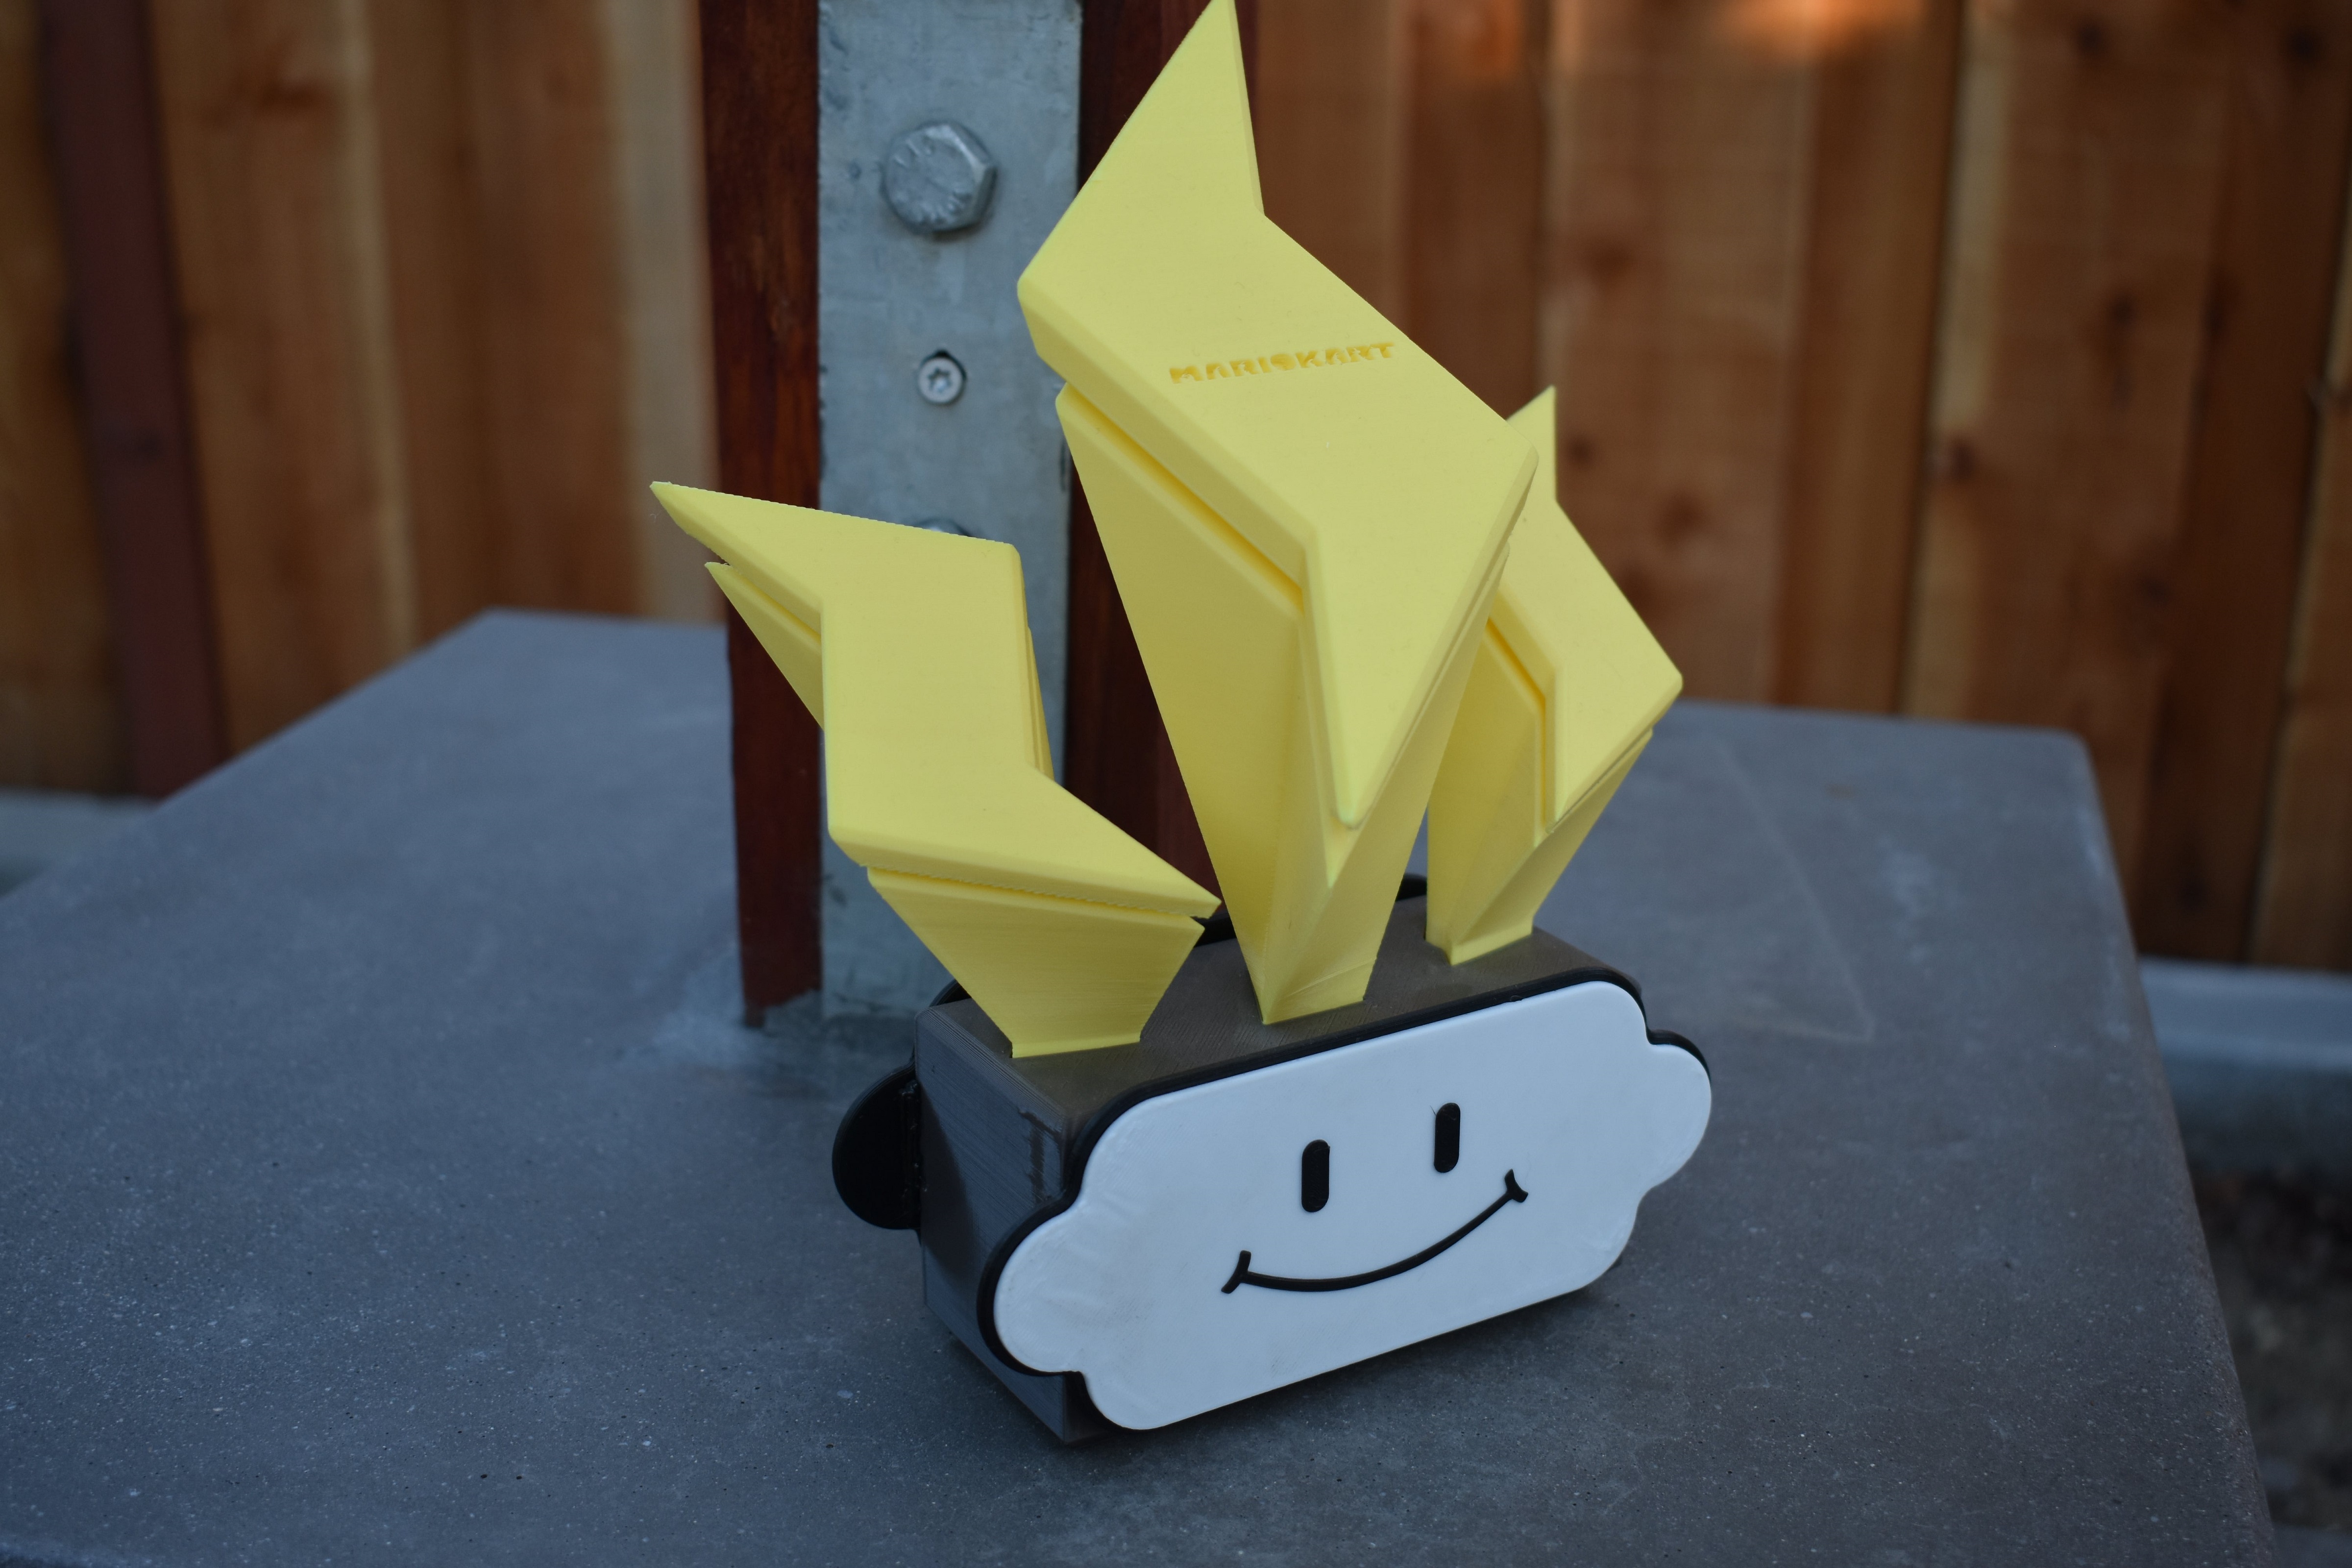
Mario Kart 8 - Lightning Cup Trophy
prusaprinters
<p>Do you need something to show that you're better at Mario Kart than all your friends? Or maybe just a better human being? Print out the Lightning Cup Trophy to show your skills - all with a single material printer!</p> <p>This is a bit of an older model (July 2017), so the quality is a bit lower than my current ones. Unfortunately, this also means I was unable to share the source Inventor files. It still looks and prints great, though!</p> <p>If you don't have a printer, but you still want to brag about your Mario Kart skill, you can pick one up over at <a href="https://brentwerder.design/shop/">my shop</a>.</p> <p>In order to print a Lightning Cup Trophy on any 3D printer, you'll need:</p> <p>(<em>Print in gray.</em>)<br/> 1x . . . . . LightningCup_base.stl</p> <p>(<em>Print in gold.</em>)<br/> 1x . . . . . LightningCup_boltLeft.stl<br/> 1x . . . . . LightningCup_boltMiddle.stl<br/> 1x . . . . . LightningCup_boltRight.stl</p> <p>(<em>Print in black & white - see below.</em>)<br/> 2x . . . . . LightningCup_plateCloud</p> <p>OR...</p> <p>(<em>Print in black & white - see below.</em>)<br/> 1x . . . . . LightningCup_plateCloud<br/> 1x . . . . . LightningCup_plateBlank</p> <p>...and put text / graphics on LightningCup_plateBlank to customize!</p> <p>I had the best results using everyday superglue to hold the PLA parts together. Printing these parts at 100% scale is what I would consider "life-size," and smaller sizes have not been tested - do so at your own risk, and let me know if the model works at smaller sizes!</p> <p>In order to get the black and white effect on any <em>SINGLE</em> or <em>MULTI MATERIAL PRINTER</em> (optional):</p> <ol> <li><p>Slice LightningCup_plateCloud.stl or LightningCup_plateBlank.stl</p> </li> <li><p>Upload the .GCODE to <a href="https://blog.prusaprinters.org/color-print/">Prusa ColorPrint</a> and perform 2 color swaps - one at Z = 3.5mm and another at Z = 5.5mm. This can also be done in Cura using the "Pause at Z" function, in Simplify3D using the "Pause at Layer Height" function, or manually if you're a risk taker.</p> </li> <li><p>Load black filament and start the print.</p> </li> <li><p>At Z = 3.5mm, the first ColorPrint swap, swap the black filament out with white filament.</p> </li> <li><p>At Z = 5.5mm, the second ColorPrint swap, swap the white filament out with black filament.</p> </li> <li><p>Scrape the print off the machine, glue it to the side of the base, and post a Make!</p> </li> </ol> <p>That's about it! Thanks for dropping by, and happy printing!</p> <p>-Brent</p> <h3>Print instructions</h3><p><strong>Printer Brand:</strong> Prusa</p> <p><strong>Printer:</strong> <a href="http://amzn.to/2DxjZlB">i3 MK2 MMU</a></p> <p><strong>Rafts:</strong> No</p> <p><strong>Supports:</strong> No</p> <p><strong>Resolution:</strong> 0.150 - 0.250mmm</p> <p><strong>Infill:</strong> 5-10%</p> <p><strong>Notes:</strong></p> <p>Supports aren't <em>necessary</em>, but they'll help out with a few overhangs on the bottom side of each bolt. All overhangs except these are <45deg.</p>
With this file you will be able to print Mario Kart 8 - Lightning Cup Trophy with your 3D printer. Click on the button and save the file on your computer to work, edit or customize your design. You can also find more 3D designs for printers on Mario Kart 8 - Lightning Cup Trophy.