Marking Gauge
thingiverse
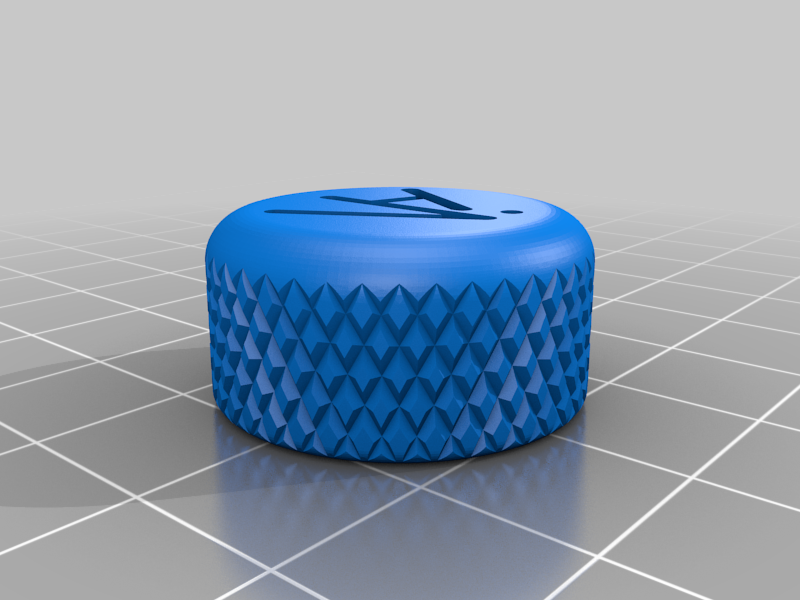
This here contraption in för marking wyyd. In fine wyyd wörking, there be often times when one must make a knife mark from certain distance from a end part of wyyd one works with and this here device is there to help thee. A word of warning making this requires some pre purchased items and handiwork, printing these parts is only half the battle. If you so choose to embark on this makers journey however, i'll suggest you purchase / have the following items in order to bring this gauge into fruition. A drill, a fresh 10mm bit, and table/angle grinder with a fine sanding disk. A length aprox. 20cm of 10mm ø pipe with inside ø of 8mm mine was aluminum tho steel would be preferred. A M8 countersunk, flat head bolt, mine was 80mm long, but the longer the better, twss. A Cap head socket screw/bolt M8 x 16mm (thread length) (see pic_2). This screw should be standard issue, but just incase ill post head dimensions: ø13mm, height 8mm, and 6mm hex hole. Print parts with 100% infill and support the M8 button. While parts are printing, clean edges of the pipe and countersink one end of the pipe where you will glue (CA/similar glue) your flat head 80mm bolt. (not necessary necessarily, but end result will be nicer and that's how things ought to be) After that I attached the pipe into a drill(with aluminum put pice of tape to the end to protect it) and used a grinder to sharpen the flat screws end. This was a bit finicky, I would suggest using a table grinder or at least fix the grinder to a table with one or two clamps so you have your hands free to drill and guide the pipe/bolt. After parts are printed you'll propably need drill the 10mm hole on the gauge a bit to make the pipe+flat head fit, just do it slowly and patiently and it'll be just right kinda tight. If you have m8 tap at hand use that to the side hole for the lock bolt. If not, like me (sure i had it somewhere lying around) just patiently screw and unscrew the bolt a bit first. When a bit of thread has formed warm the bolt a bit with a torch (NOT TOO MUCH) and then srew the bolt home. Glue (CA/simlr.) lock bolt to the M8 button so it'll be easier to use by hand. If you used aluminum pipe like a my self I ground the end of the lock bolt a bit round and glued a small circular piece of plastic to it to avoid marks on the gauge pipe. If your flat head grind was a not so successful endeavour, you can set the gauge a bit proud of flat and sand the whole flat of the gauge to make it mark accurately.(suggestion500-1000grit) I got mine pretty dandy without doing that. But Accuracy is Key here, nobody wants squiggly lines on their Wyyd. Enjoy your new self-made marking gauge and mark some tight lines.
With this file you will be able to print Marking Gauge with your 3D printer. Click on the button and save the file on your computer to work, edit or customize your design. You can also find more 3D designs for printers on Marking Gauge.
