Marshall Major II Hinge Replacement
thingiverse
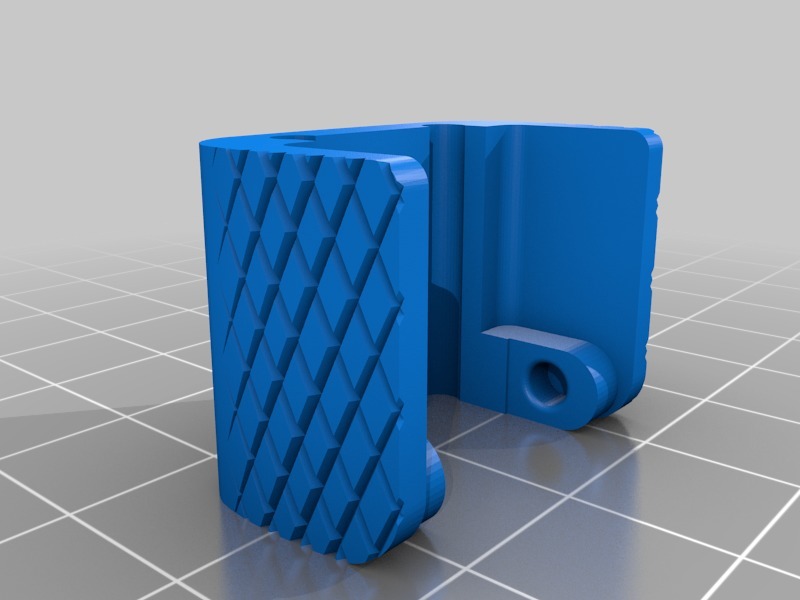
This is a direct replacement hinge for Marshall Major II headphones. It's prone to breaking and genuine replacement parts are hard to find, coming close to new headphones' prices. The replacement hinge consists of two main components: an inner part and an outer part. Unlike the original design, their joint mechanism has been simplified. To install this part: 1. Remove the original (broken) hinge from the headphone frame. 2. Separate the two parts of the broken hinge by applying pressure to the thinner side of the inner part, forcing it out. It may require significant force. 3. Extract the headphone mount from the outer part and remove the small rubber pieces from the inner part of the broken hinge. 4. Position the rubber pieces in their designated space on the inner part of the 3D printed hinge. 5. Insert the headphone mount into the outer part of the 3D printed hinge, double-checking its orientation, then secure the two parts with glue. 6. If necessary, smooth out areas marked with arrows on the last picture using sandpaper as noted below. 7. Finally, carefully attach the hinge to the headphones and the frame. Note: Some users may experience issues with their prints not extending fully due to excessive hole edges in areas marked with arrows on the last image. In such cases, it's recommended to sand the outer edge about 0.5 mm to ensure proper extension of the headphones.
With this file you will be able to print Marshall Major II Hinge Replacement with your 3D printer. Click on the button and save the file on your computer to work, edit or customize your design. You can also find more 3D designs for printers on Marshall Major II Hinge Replacement.