Marvel Legends Sentinel Head Display Stands
prusaprinters
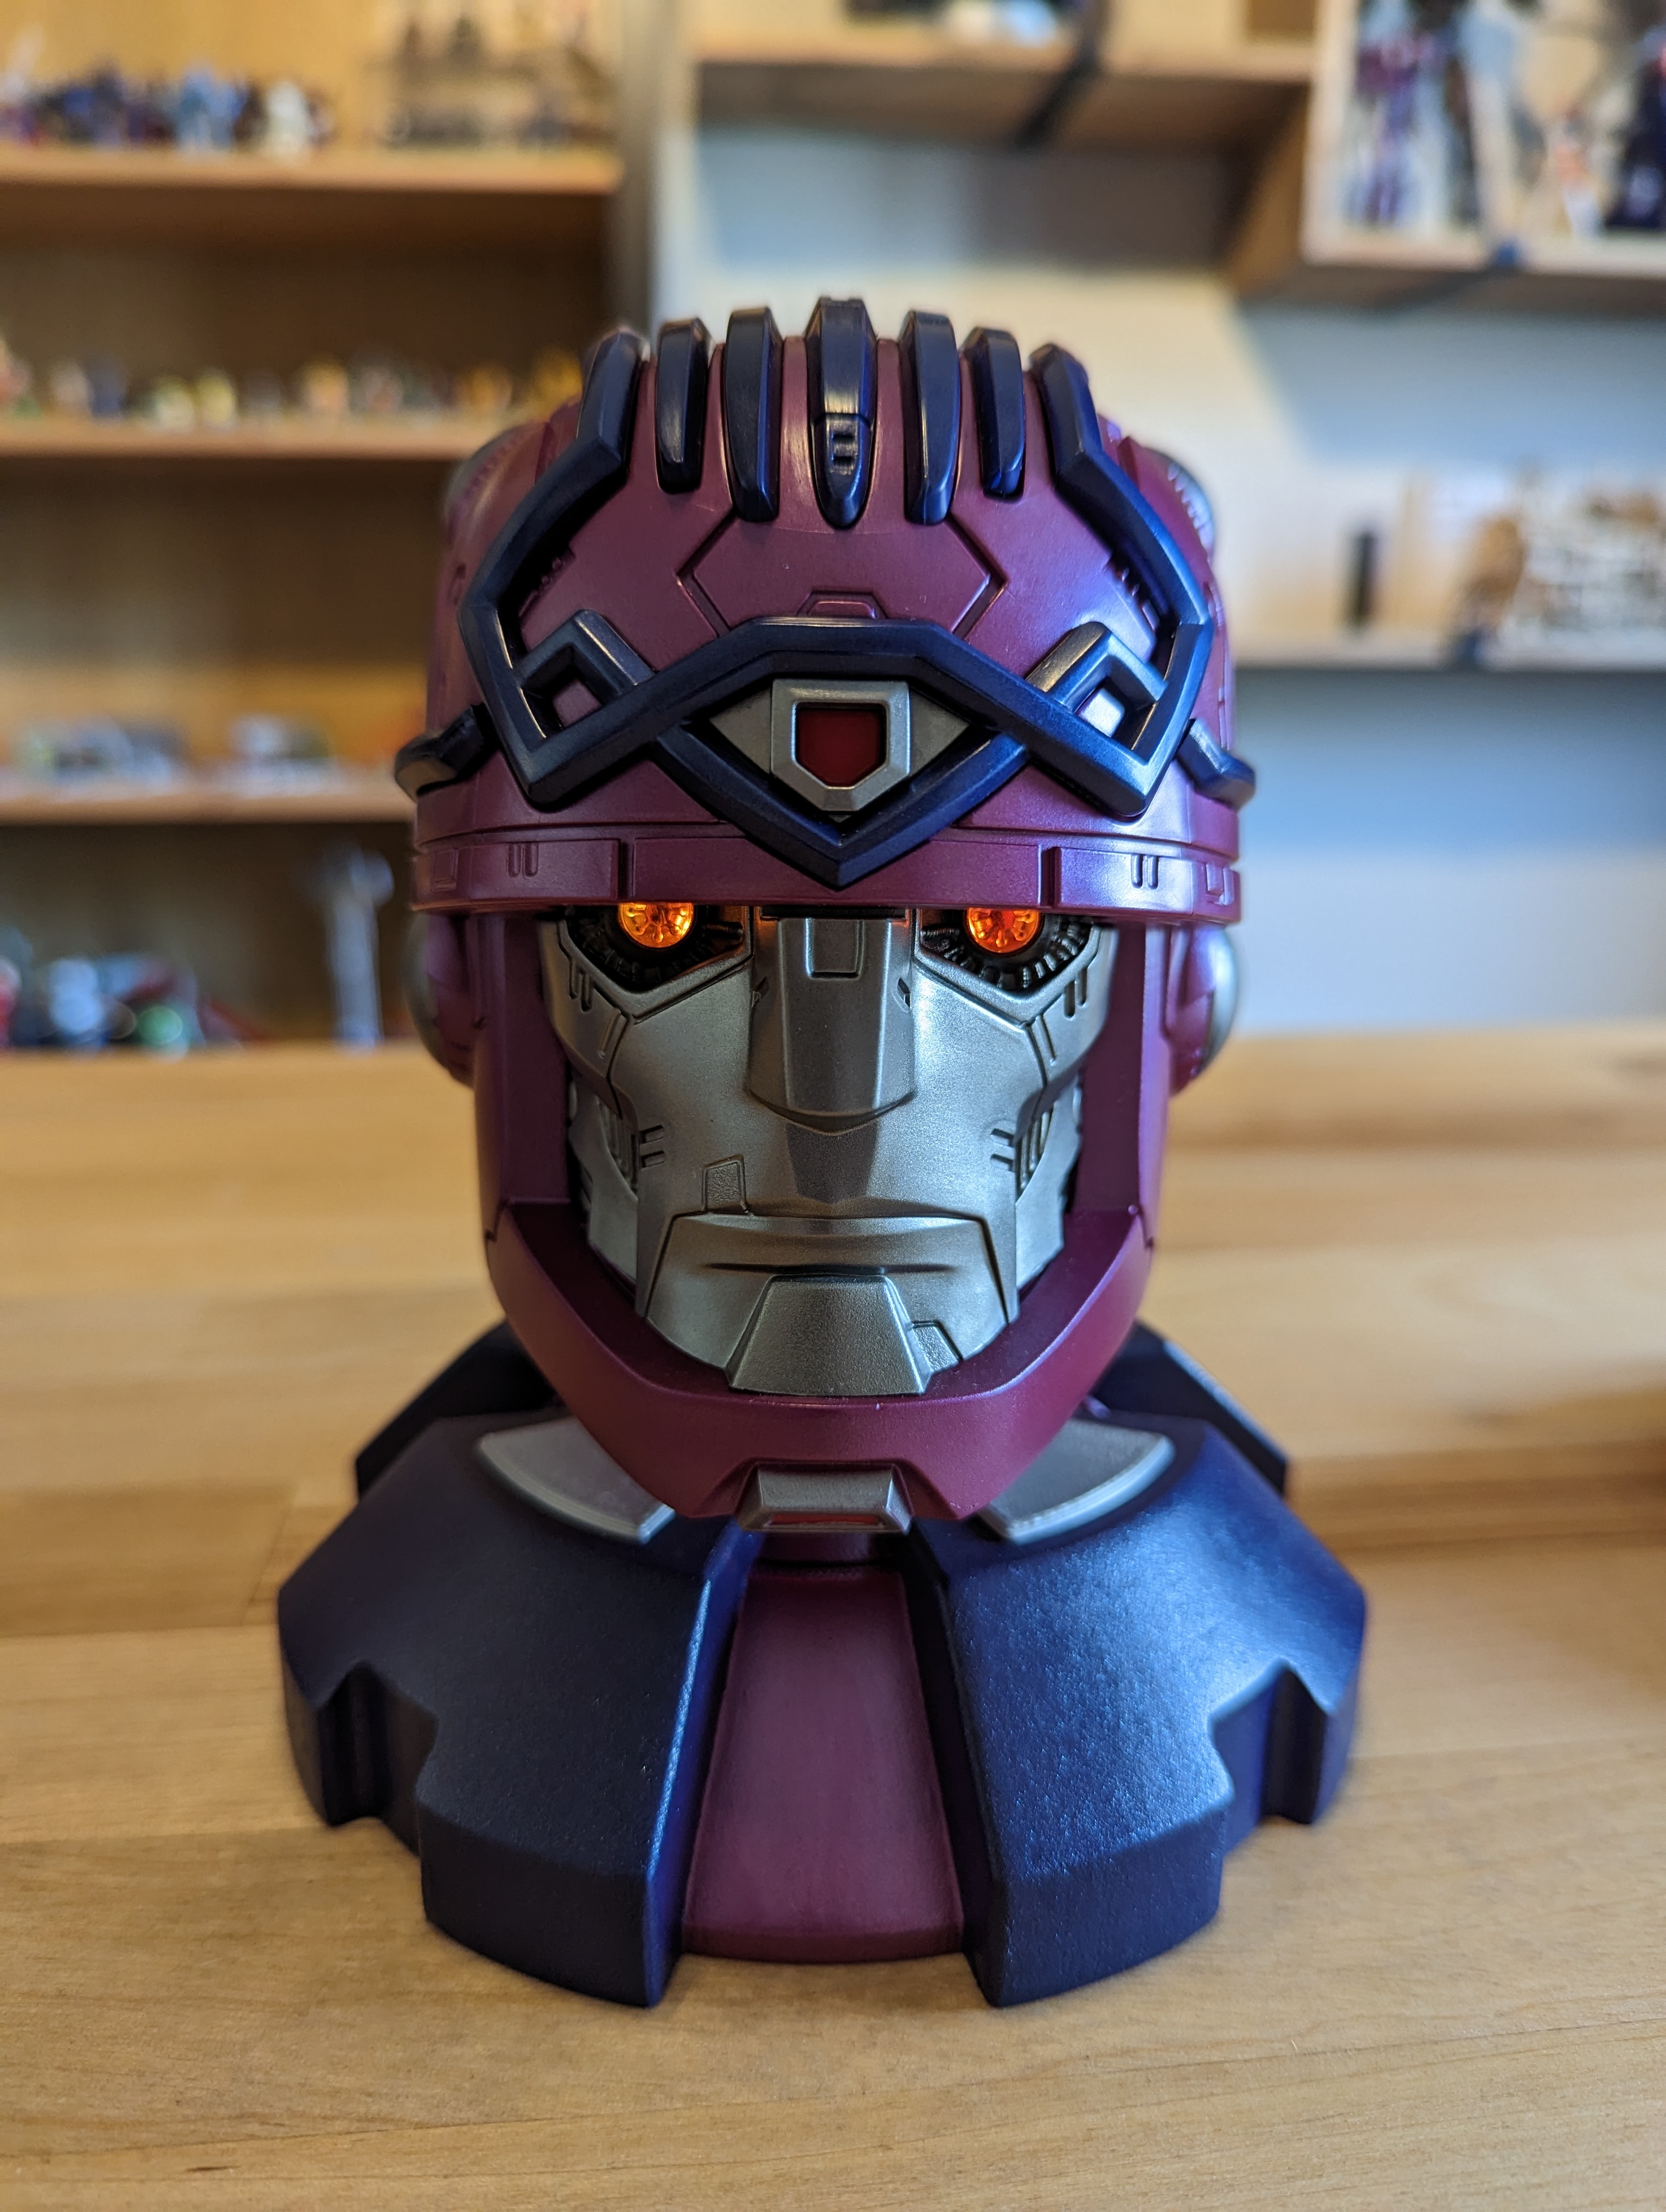
<p>This is a set of display stands that can be used for any of the four heads that came with the Marvel Legends Sentinel figure. There are two versions. The Master Mold pieces need to be printed for the slightly larger Master Mold head. The Standard pieces can be used for all three other heads. </p><p>The Master Mold includes two different Top pieces. If you want the head to face the fuchsia gap between the purple sections (as pictured here) then use the “45 degree” version. If you want the head to be centered on one of the purple sections, choose the normal Top version. The Standard Top can be turned in enough different orientations to match up to either one for the remaining heads. The Silver Insert and Cables Insert pieces are optional to add into the indentations of the base. You can see the silver with Master Mold and Cables with Tri-Sentinel in my photos here.</p><p>The holes in the Top pieces are set for 5mm LEDs to be inserted, but might need to be sanded/drilled slightly after printing for them to fit smoothly. It can take a bit of work to get the triple LEDs installed for the Tri-Sentinel head. I would suggest cutting the top of the piece off in your slicing software slightly before printing for that one, as you can see in one of the photos here with the three LEDs running. You can use single-color LEDs if you want the eyes to remain one shade, or you can use these slow-fading LEDs that cycle through all colors automatically: <a href="https://www.amazon.com/5mm-Round-Slow-Auto-Change/dp/B017TRBRN0">https://www.amazon.com/5mm-Round-Slow-Auto-Change/dp/B017TRBRN0</a></p><p>I left the bottom of the bases hollow to hold a simple 2xAA batter holder that can be attached with Velcro. These are the boxes I used: <a href="https://www.amazon.com/TrendBox-Battery-Switch-Plastic-Storage/dp/B071RVP5D8">https://www.amazon.com/TrendBox-Battery-Switch-Plastic-Storage/dp/B071RVP5D8</a></p><p>The Top components will print without supports. The Bases will require supports, at least around the open hole in the center. Tops will work fine in 0.35mm layer height, as you don't see much of them in the finished product. The bases look best if printed in 0.15mm height and are sanded smooth. White PLA or PLA+/Pro worked well for me. The pieces can be painted separately before gluing, or glued first.</p><p>I used a few different paints to get the colors to match. For the purple I used two Rust-oleum spray paints. The first coat was done with the Gloss Purple Ultra Cover Paint+Primer spray. Two semi-light coats was enough to cover for me without drips or runs. The purple isn't quite exact though, so next I added a <i>very light </i>layer of Metallic Blue over the purple. This darkened the purple just enough and added the little sparkles that the figure has as well. Finally, the fuchsia color is folkArt Metallic 36272 Sparkling Fuchsia. It's almost an exact match by itself. All paints came from Walmart or Target stores near me. A photo of the paints is included here. </p><p>Once completed, solder your LED to your battery pack, bend the leads 90 degrees, and press it into the hole of the Top piece. Press the head onto the stand and pose as needed!</p>
With this file you will be able to print Marvel Legends Sentinel Head Display Stands with your 3D printer. Click on the button and save the file on your computer to work, edit or customize your design. You can also find more 3D designs for printers on Marvel Legends Sentinel Head Display Stands.