Math at the Beach
thingiverse
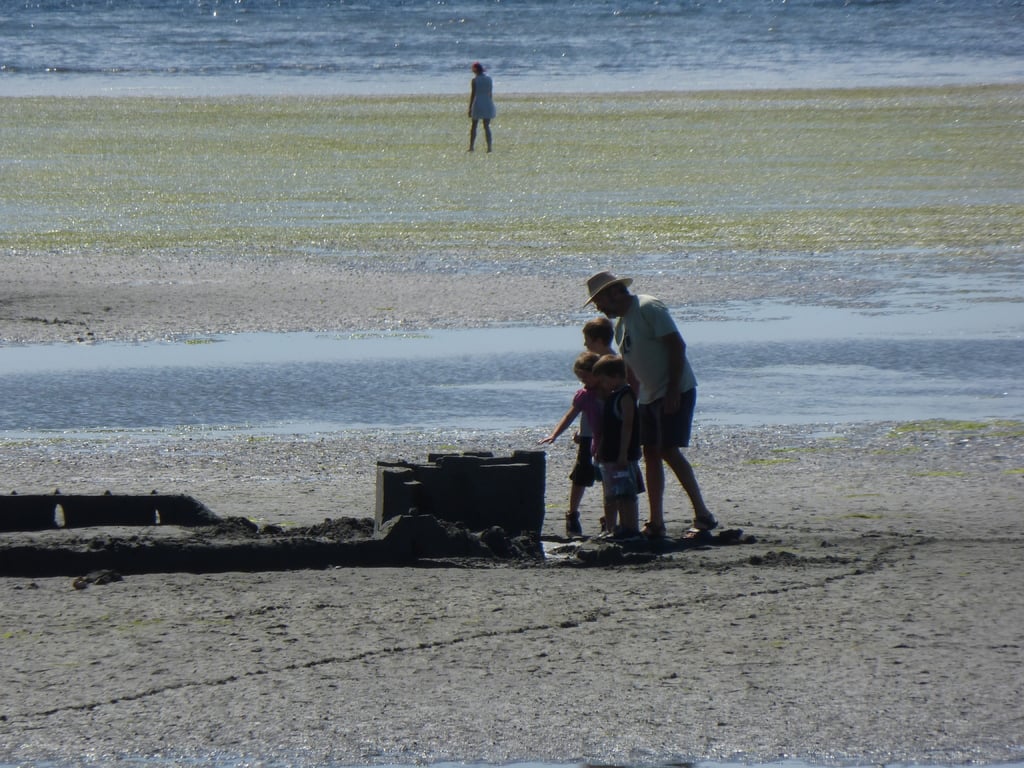
This is a collection of things that can be used to mathematically enhance your sand castle designs. It comes in five parts: 1. Rollers: to add texture to the sand. 2. Mathematical shape molds: Your favorite 3D shapes in sand. 3. Polygon Cookie Cutters: For all your polygon needs. 4. Bucket molds 5. The sigil. Everything is made with math to play with math. All of my design work is done with Mathematica. So everything is created from formulas as parametric plots. It has been an interesting summer of design and redesign. We started with the notion of flat panels to add interesting patters to castle walls. But we had several issues with the panels. These issues included the printer not printing properly (the panels had a tendency to warp), and not cutting into the sand well enough. So we moved to the idea of the rollers. Rollers: The hole in the middle of each roller is designed so that the roller will slide onto a paint roller handle. You will find a large variety of brick patterns covering most of the wall paper groups and all of the frieze groups. The frieze group rollers are shorter and are subtle. The elevation of the bricks in the middle create the desired symmetry. There are two rollers based on a space filling Hilbert curve that create a labyrinth. After all - every self respecting castle has a Labyrinth. One of the rollers has a couple windows so that you can roll your castle walls with a fancy grid pattern and places for its inhabitants to look out. A couple of the rollers were inspired by designs that I saw at a tour of the Washington State Capital building in Olympia Washington. My daughter is doing her annual decorated cake for the county fair and decided that one of the rollers could be used to texture part of the cake. Then her boyfriend decided that he would do a decorated cake in the shape of a castle. The walls and courtyard he exciting patterns rolled into them. So, if your not out rolling these in the sand then you could be in the kitchen rolling your cake frosting, or pie crusts or who know how many other things. Shape Molds I wanted to have molds that created mathematical objects. You take two halves, scoop up some sand and squeeze it together. Then you take the haves off one by one to expose your object. Being a polyhedral guy I started with the platonic solids. Then for kicks I did one of the Archimedean solids and my favorite Johnson solid. It is not every day that you see a triangular hebesphenorotunda, and even more rare that you see one at the beach. Then I went for some of the smooth objects like a sphere, torus cylinder and hyperboloid. These shape molds work great for dressing up your castle. Cookie Cutters There are two types of cookie cutters. First, there are the polygon cutters. I have included both my earlier design that has handles and the more recent version without handles. I found that the handles were flimsy and people pushed too hard on them. Once the handles had broken off I found that I liked better. So the second version has no handles. There are polygons with 3 up to 12 sides. All have the same edge length so that you can tile the plane with them. The second type of cutters are the arches, windows and doors. Each arch is a catenary curve (upside down hyperbolic cosine curve). I use this shape because it is self supporting. Sandstone arches are always in this shape (take a tour on Lake Powell in Utah/Arizona and you will see them all over the place). The arch doorway and the windows (in the window roller) have this same shape, but the lintel has a point that comes from a hyperbolic sine of an absolute value function. Bucket Molds The classic sand castle mold is a shaped bucket that you fill with sand, pack it down and then flip upside down to take the sand out. I had started work on a couple designs that would incorporate some fractal ideas but nothing of this sort is finished by the entry deadline. I do have simpler designs ready. One is inspired by my wife who insisted that we should have some kind of top for towers that had merlons with heights related to the abacabadabacaba pattern. This pattern is related to binary counting and has fractal properties, so it fit in with what I was trying to do. The other bucket mold (called "Twin Hills") is the surface from which we created the sigil. It is a parabolic hyperboloid with some exponential bumps added to it. There is one wide low bump, Two tall upward bumps and two medium downward bumps. The Sigil: This is the contour plot of the twin hills. It is the only thing from the original flat designs that survived. Just find a smooth patch of sand and press it in. At the Beach: We went to the beach 3 times this summer to test the different designs and see what we could do. The beach we go to is Birch Bay Washington. At high tide there is no beach, but when the tide goes out it goes way out. At low tide there is miles of beach. So, we have to look for a day with a really low tide in the middle of the day. We get there about 3 hours before low tide. This gives about 6 hour before the tide comes back in and washes away all castles. The first day we built a big box, and filled it with sand and water, packing it as we went. Then we removed the box and started carving. We did not have much printed yet but it was clear that the flat panels had their problems. The flat panel worked best on a round tower. So we figured that a roller might work better on the flat castle walls. The second day just me testing out the cookie cutters and shape molds. I also tested some ideas for a big castle. With a couple screw drivers and some string I constructed an ellipse in the sand. Inside the ellipse I laid out a 3.6.3.6 tiling and used the cookie cutters to make designs in the hexagons. I also place some of the shapes on the triangle tiles as if they were statues in a garden. On the third beach day we again constructed an ellipse. This time we also constructed an hyperbola with the same foci. We built our box at one end of the ellipse (using the focus as one corner of the castle. The ellipse determined the moat and the two parts of the hyperbola were the roads entering and exiting the castle. THis gave a lot of room for different people to try different things. By this time we had printed many of the items that I had designed, so people could experiment. It was a fun day but the tide returned before we had finished. We decided that we had constructed something that looked like castle ruins. Mathematical castle ruins The Mathematics: One theme of my career has been to make people say "WOW" when looking at something mathematical. My training is in geometry, so this challenge was right up my alley. By putting mathematical patterns onto castle walls (by simply rolling it into the sand) people would stop to look. Did they learn any math? I don't know. But their experience at the beach was enhanced because of it. And I'd be willing to bet that the three kids that spent the most time looking and asking questions will always remember that day at the beach, because they saw something different. Was it math or was it just cool? Well - Math is just cool.
With this file you will be able to print Math at the Beach with your 3D printer. Click on the button and save the file on your computer to work, edit or customize your design. You can also find more 3D designs for printers on Math at the Beach.