Matter and Form V1 3D Scanner Turntable
prusaprinters
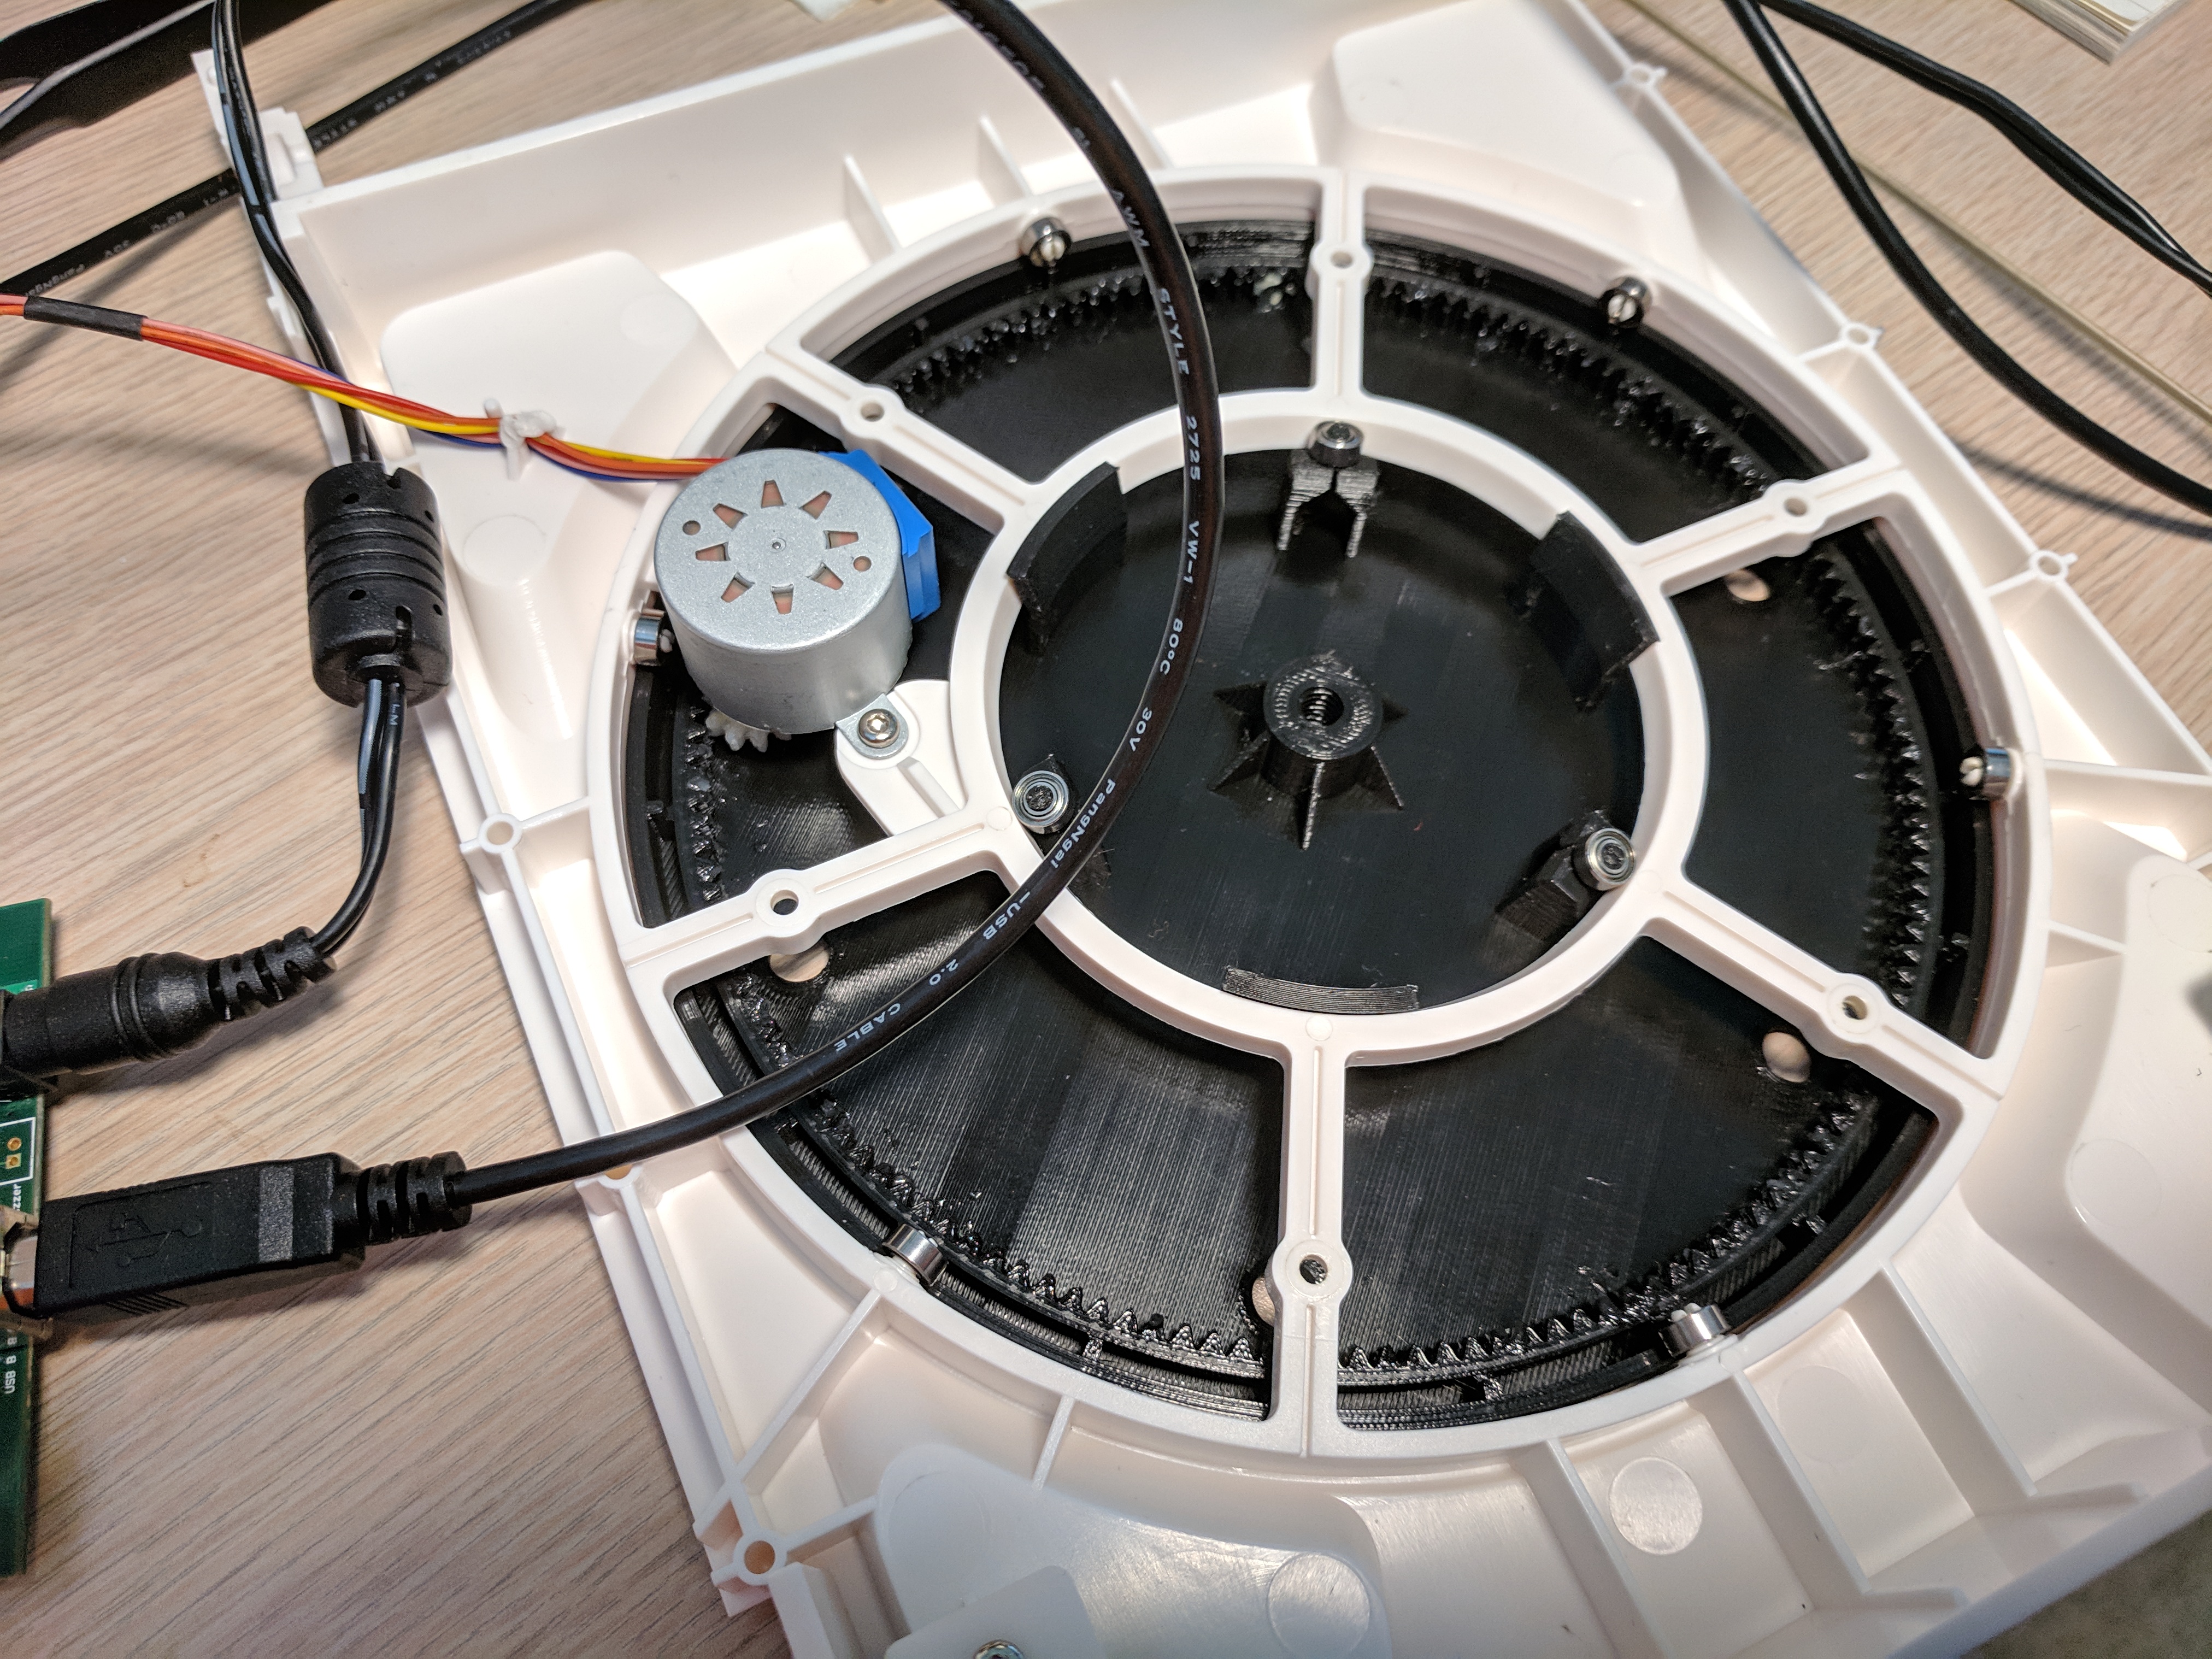
<p>This is a replacement turntable for the Matter and Form V1 3D Scanner.</p> <p>I purchased two of these scanners used and both had issues with the guide bearings. The pins they snap onto had been broken which resulted in the turntable having a silly amount of lateral slop. Not good for scanning.</p> <p>ScannerPlatter-683 is an effort to duplicate the original turntable using the OEM 683 bearings. It's a tricky print in that the pins are very small and delicate so definitely print the 683 bearing test to make sure you get a good print and fit. I used variable layers at the pins making them as small as Slic3R PE would go with a 0.4 nozzle.</p> <p>ScannerPlatter-115 is designed to use a larger bearing (MR115). I've printed this one using 0.2mm layer height for the entire print and it works well. The pins are stronger and print much better so this is the model I recommend if you already have or are willing to purchase a few MR115 bearings. A test model is provided for these bearings as well.</p> <p>I don't know if this turntable will work on the V2 scanner since I don't have one. Please leave a comment if you have the V2 scanner and find it does work.</p> <p>I'd love to see any makes too.</p> <p>Also, below are some quick instructions for removal and installation but I'm not a technical writer so hopefully they're useful.</p> <p>Obligatory disclaimer...<br/> Proceed at your own risk. It's not difficult to take the scanner apart and only<strong><em>reasonable</em></strong> force is required. If you feel you are having to apply a lot of force, stop and think about why. You are responsible if you break it.</p> <h3>Print instructions</h3><h3>Category: Replacement Parts Print Settings</h3> <p><strong>Printer Brand:</strong> Prusa</p> <p><strong>Printer:</strong> <a href="http://amzn.to/2rqZ6Uo">i3 MK3</a></p> <p><strong>Rafts:</strong> No</p> <p><strong>Supports:</strong> No</p> <p><strong>Resolution:</strong> 0.2mm (smaller or variable if printing for 683 bearings)</p> <p><strong>Infill:</strong> 20%</p> <p><strong>Filament:</strong> Hatchbox PLA Black<br/> <strong>Notes:</strong></p> <p>Print with 0.4 nozzle and 3 perimeters.</p> <h3> Removal/installation</h3> <p><strong>Disassembly</strong></p> <p>Note: Plastic pry tools such as those used for automotive trim removal work best for this sort of thing. They can be had for a few bucks online or in any automotive store. Or just print some!</p> <ol> <li>Remove the rubber surface on the turntable and line up the six holes with the screws underneath. Remove these screws with a magnetic screwdriver.</li> </ol> <ol> <li>Remove the three black screws at the rear</li> </ol> <ol> <li>Remove the two screws at the front of the top (just above the Matter and Form label)</li> </ol> <ol> <li>Pry the shell apart from the top near the release button working around to each side. </li> </ol> <ol> <li>Pry around the back bottom where the three black screws were removed.</li> </ol> <ol> <li>Remove the top cover.</li> </ol> <ol> <li>Cut the small zip tie on the wires and carefully disconnect the center plug from the PCB.</li> </ol> <ol> <li>Remove the two hinge screws noting the orientation of the hinge pivot gear thingy. </li> </ol> <ol> <li><p>Pry the bottom half of the scanner from back to front. Remove the side panels.</p> <p>You're in!</p> <ul> <li>To remove the turntable, from the underside carefully work the angled tabs past the guide ring. Be careful to not damage the ring since this is what the bearings ride on.<br/> <strong>New turntable installation</strong></li> </ul> </li> <li><p>Install the new turntable by working the angled tabs past the guide ring while orienting the ring gear so it meshes with the drive gear. Once again be mindful of damage to the ring.</p> </li> </ol> <ol> <li>Install the bearings for the design you used.</li> </ol> <ol> <li>Once the turntable is in position I'd recommend hooking it up to a PC with the Arduino IDE installed. This is so we can test it and work some grease into the gears.</li> </ol> <ol> <li>Temporarily reattach the turntable to the PCB, connect the scanner to your PC and power it up.</li> </ol> <ol> <li><p>Once connected make sure to select the correct board (Arduino Leonardo) in the Arduino IDE.</p> <p>-- A quick shout out to the folks at Matter and Form for providing the following information. They are very helpful and quick to respond. --</p> </li> </ol> <pre><code>* You can send the command xyyy where yyy is the angle of rotation in degrees. A negative angle also works (eg: x-180) </code></pre> <ol> <li>Place a few small dabs of light grease around the perimeter of the ring gear (I used Super Lube) then send some X commands to rotate the table and work the grease in. I did this a few times until I felt there was enough evenly spread around.</li> </ol> <ol> <li>Rotate the table so the holes in the ring supports align to the holes in the turntable.</li> </ol> <ol> <li>Power down the scanner and disconnect from the PC.</li> </ol> <ol> <li>Re-assemble in reverse order. One note about re-assembly is to make sure the wires that pass through the hinge are routed so they do not get pinched or cut. I didn't find this to be a problem but can see where it could easily be overlooked.<br/> Let me know how it works!</li> </ol>
With this file you will be able to print Matter and Form V1 3D Scanner Turntable with your 3D printer. Click on the button and save the file on your computer to work, edit or customize your design. You can also find more 3D designs for printers on Matter and Form V1 3D Scanner Turntable.