Mavic Mini / Mini 2 Case - Minimal - Like a Glove
thingiverse
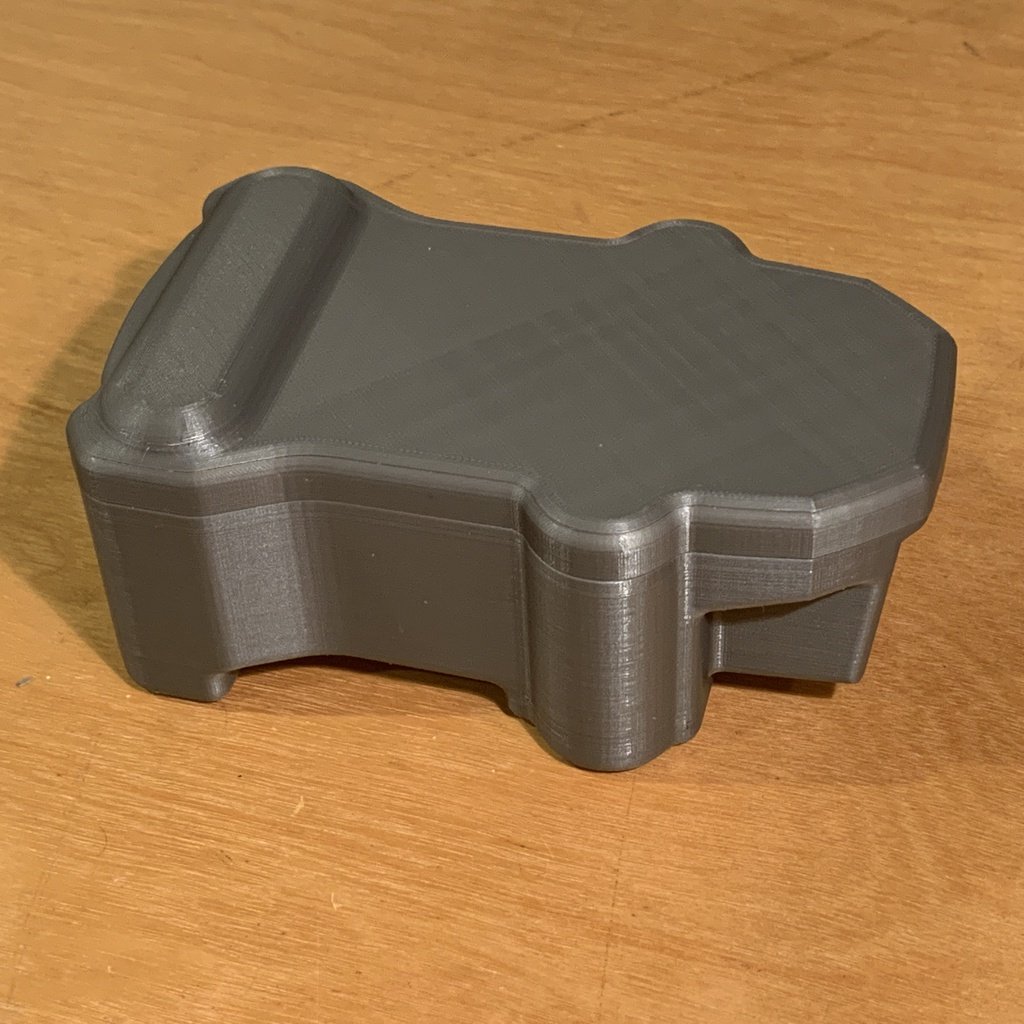
This works identically for the DJI Mini 2. I have both Mini drones and they both fit in this case perfectly, with the Mini 2 being exactly the same size as the original Mini. I wanted a smallest possible hard-shell protective case for just the Mavic Mini by itself. Now when I go hiking with my fanny pack, I can slip this in and it takes up no more space than necessary. Plus, it looks pretty cool. This case truly "fits like a glove." There is virtually no movement inside when you gently shake the closed case. I designed it so that the drone rests on its "belly" surface inside the case. There is no contact with the gimbal protector, and no weight bearing on the rotors underneath. No padding is necessary since nothing moves. To "trap" the lower props, I put the drone on the table upside-down and arrange the bottom props, then lower the case down onto the drone before picking up the whole thing and turning it back over. Then, I arrange the props on top and put the lid into place. The Lid "clicks" lightly on with the protruding tabs. With any degree of care, the tabs should last and last. I take care not to snap them off. Gently pry on the front tab as you gently lift the lid, and the lid will come off nicely. To print the thing, download the two STL files into your slicer and ignore the 3MF file. The next four paragraphs describe why the 3MF file is included. This is optional: When I printed the lid, I didn't want to have to use supports and leave any scars from support removal, so my solution was to "split" the lid halfway through the thickness of the main plate. This is easily accomplished with the "CUT" tool in Prusa Slicer. Just import the lid ("MavicMiniCase_Final_Lid.stl") and flip it over so the outer surface faces down towards the bed. (Just the elevated "dome" will be touching the bed.) Then, cut the lid at an elevation of 5.80, keep both parts, and check the "rotate lower part upwards" option. You can see in the photos how I printed the lid as two separate parts. After the print is done, I use a gel-based "super glue" to glue the lid together. Be careful with the alignment since there are no alignment aids. I included the "pre-sliced" setup I used as a 3MF file in case you have any trouble. This is how I set up the parts in PrusaSlicer for slicing. Note that in this 3MF file, there are also "support blocker" objects at the rear of the BODY and the LID. These look like big "blocks" of unwanted material attached to both the Lid and the Body, but they only appear in the 3MF file ("MavicMineCase_Final.3mf"). These blocks do not appear in the STL files. There is no need for supports on the little "latch" features. So I added these support blocker bodies while I was inside PrusaSlicer to prevent any unwanted supports from getting generated by the slicer around the latches. I don't know what other slicers will do with this support blocker information in this 3MF file, which is why I provided the "clean" STL files for the BODY and the LID. You can totally ignore the 3MF file. I printed the whole thing at 0.10 layer height to get good detail on all the filleted surfaces and give lots of steps on the gently-sloping surfaces underneath. The print took 16.5 hours, which was totally worth it.
With this file you will be able to print Mavic Mini / Mini 2 Case - Minimal - Like a Glove with your 3D printer. Click on the button and save the file on your computer to work, edit or customize your design. You can also find more 3D designs for printers on Mavic Mini / Mini 2 Case - Minimal - Like a Glove.