Meanwell LRS-350-24 90mm Fan shroud upgrade
thingiverse
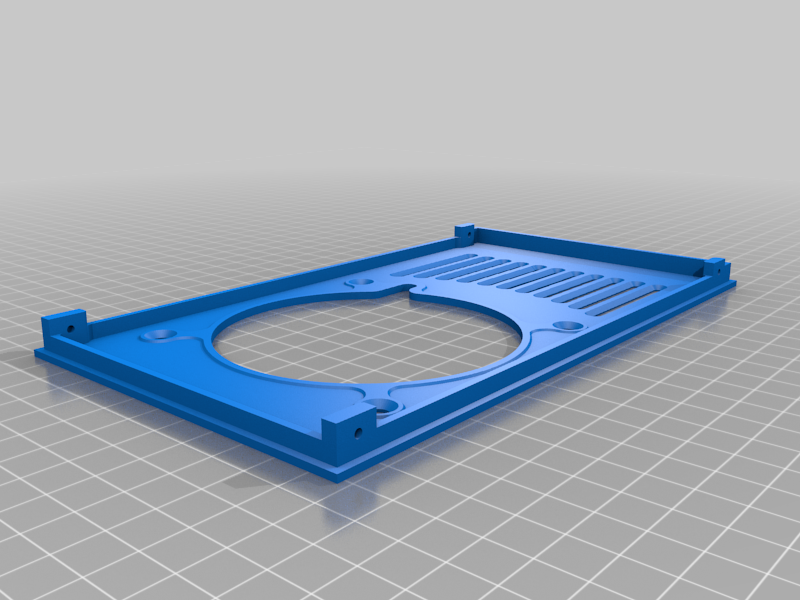
The original PSU that came with my Prusa died prematurely. I did not want to get the replacement PSU through Prusa. I opted for an upgrade instead with better thermal management and components. But as luck would have it, my Meanwell PSU came with an un-excorsised built in fan that screeched when excited. This top plate is for replacing the stock fan with a 90mm case fan. In my case I used a Noctua. Please remember to hold on to the screws that comes with the PSU. They self thread into the printed sides. The fan will have to be soldered/spliced to the connector that comes with the PSU fan. Or if you have blanks you can pin it yourself. The fan guard I've included here is a blank. Please remember to set your slicer to "0" for top and bottom fill layers and go nuts with the infill pattern to get the grill design of your dreams. I went for a honeycomb with 20% infill.
With this file you will be able to print Meanwell LRS-350-24 90mm Fan shroud upgrade with your 3D printer. Click on the button and save the file on your computer to work, edit or customize your design. You can also find more 3D designs for printers on Meanwell LRS-350-24 90mm Fan shroud upgrade.