Measure the Speed of Light With Chocolate!
thingiverse
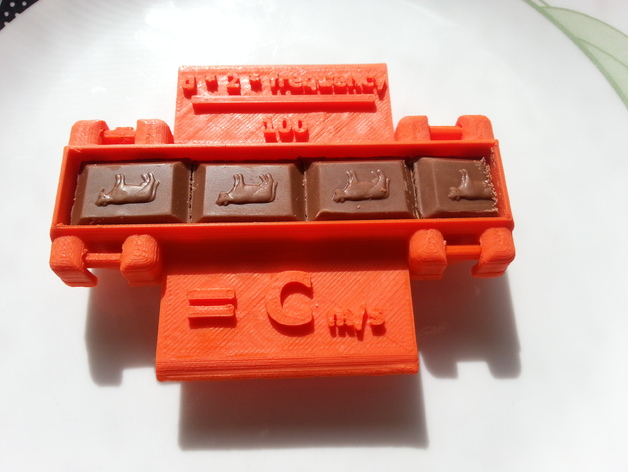
I will not eat the chocolate, thank you. Also I have uploaded a newer design that is more correct. The one shown in the video IS NOT the one I have for download. Sorry for that. https://www.youtube.com/watch?v=AQ_hTT6ndDY Hello! As part of the one day Project challenge I made a simple kit that you can test the speed of light with! I had a lot of fun working on this project and I had more trouble than I'd like to admit, reprinting it many times over. I'm a 16-year-old student from Israel playing for the local robotics FRC team as the head CAD department. Time to design and tinker: 1 hour Time to Print: 9 (a few tries) Clean-up and video making: 2 hours Have a nice day! Print Settings Printer Brand: Printrbot Printer: Simple Black Rafts: Doesn't Matter Supports: No Infill: About 15, does not really matter Post-Printing Legs A few might have a problem putting them on after the first break, a simple solution is to place them up-side-down and topple them inwards. Then flip a plate on it and flip them both back. Chocolate size I made the sides of the container relatively sharp. You could just push them in if you wish. How I Designed This I used Inventor 2016 to design this. Custom Section Project Project Name: Measure the Speed of Light With Chocolate! Overview & Background: You will be able to measure the speed of light with nothing but a microwave and a few pieces of chocolate. Objectives: Mostly to understand how light moves in space and the math behind it. I am sure a teacher could explain this way better than I could, and this could be his tool. Audiences: I think about 11th grade will do. Depends on when the students begin to learn how light behaves. Subjects: Science, Physics Skills Learned (Standards): Understanding of how light behaves in space. Understanding how something as grand as the speed of light can be calculated with simple household items. Lesson/Activity: After printing this all you need to do is break off the legs from the design and put them back together again. After that, you'll want to measure out 10 cm x 1 cm of chocolate to put inside and put it in the microwave (in the included video I showed how to do it correctly) for about 90 seconds. That figure might depend on your microwave. The next step would be to pull out the print (careful, everything will be really hot except the print itself. I learned this the hard way.) and put it in front of a bright wall and measure the distance between the tops of the inverted chocolate droplets. You're going to want to multiply that number by 2 to get the wavelength and divide that by 100 to work with meters (or just divide by 50). Now that you have the wavelength, you need the frequency of your microwave. The standard frequency is 2540MHz, which is also the type I showed in the video. Now multiply the wavelength by the frequency and there you have it! Pretty much the speed of light! Duration: A few minutes, this is not a long or tough project. Just a short and fun experiment Preparation: A 3D printer obviously. A few pieces of chocolate and a microwave. I would recommend bringing gloves along as well. You will also need a calculator and a caliper or another way to measure distance accurately. References: None. Rubric & Assessment: Understand how light behaves in space and its speed and fun. This isn't honestly an assignment to base a grade on, but it's a fun experiment that can teach a student quite a lot. Handouts & Assets: None. Have a nice day!
With this file you will be able to print Measure the Speed of Light With Chocolate! with your 3D printer. Click on the button and save the file on your computer to work, edit or customize your design. You can also find more 3D designs for printers on Measure the Speed of Light With Chocolate!.