Mechanical Dancing Articulated Crab "Crazy Legs"
prusaprinters
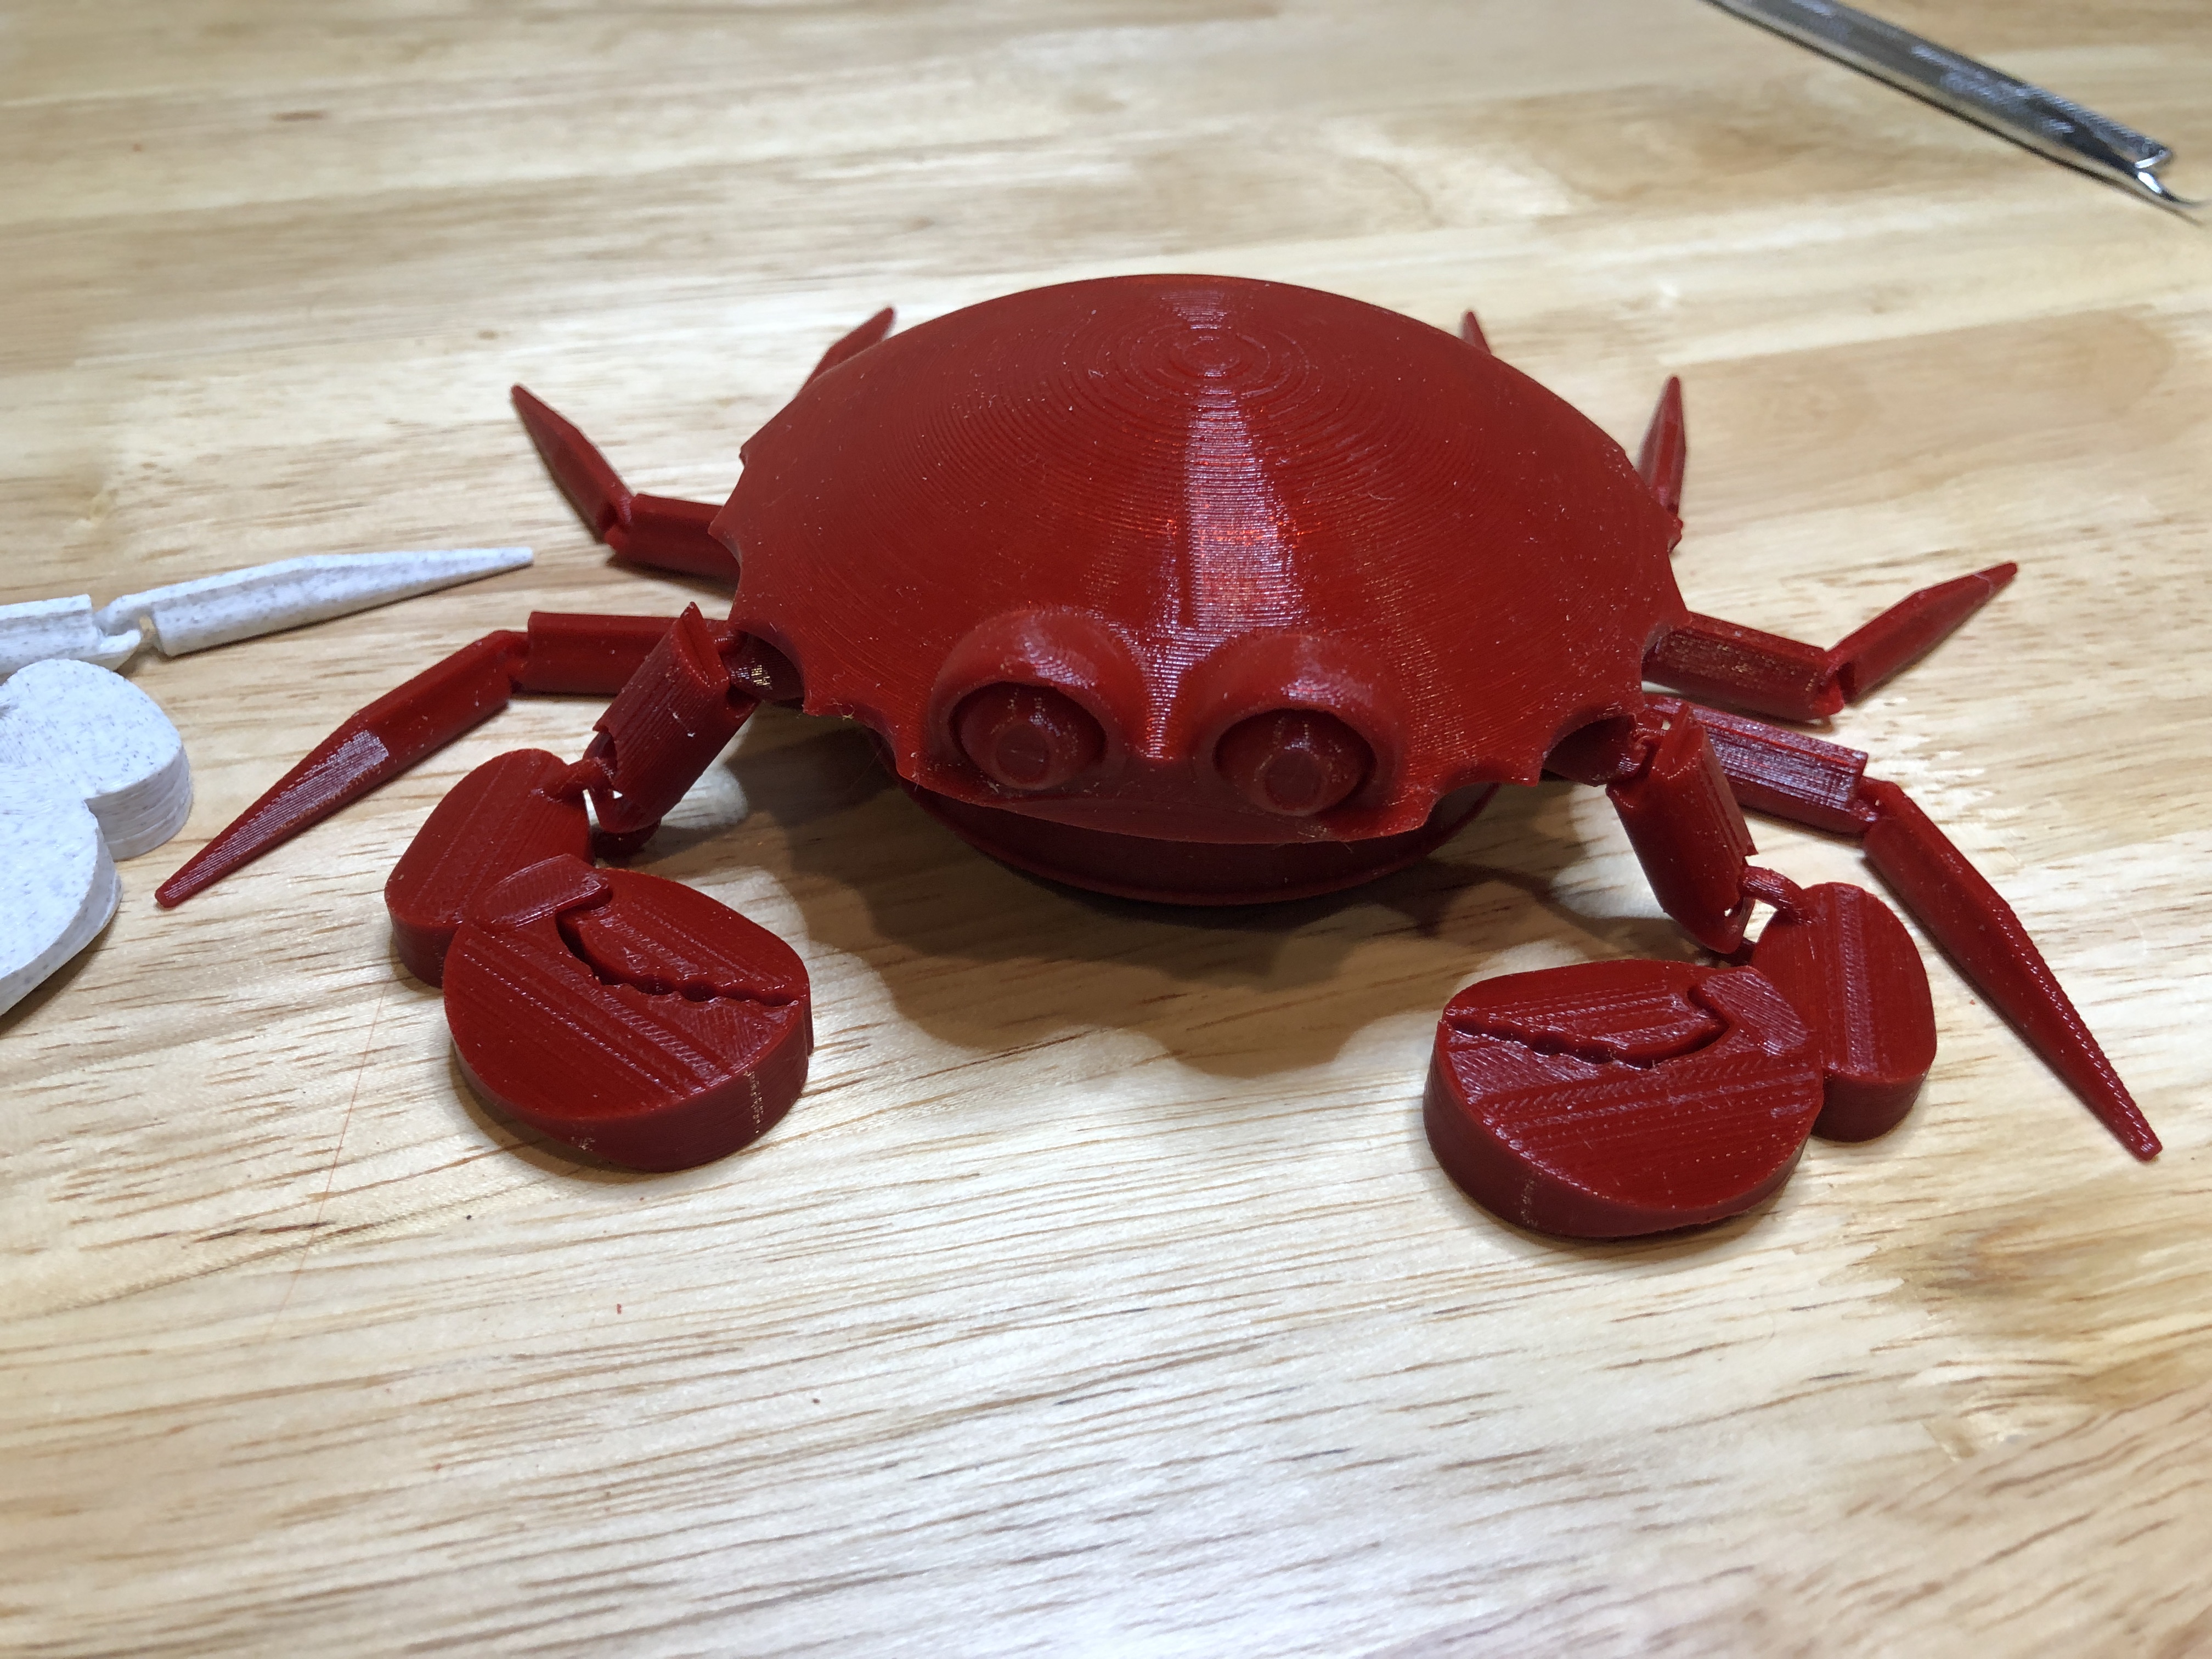
<h3>Edit: revised “ring Lock” clearance</h3><h3><strong>“Crazy Legs” </strong>The Dancing Mechanical Crab</h3><p> This is an articulated Crab that Dances (Moves it's Legs) when you move the lever in the back left and right. This model was harder than my last “mechanical” model. Lot's of patience and filament later whala.</p><h4>Printing</h4><p>SCALE IT DOWN AT YOUR OWN RISK</p><p> I printed this model in PLA with standard 0.2 layer height prusaslicer settings. There is ONE part, the (RingLock) that needs supports (sorry). The included the G-Code file has the support already set up and the 3MF file (for prusaslicer) also has the necessary support included. The STL file needs support on the outer overhang only. Some of the pins I made to snap the pieces together are fragile but they will do the job.</p><h4>Assembly</h4><p> In order for the 8 rear legs to move properly you must follow the directions.</p><figure class="image image_resized" style="width:75%;"><img src="https://media.printables.com/media/prints/294220/rich_content/a7368640-4081-4d90-a82c-737e532c79bb/ba41a980-2958-4c78-ae40-08cf4d504ec4.jpeg#%7B%22uuid%22%3A%22082a40c6-fef1-4f24-af09-7773982faf9a%22%2C%22w%22%3A3024%2C%22h%22%3A4032%7D"></figure><p>Place the “bottom&legs” piece flat on a surface making sure the levers on the inside of the legs are pointed straight up (pictured below)</p><figure class="image image_resized" style="width:75%;"><img src="https://media.printables.com/media/prints/294220/rich_content/142e2007-131d-4708-8814-a18920703226/e7dbd15f-57da-423e-9f88-9f5e6f29c33c.jpeg#%7B%22uuid%22%3A%22a79bf30a-df2e-4572-98ce-bdf905b69a97%22%2C%22w%22%3A3024%2C%22h%22%3A4032%7D"></figure><p>Next, push the “ring” into the groove on the bottom (This will push down on some of the pins)</p><figure class="image image_resized" style="width:75%;"><img src="https://media.printables.com/media/prints/294220/rich_content/e31fffdf-a953-4a49-ace5-f96eff3d4709/f445cbfc-d740-4e45-8fbd-2123a62d99f2.jpeg#%7B%22uuid%22%3A%22d70cd02e-3a36-4209-9607-961cfc0276f8%22%2C%22w%22%3A3024%2C%22h%22%3A4032%7D"></figure><p>Next, insert the “arm drive” and “rear drive” gears in place. The lever on the rear gear should be to the left. Spin it with some downward pressure to make sure it rotates in the slot.</p><figure class="image image_resized" style="width:75%;"><img src="https://media.printables.com/media/prints/294220/rich_content/026bbef7-89a8-483a-8fbc-fae3eb526b9f/56327993-6cf6-450c-a610-f778aa86e8f9.jpeg#%7B%22uuid%22%3A%22fd9f1a6d-78de-4f5b-b960-f4899848cf94%22%2C%22w%22%3A3024%2C%22h%22%3A4032%7D"></figure><p>Now line up the “Ring Lock” over the tabs and push down. depending on your filament choice and printer tolerances, this may be tight which is good because it keeps downward pressure on the ring gear. (Be careful not to press on the fragile pins)</p><figure class="image image_resized" style="width:75%;"><img src="https://media.printables.com/media/prints/294220/rich_content/6f09c673-dc91-40ba-a0ec-edb3e5a9eb07/41cd5441-c7a0-4e4c-bbf9-db7ac1d05e63.jpeg#%7B%22uuid%22%3A%22914fb890-8d89-429d-9d2f-2fac88f208fa%22%2C%22w%22%3A3024%2C%22h%22%3A4032%7D"></figure><p>Slide the lever on the gear back and forth a few times to make sure it moves freely. (the legs will bounce around)</p><p>Take the Arms and move the gears back and forth to free them up. , then put them in the top position as pictured</p><figure class="image"><img src="https://media.printables.com/media/prints/294220/rich_content/148f2356-66c5-44a5-9ca1-edc12d70135f/5528a456-5242-48b0-ace1-224bad6a15e2.jpeg#%7B%22uuid%22%3A%22acfa80ea-523f-4f05-8be3-c92c05d6e42e%22%2C%22w%22%3A3024%2C%22h%22%3A4032%7D"></figure><p>Align the arm holes with the pins on the ring lock and gently snap it in place. You may have to wiggle the rear gear lever to line up the gears.</p><figure class="image"><img src="https://media.printables.com/media/prints/294220/rich_content/8f22e65f-558d-483a-a7f5-d6c00ee1aac3/869cf228-8893-4f68-8b79-c4c21af72e53.jpeg#%7B%22uuid%22%3A%223bcf53b6-605e-4fa4-91c7-eac79fb3b638%22%2C%22w%22%3A3024%2C%22h%22%3A4032%7D"></figure><p>The dome is the last and easiest part. it should line up and snap on.</p><figure class="image"><img src="https://media.printables.com/media/prints/294220/rich_content/a6e94d7c-95b2-47c4-93f7-0998e5004be2/09e1ccb2-4779-4143-95d8-91265bbce578.jpeg#%7B%22uuid%22%3A%2206b9827a-4958-4cee-9236-3ec115a0cd51%22%2C%22w%22%3A3024%2C%22h%22%3A4032%7D"></figure><h4> If you have any problems with this model, please message or comment to let me know so I can try to fix any problems. Hope to see some makes!</h4><p> </p>
With this file you will be able to print Mechanical Dancing Articulated Crab "Crazy Legs" with your 3D printer. Click on the button and save the file on your computer to work, edit or customize your design. You can also find more 3D designs for printers on Mechanical Dancing Articulated Crab "Crazy Legs".