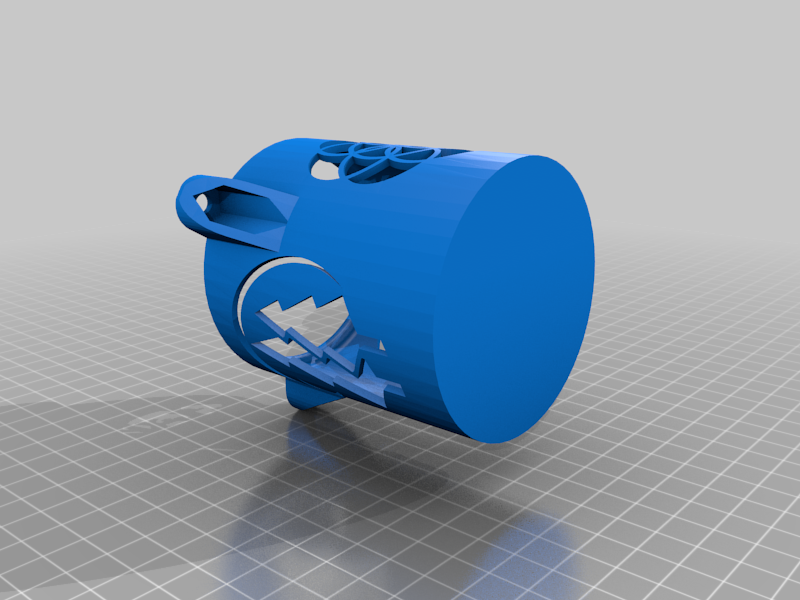
Mechanical Iris Ring Box - no bearings or aluminium rods
thingiverse
I loved the original design of the Iris ring box. However, the bearings and the extra hardware was not exactly something I had lying around, and I ended up abandoning the project for years. However, I have now returned to it and made some changes so it no longer needs much extra hardware. I also made some changes that makes it easier to assemble and keep assembled. Hardware needed: 3x M4x8 bolts, you can use longer but they'll be visible 4x M3x10 bolts, exact length <h1>Changes made and how they impact the model: </h1> <br /> <b>Deeper elevator model added</b> I needed this for a wide, large ring, so I have changed the elevator to fit the wide ring and added a deeper elevator that sinks the ring a bit further down, allowing for larger rings. I suggest using sticky tack to keep the ring in place if you are not using a pressure fitting ring. <b>Aluminium rods > Plastic rods </b> The aluminium rods certainly look better from a finishing standpoint, but there is no reason you can't use printed rods if you don't have 8mm aluminium rods. The aluminium rods have been replaced with printable rods instead. Furthermore, the short rods that move the elevator now are wider outside the elevator to better keep the elevator in place in the elevator slot, and they are a bit longer to keep the elevator from popping out. The long rod is named RailRod or RailRod_short, you need to use the normal one for the regular elevator and short for the deeper elevator <b>The bearings are not needed</b> The bearings were never really needed, and they have been replaced with a printed plastic square that you attach with 2x M3x10 bolts, so 4 bolts and 2 replacers total <b>Blade Actuator taps improved</b> The iris blades attach to the blade actuator - the wheel part you turn to move the iris blades. I have lengthened the taps a little bit to avoid the iris blades falling off. I suggest giving the taps a few hits with a small, light hammer to make them swell out a bit at the top, like a mushroom. This will lock the iris blades in place and make it impossible for them to pop off without breaking something first. I used a flat-face raising hammer for jewellery use, but there's no reason you can't use any hammer, just don't use one too heavy <b>Iris blade taps refined </b> The taps on the iris blades have been lengthened slightly to keep the iris blades from popping out of the grooves in the lid <b>Body changed slightly for easier support removal </b> The body remains largely unchanged, but I did refine the top a bit. The original model had the lip that fits around the elevator slot be a 90 degree angle. I simly added a filet to the underside to make it less of a sharp turn. That section may even be printable without supports, I didn't try
With this file you will be able to print Mechanical Iris Ring Box - no bearings or aluminium rods with your 3D printer. Click on the button and save the file on your computer to work, edit or customize your design. You can also find more 3D designs for printers on Mechanical Iris Ring Box - no bearings or aluminium rods.
