Mechanical Laser Show No-Support Version
prusaprinters
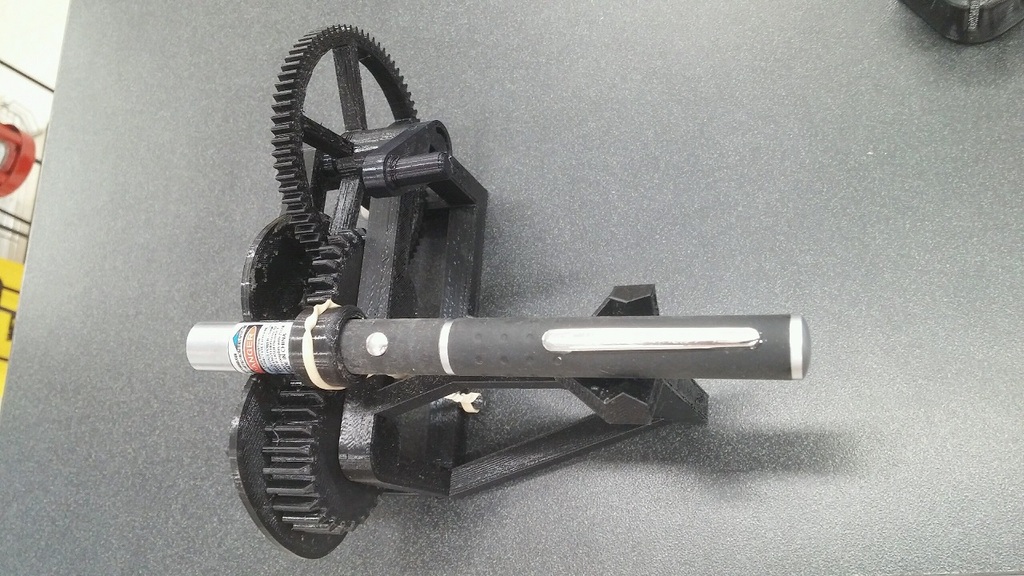
<p>Edit: Both X and Y Cams updated for better tolerance.</p> <p>Edit2: Realized I didn't add a change to the base I had intended. Notches to allow the snap-together crank handle to move freely around.</p> <p>My slicer doesn't do supports and I hate having to clean up after them anyway. So with a bit of creative re-engineering I made everything support-free friendly. One extra advantage is that the separation of the gears and cams means less printing time.</p> <p>Print one of everything plus one extra Bolt.stl (I actually just used 1/4" socket head machine screws.)</p> <p>On the bottom of the Cam(s) pull the extra ring of material free from around the hole.</p> <p>The X and Y gears should fit into the gear-shaped holes on the bottoms of the cams. Your tolerances may vary.</p> <p>Thanks to AdditiveTech for an amazing design!</p> <h3>Print Settings</h3> <p><strong>Printer:</strong></p> <p>Dremel Idea Builder</p> <p class="detail-setting rafts"><strong>Rafts: </strong> <div><p>No</p></div> <p><strong>Supports:</strong></p> <p>No</p> <p class="detail-setting resolution"><strong>Resolution: </strong> <div><p>.2</p></div> <p><strong>Infill:</strong></p> <p>15%</p> <p><br/> <p class="detail-setting notes"><strong>Notes: </strong></p> </p><div><p>Worked in PET-G for this project. Does OK (not great) at 230° which is my printers max temp.<br/> Reprinted X Cams in PLA and it bridged a bit better. <h3>How I Designed This</h3> <p>Used Tinkercad to scale and add/subtract parts.</p> </p></div></p></p> Category: Mechanical Toys
With this file you will be able to print Mechanical Laser Show No-Support Version with your 3D printer. Click on the button and save the file on your computer to work, edit or customize your design. You can also find more 3D designs for printers on Mechanical Laser Show No-Support Version.