MegaTronXY CoreXY
myminifactory
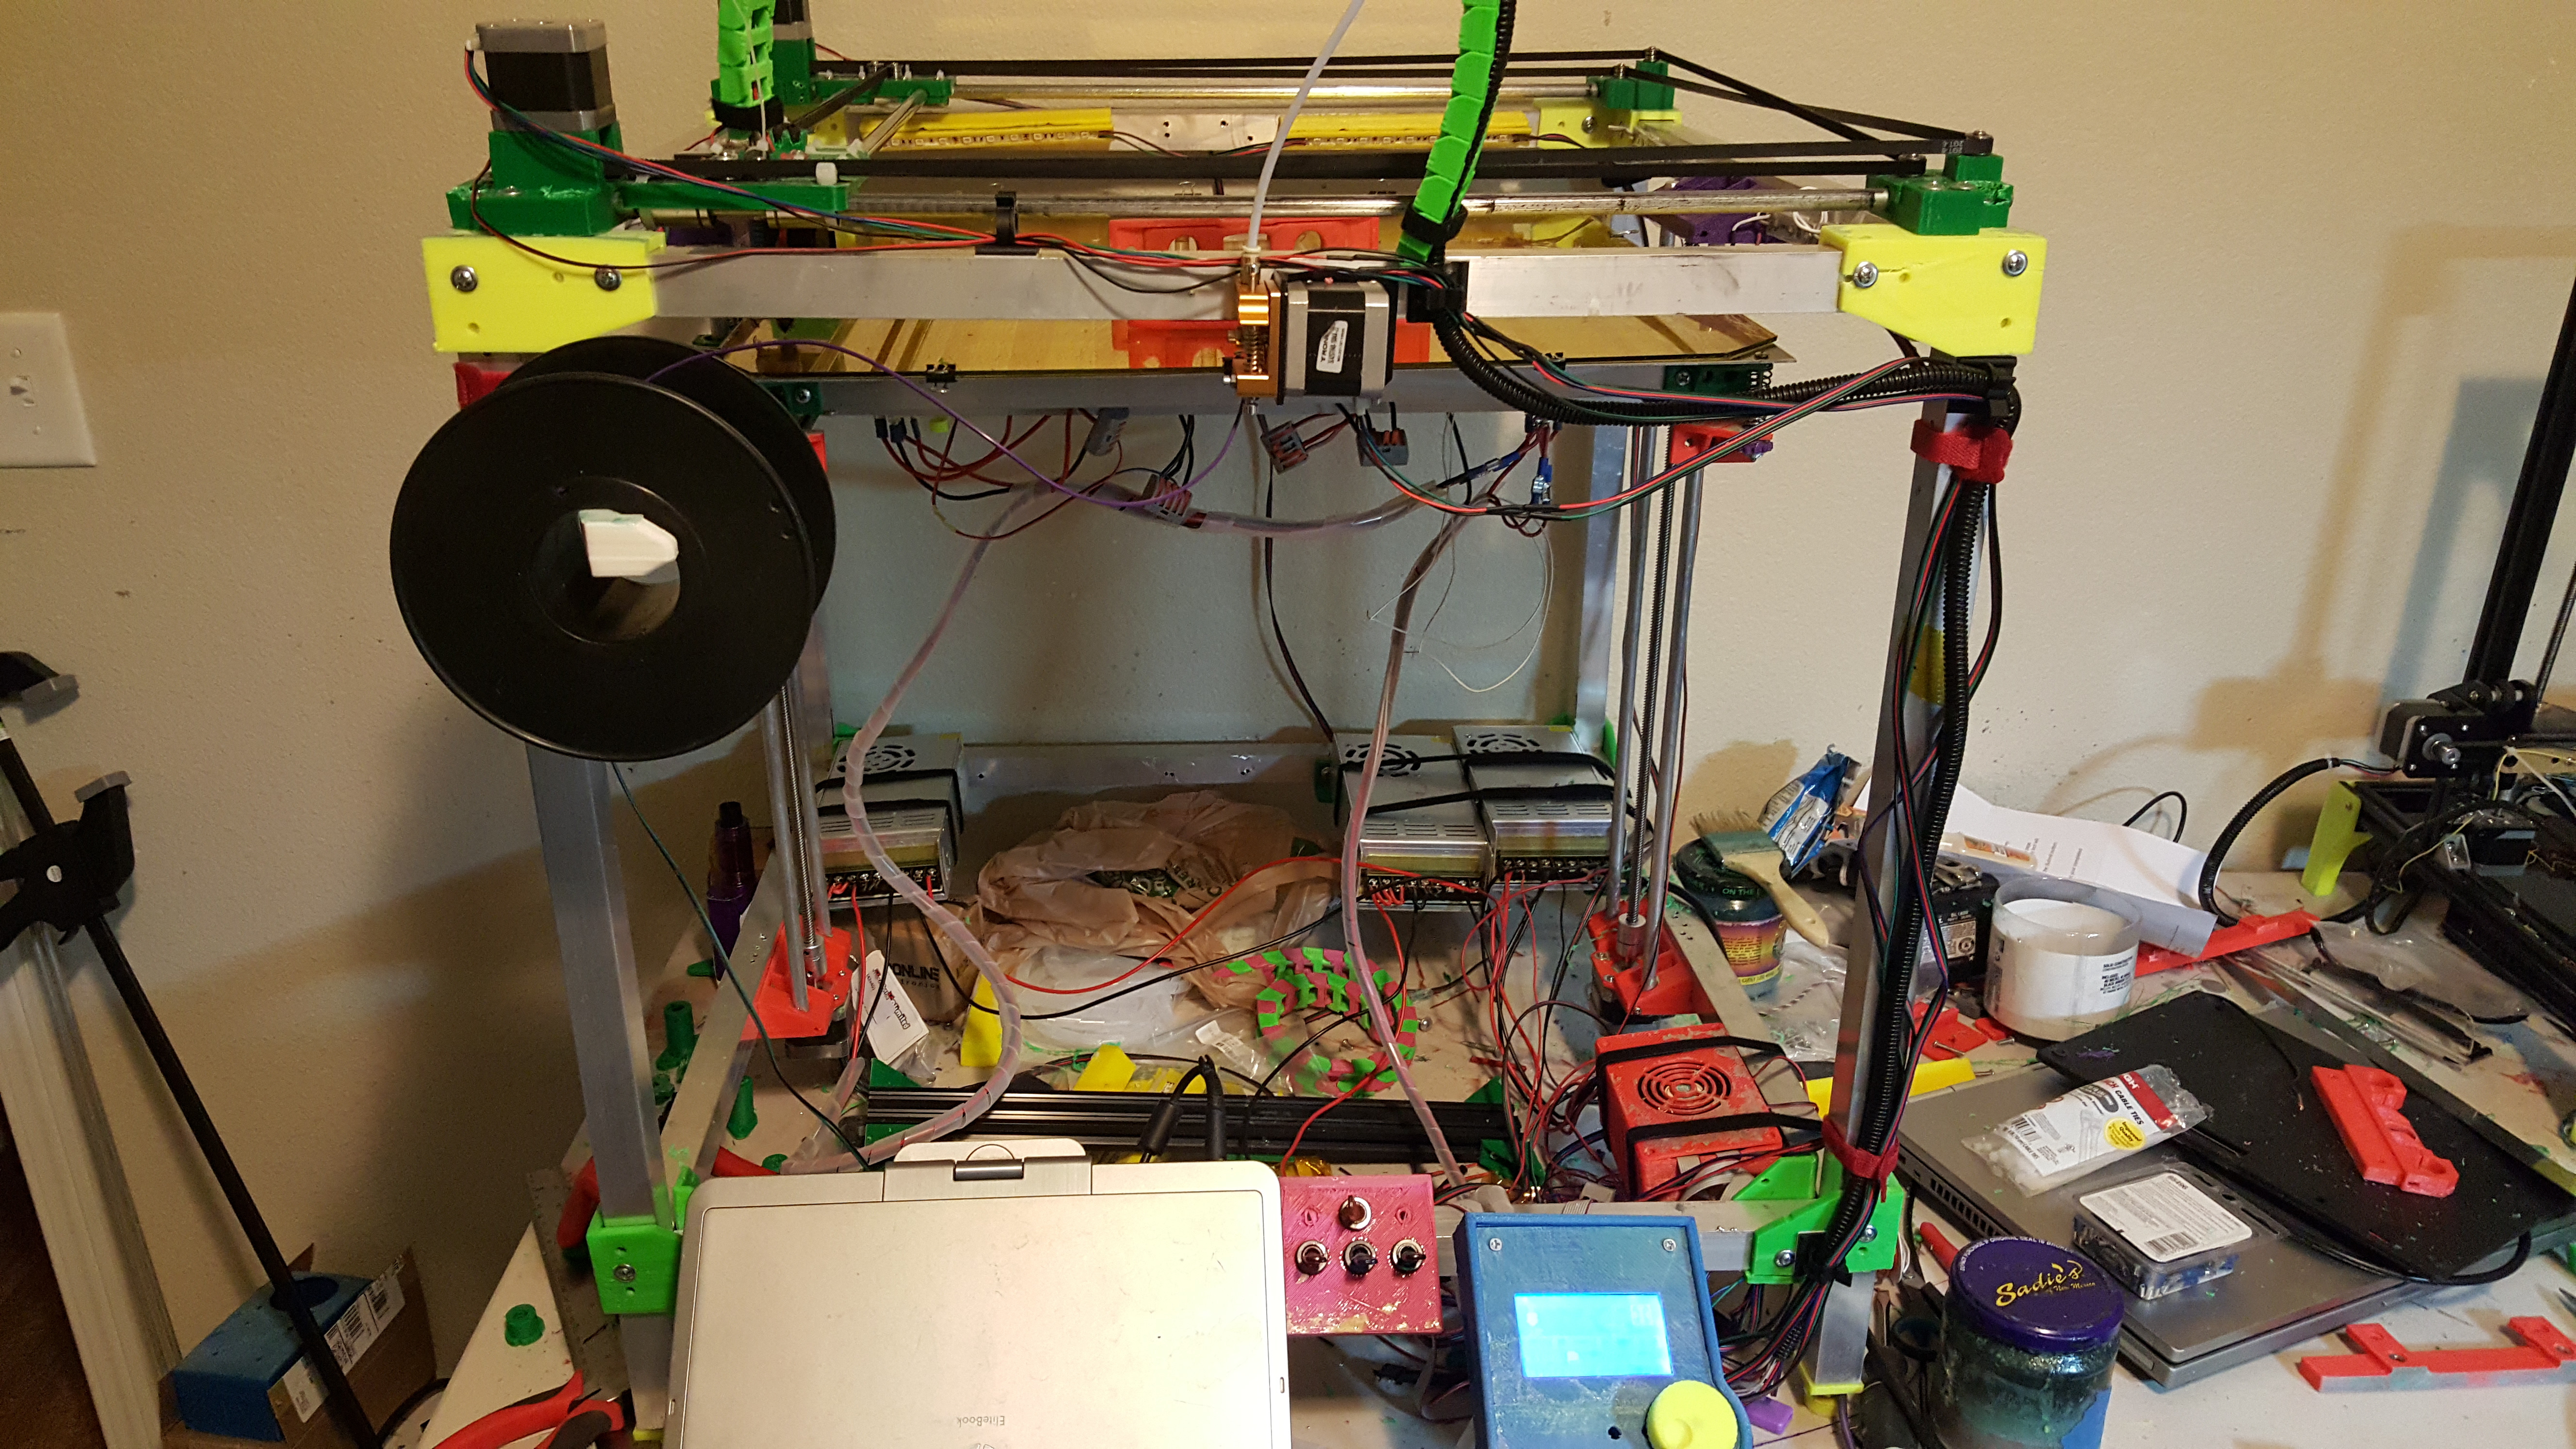
Hello everyone. I have converted my MegaTronXY X1 into a CoreXY Printer. The printing area is 400x450x370 I read all about how fast the corexy printers print so I wanted to take a shot at it. So I tock my MegaTronXY X1 printer frame and I made it into a CoreXY printer. the Ramps full Graphic Display 12864 Case and Mount can be found here https://www.thingiverse.com/thing:1343964 any Ramps1.4 case will work, I just wanted to use the Graphics display from above to make it easy to adjust the screen. I have 3 types of Anti-wobble inserts to add which stop any and all wobble. you can either drill out the Z_stage_carriage_100mm v2 or edit it to have the anti wobble inserted in the carriage platform, I just drilled it out and then glued it in place once I leveled the carriage. This conversion uses the same frame mounts found on my MegaTronXY X1 and parts/supplies from Lowes and Home Depot. This can be built with either 3/4 aluminum square tubing or 1 inch square tubing. the frame mounts are scalable. just resize for 3/4 tubing. You can also use the 3/8 aluminum rods from Home Depot and Lowes, they may be .5 mm's smaller but they work just as well. You can look at my MegaTronXY X1 here https://www.thingiverse.com/thing:2326560 and check out the tubing mounts. and I borrowed the X and Y stepper mounts from here https://www.thingiverse.com/thing:1849704 I've made some changes to the Z axis bed support and there is no wobble what so ever. I've also added level springs and screws to make the bed level. Haven't needed a auto level install since I can adjust the bed. Everything was made from 3/4 square tubing or 1 inch square tubing which you can get at home depot or Lowes. the heatbed consist of 4 120 watt glued on mk heat plates which can be purchased on Ebay or any 3d printer supply store. They were glued on with Fireplace caulk which can also be purchased at home depot or Lowes, the screws were 3/4 and 1 inch self drilling metal screws again purchase at Home Depot or Lowes. This model consist of 3 400 watt power supplies 2 of which are used for the heat bed and connected to the ramps 1.4 board with 12 volt automotive relays which are rated at 60 amps each at 14.4 vdc. the 3rd power supply runs the extruder and motors along with L.E.D. leds to light up the bed. Heating the bed doesn't take very long. The relays have their very own fans to keep them cool. On a side note, The Bed Z Motors are wired together in series to evenly raise and lower the bed. I'll be adding a new Hot end extruder Platform on a later date. This update will allow you to make adjusting the belts on the fly After test printing for more then 12 hours I found out the printed Anti-Wobble inserts failed. So I still use them in conjunction the Brass Lead Screw I was able to keep the anti-wobble working. and printing for another 12 hours the wobble still didn't come in to play at all. So I just drilled out 3/8 hole so I could insert the Brass Lead screw and it worked. Please see Anti-Wobble Brass inset picture.
With this file you will be able to print MegaTronXY CoreXY with your 3D printer. Click on the button and save the file on your computer to work, edit or customize your design. You can also find more 3D designs for printers on MegaTronXY CoreXY.