Mendel 3D printer Z extender, get an extra 40% build height
thingiverse
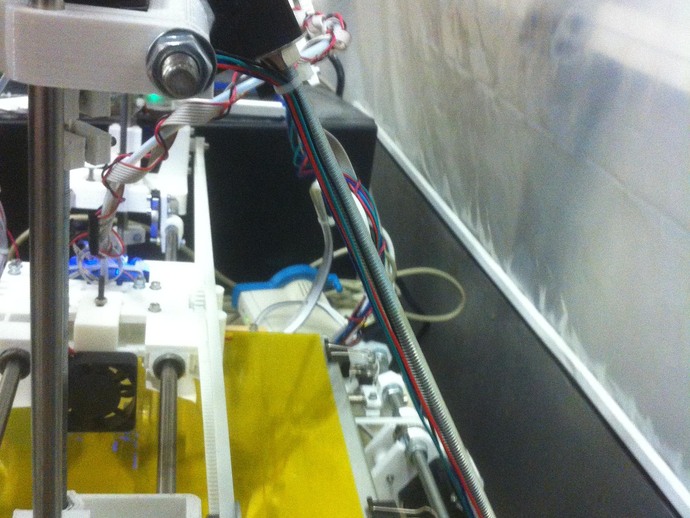
To enhance the Mendel printer's Z-axis travel, consider repositioning the M8 threaded bar to the outside of the frame. This simple modification offers an additional 50mm clearance. Print four extender clips that fit over existing rear plastic brackets and secure them in place with glue. Alternatively, buy a new M8 threaded bar and assemble it on the extenders before replacing the original bars for easy installation. Ensure that the M8 holes allow the threaded bar to be inserted without excessive slack or stress. Only replace the backside supports since the belt issue exists only there. Loosen the extruder mount brackets, attach one extender to each end of the bar with washers and bolts, and snap two extenders over the upper and lower Mendel frame brackets on either side. Finger-tighten the bolts around the loose extender, then use pliers or wrenches to tighten both bolts simultaneously. After ensuring everything is aligned and straight, apply super glue to the inside edges of the extenders and push them back into position. Repeat the process on the opposite side, reattach the extruder to the new M8 bar, and check your increased build height. If desired, further increase Z-axis travel by adjusting the clamps that hold the Z drive motors and trimming excess rubber tube from the threaded bar. This modification increased the build height from 92mm to 130mm on an eight-month-old Mendel printer. Note that newer Mendel models may not benefit from this update due to design changes. Owners of older models might also be interested in a filament cooling fan accessory.
With this file you will be able to print Mendel 3D printer Z extender, get an extra 40% build height with your 3D printer. Click on the button and save the file on your computer to work, edit or customize your design. You can also find more 3D designs for printers on Mendel 3D printer Z extender, get an extra 40% build height.