MendelMax 2.0 RepRap Printable version V2!
thingiverse
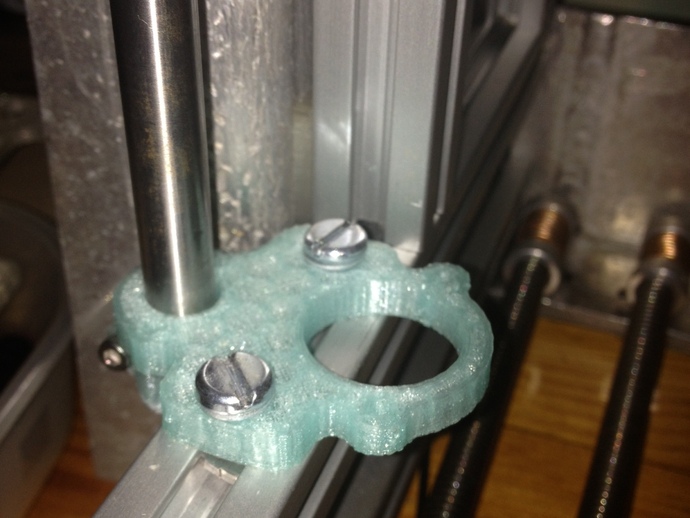
I'm experimenting with the fantastic new MendelMax 2.0 from http://www.makerstoolworks.com/ I've taken the DXF's available here:http://github.com/Makers-Tool-Works/MendelMax-2.0/tree/master/Sources/dxf and Made (and modified) STL's with the intention of taking the MM2.0 back towards being a true RepRap instead of more of a RepStrap. [NOTE: 3mm wasn't sturdy enough for most STLs - 6mm works lovely for the most part, files are now sized and updated to V2.0, Braces have been added where needed as well as a few new files...] These are neither a finished product nor an official release, they are purely here for anyone like myself that wishes to experiment with a 'more printable' version of the MM2... Both the Faceplates and the Y bed plate are oversized for a standard sized print bed (by a large margin, I'm afraid) - but everything else will fit nicely. If (for whatever reason) you have a machine capable of printing these, I would seriously recommend Z scaling all of these to at least 8mm thickness. [EDIT: Printable Y-bed plate now added - not as rigid as Alu, but works well in experimentation - i've yet to see if it warps over time though - be warned!] A few pieces like the electronics mount, and Z motor mounts have been braced and handed for added stability. Still to do are the upper and lower triangles (though they don't seem to need it as yet) I found that the X-carriage and the Idler arm need to be a little thicker and so I've scaled those up to 6mm thickness (like most of the STL's) Furthermore, I've included a modded MM2 Z bushing holder that'll take a 10mm bushing, or LM10UU linear bearing (might need a dab of glue depending on your printer accuracy) Also a 22mm internal Diameter Clamp that i'm using for my round (standard) Delrin nut on the Z axis as it may be of use to someone eventually...Now also included are the files for an X-carriage based on RichRaps Quick-fit type. These files are CC-BY-SA, but be aware that until the MM2 is officially released this may be subject to change at a later date. This is to comply with Maker's Tool Works intentions for licensing, which can be seen here:http://www.mendelmax.com/2012/12/27/announcing-the-new-mendelmax-2-0/"The current plan to do a batch of beta kits to work out any bugs, and then release the sources when version 2.0 is released, probably in Early February. The exact OS license is to be determined, but it will likely be CC-BY-SA." Enjoy - and leave comments or suggestions to further this WIP or just let me know what you think... ;) Instructions Follow the MM2.0 hardware assembly instructions found here:http://www.makerstoolworks.com/support-and-docs/assembly-guides/ substituting your printed parts for the laser-cut versions as you go along! (Dont forget to accomodate for any increased bolt length requirements in the thickened parts) I recommend for a reasonable degree of rigidity, printing these with; AT LEAST 40% infill (pref. honeycomb) AT LEAST 3 shells / perimeters 0.2mm layer height (or less if you can manage it) PLA, Always PLA! (Or indeed another polymer with considerable stiffness- Polycarbonate would be ideal. I'd love to see how effective taulmans Nylon is - if anyone has the inclination to try it, please let me know how it goes!) Y BED ASSEMBLY: Print one of each component, use the central piece on the bottom to help align the Y rail cars and then add the 'arms' on top of that. Bolt firmly, add glass etc and print! Don't forget to report any successes / failures!
With this file you will be able to print MendelMax 2.0 RepRap Printable version V2! with your 3D printer. Click on the button and save the file on your computer to work, edit or customize your design. You can also find more 3D designs for printers on MendelMax 2.0 RepRap Printable version V2!.