Mendelmin 1.0
thingiverse
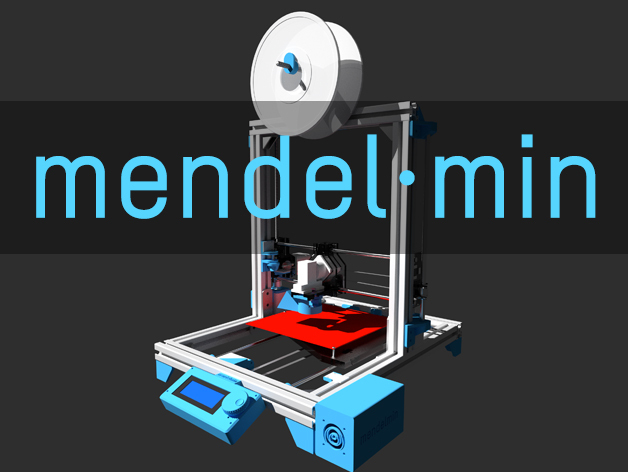
The fully functional Mendelmin 1.0 is a great upgrade for Prusa i2 users with access to a laser cutter. With 230mm of vertical Z height, it's strong and rigid thanks to its aluminum extrusion frame and steel bracing brackets. The printer utilizes a mix of lasercut and 3D printed parts, but the original design's 3D printed components were replaced with laser-cut ones for better precision and strength. Updates include an extruder fan duct, rotated Plastruder assembly, and new RAMPS + Taurino Power case. The X carriage is specifically designed for MakerGear Stepper Plastruder, and the Z smooth rods reduce wobble. Metal brackets improve strength over printed ones. This project is still a work in progress, with plans to create 3D printable versions of laser-cut components, add compatibility for other extruders, and design a webcam mount. Recommended additions include T-slot nuts, a Y plate, fan guards, and a printable dial indicator. Based on dkennell's Aluminum Mendel, this is an impressive upgrade for Prusa i2 users with laser cutting capabilities.
With this file you will be able to print Mendelmin 1.0 with your 3D printer. Click on the button and save the file on your computer to work, edit or customize your design. You can also find more 3D designs for printers on Mendelmin 1.0.