Metal Detector Clone Pi Case and Search Coil
thingiverse
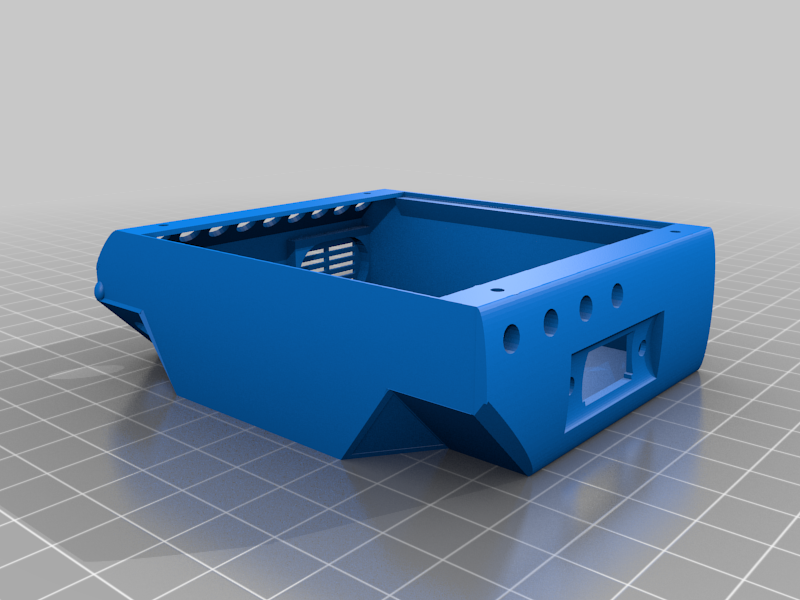
3D printed coil and case for the (slightly modified) Clone_Pi_W metal detector. Design from : http://meandr.org/archives/3900, originally from Andrey F. (fandy.front.ru). Added a potenciometer for volume control, and the 12V battery is replaced by Li-Ion cell plus boost inverter. The inverter is shielded in box made of thin yellow copper plate. The 12V output is clean, no any disturbance to detecting characteristics. PCB : you can find many designs on Internet. Not many would fit in this case. I built the circuit on perfboard. Provided a box design with two end pieces, here the size in the middle is not limited, however you are left on your own to make a "tube" between the two ends. Use 3mm triplex plywood. Battery: 18650 or similar Li-Ion. Consumption is 50-70mA (12V), considering the voltage ratio and the conversion efficiency the result is 200-250mA current on the battery which means 8-10 operational hours. LED row : 8 LEDs on a PCB 7.5mm apart, 2 LEDs above potmeter, all glued in case. Pushbuttons : 6x6 mm switches 10mm apart on perfboard. I left out switch 3 and 5 on the schematics, resulting 4 switch vs. 6. Functions : 1-2 barrier up/down, 4 volume up, 6 clear. I recessed the switches, once set I never touched them again. USB charger : TP4056 PCB, opening on case 3.5x9mm. Search coil, tube : 14 mm outside diameter plastic tube (no aluminium layer !!!) Euroflex 14x2 brand, or 14mm O.D x 11mm I.D Metric Nylon PA12 Tube Natural Flexible Tubing (BS5409 & DIN 73378). Cut 750 mm length, drill 1-1 small hole close to ends. Pull flower wire trough holes and form a circle from the tube with 3-4 cm gap. Pull out the inner wires from 2.5-3 m flexible UTP cable (8 wires), pull it 3 times trough the tube. Tighten the gap to 2 cm, select any wire to begin the coil with, follow the wire to the other end of the circle, cut it to size and solder the next wire to it. Repeat until you get 3x8 = 24 turns. Remove the flower wire, Isolate the turns, solder 50-80 cm cable (5mm coax or shielded USB cable is good) on the two ends, pull the cable trough the 5 mm hole and push the circle into the 3D print. Seal with silicone and mount the bottom with 3x30mm wood screws. The connector is 9 pin D-sub (serial port on PC). The support bars are 10mm glassfiber tent poles glued into supports, held by M2x16 screws and epoxy. This object was made in Tinkercad. Edit it online https://www.tinkercad.com/things/c53rv2qnZqk
With this file you will be able to print Metal Detector Clone Pi Case and Search Coil with your 3D printer. Click on the button and save the file on your computer to work, edit or customize your design. You can also find more 3D designs for printers on Metal Detector Clone Pi Case and Search Coil .