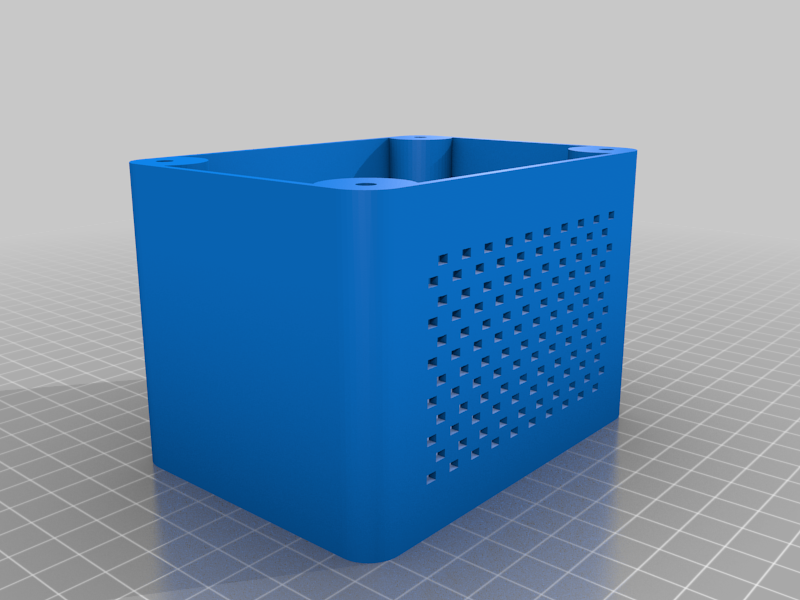
Metal Electro Etching Enclosure
thingiverse
I am a blacksmith and was looking for a better way to mark my projects. I turned to metal etching and watching a youtube video and finding this tutorial https://www.instructables.com/Steel-Etching-and-Marking-from-a-DC-Adapter/. I decided to make one of my own. The video referenced this tutorial but took it a step further and designed and 3d printed a box enclosure for it all to nicely fit in sadly the video doesn't share the printable files and is many years old now. (I asked if the youtuber would share or sell his files but got no response to my comment) So I set about designing my own in fusion360. And this is the end result. What you will need to put the box together 3d Printer and G-code slicer (I printed in PLA with a 20% infil) 4 - M4 X 8 screws 2 - M5 X 20 screws and nut for the post 1 - 6 post 3 position switch (https://www.amazon.com/gp/product/B07HHVFS5V/ref=ppx_yo_dt_b_asin_title_o06_s00?ie=UTF8&psc=1) or comparable 1 finish transformer from the instructables link above Takes about 10 hours to print at 100 print speed and I did a filament change for the text on the lid but not required Last picture is various etching tests with it (sorry the numbers are backwards I forgot to invert them on the stencil) Etch = DC Mark = AC 1. 3 min with old pad dc only 2. 3 min with new pad dc only 3. 2 min with new pad dc only 4. 2 min with new pad dc 1min ac 5. 2 min with new pad dc 2min ac
With this file you will be able to print Metal Electro Etching Enclosure with your 3D printer. Click on the button and save the file on your computer to work, edit or customize your design. You can also find more 3D designs for printers on Metal Electro Etching Enclosure.
