MFT clamp dogs
thingiverse
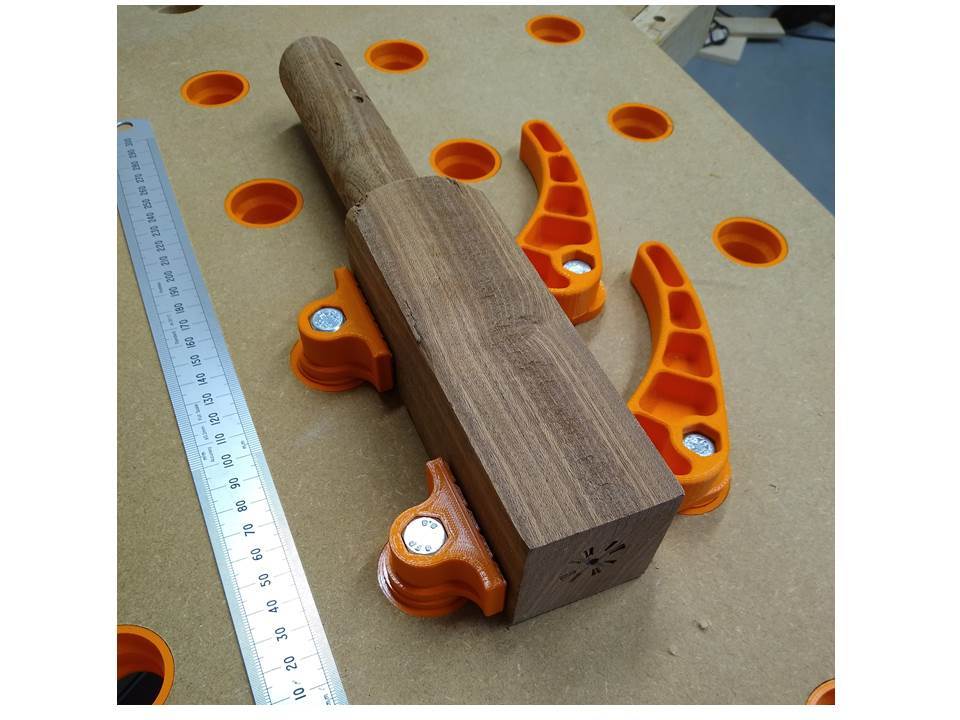
For this build i used 25mm MDF as a base. If thats a bit to thick for your liking you could build parts 03-04 separately and just stop the build at 20mm/15mm. Firstly measure and mark for drilling at equal spacing ( I did mine at 100mm) but think its a personal preference depending on your type of work pieces . Drill larger aperture first (35mm diameter ) to a depth of 10-11mm. Then drill all the way through material with second drill (29mm). I just used a little wood glue and tapped the inserts down with a mallet. depending on print quality they may need a quick fettle to make sure they seat together with the dogs nicely, but not to tight. I've used them a few times and they seem to do the trick, i do use a few pieces of 10mm ply when the spacing isn't ideal so i can crank the cams as far around as possible. I suggest you just print the one set first and check for clearance suitability, hopefully all is well. P.S: I have just added some extra parts, inc. an adjustable dog (3 position) .Cam part with modified tessellated cam so it lock into position a little better, and a corner dog.
With this file you will be able to print MFT clamp dogs with your 3D printer. Click on the button and save the file on your computer to work, edit or customize your design. You can also find more 3D designs for printers on MFT clamp dogs.