Mickey Mouse Switch Plate Frame
prusaprinters
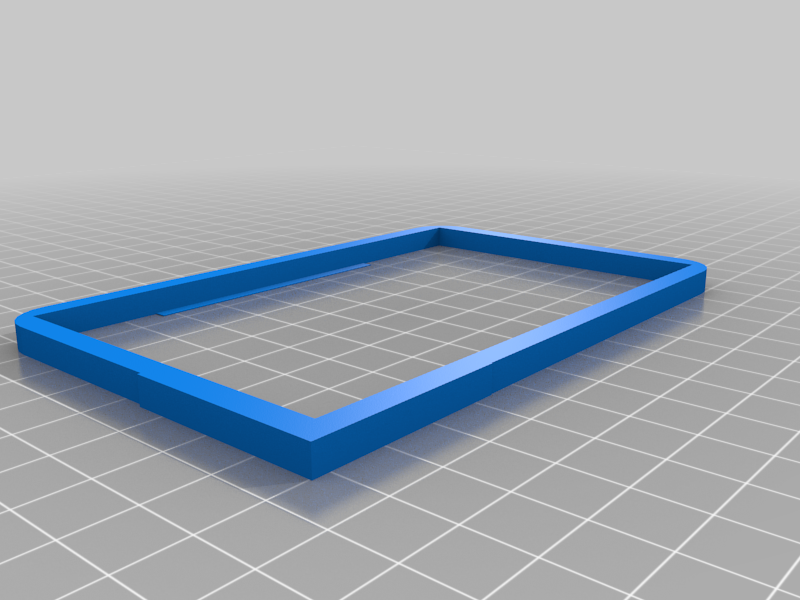
<p>The original was too large for my print bed and not easily customizable for different size switch plates. I separated the frame from the ears, remade the ears so the ears and head are rounder, and added thin tabs to the frame.</p> <p>The frame is 5mm wide so measure the width and height of your switch plate and add 10mm to each dimension. Then resize it in your slicer and print. The added thin tabs will wedge between the switch plate and the wall to hold everything in place. No need to "stick" the frame and ears to the wall.</p> <p>To install, first glue the ears to the frame (the squared off corner. Remove the switch plate, place the frame in place and re-attach the switch plate.</p> <h3>Print Settings</h3> <p><strong>Printer Brand:</strong></p> <p>Creality</p> <p class="detail-setting printer"><strong>Printer: </strong> <div><p>Ender 3 Pro</p></div> <p><strong>Rafts:</strong></p> <p>No</p> <p class="detail-setting supports"><strong>Supports: </strong> <div><p>No</p></div> <p><strong>Resolution:</strong></p> <p>0.2</p> <p class="detail-setting infill"><strong>Infill: </strong> <div><p>10%</p></div> <p><strong>Filament:</strong> Sunlu PLA Black (or whatever color you like)</p> </p></p></p> Category: Decor
With this file you will be able to print Mickey Mouse Switch Plate Frame with your 3D printer. Click on the button and save the file on your computer to work, edit or customize your design. You can also find more 3D designs for printers on Mickey Mouse Switch Plate Frame.