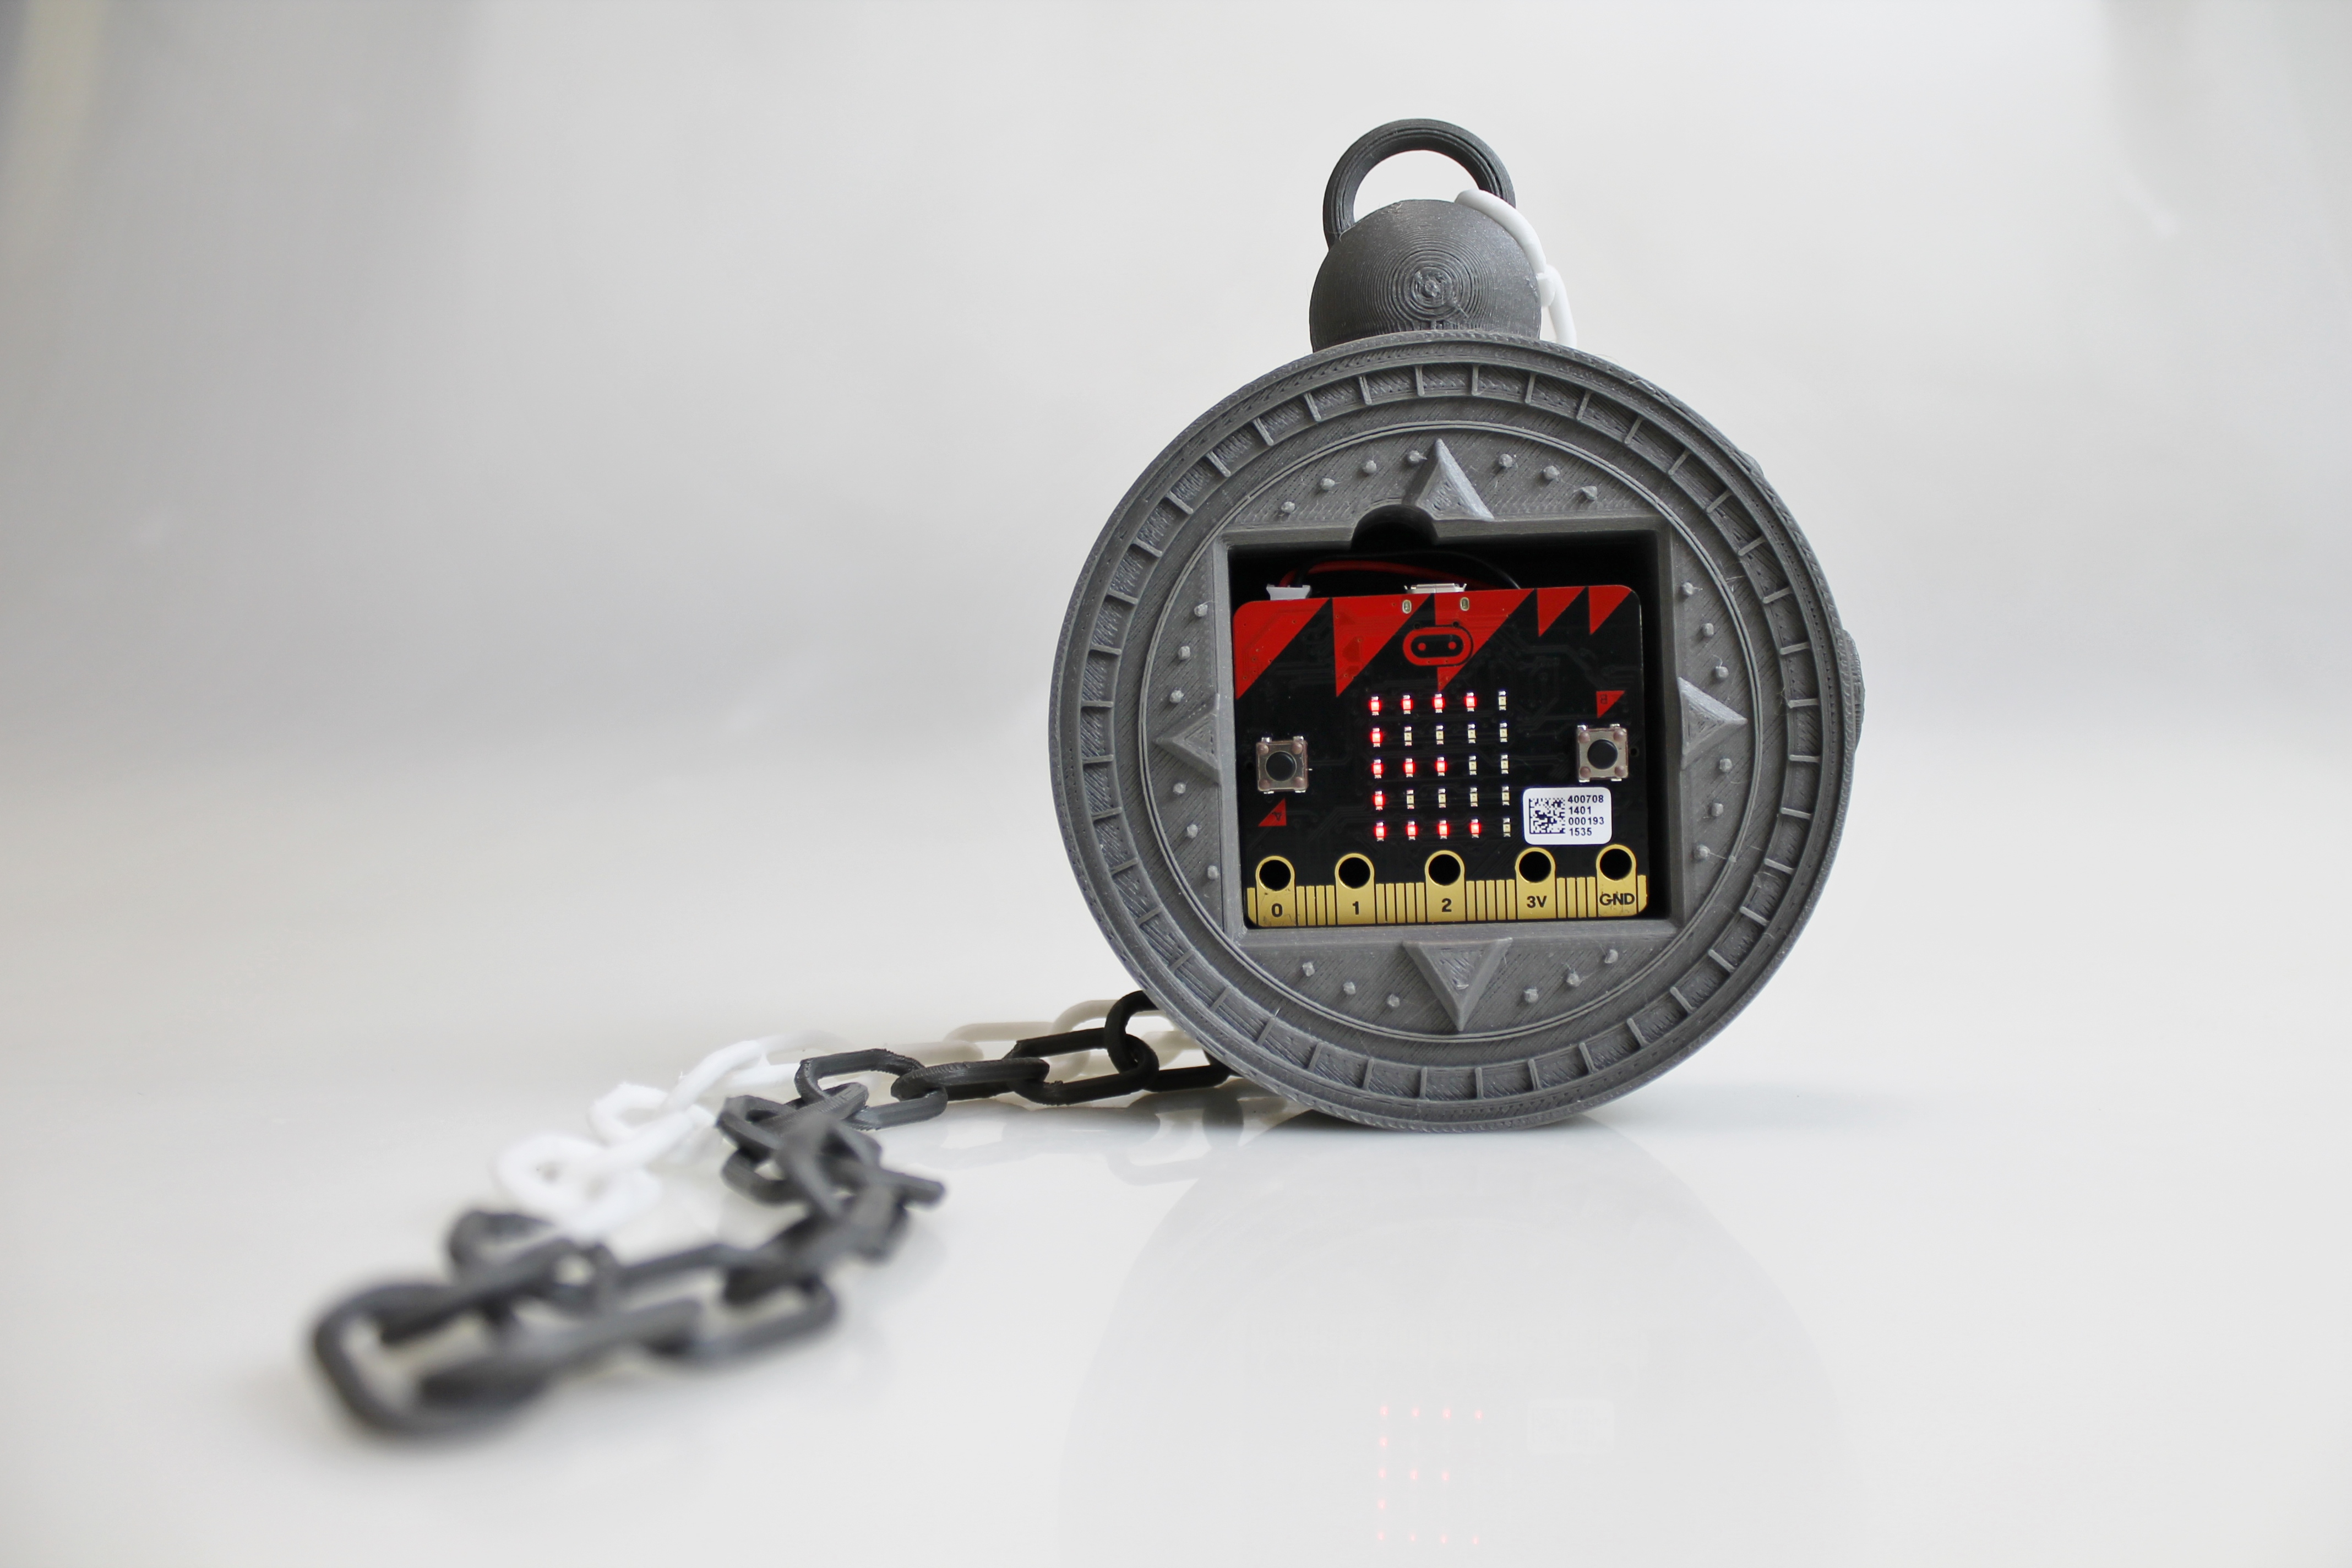
Micro:bit Compass
myminifactory
Micro:bit Compass Tutorial Have you considered using your BBC micro:bit to find your way? Follow these steps and you will undoubtedly impress your friends with this capability by never getting lost again! You Will Need: 1. BBC micro:bit 2. 1 coin cell battery, 3V, plus a coin cell holder 3. 1 3D printer plus filament Step 1: Print the Compass Download the STL file for the compass using the download button on this page. If you want to print a chain, you can download Simone Fontana's one; it's support-free! Next, you will have to slice the parts. This means generating a code representative of your 3D part that your printer will be able to understand. This action is called "slicing" because your printer prints layer by layer and the software needs to calculate the path that the printer's nozzle will follow. Make sure to use the appropriate slicer for your 3D printer, ask your teacher if you need help! Here are the settings for printing your compass: speed at 70 mm/s, 0.2mm layer height, 10% infill, temperature between 200°C and 240°C. Step 2: Flash Your micro:bit You can download the code by clicking on the link below or on the zip file on this page. Click on "Compile" to download the code to your computer. Drag and drop the file into the micro:bit icon on your computer section. BEWARE! Every time you reset the device, you will need to calibrate the compass by moving the micro:bit in a circle. The compass on the micro:bit returns a number between 0 and 360. This value represents the angle between the current position of the micro:bit and North. Enjoy!
With this file you will be able to print Micro:bit Compass with your 3D printer. Click on the button and save the file on your computer to work, edit or customize your design. You can also find more 3D designs for printers on Micro:bit Compass.
