Micro-Jack Fidget Toy
prusaprinters
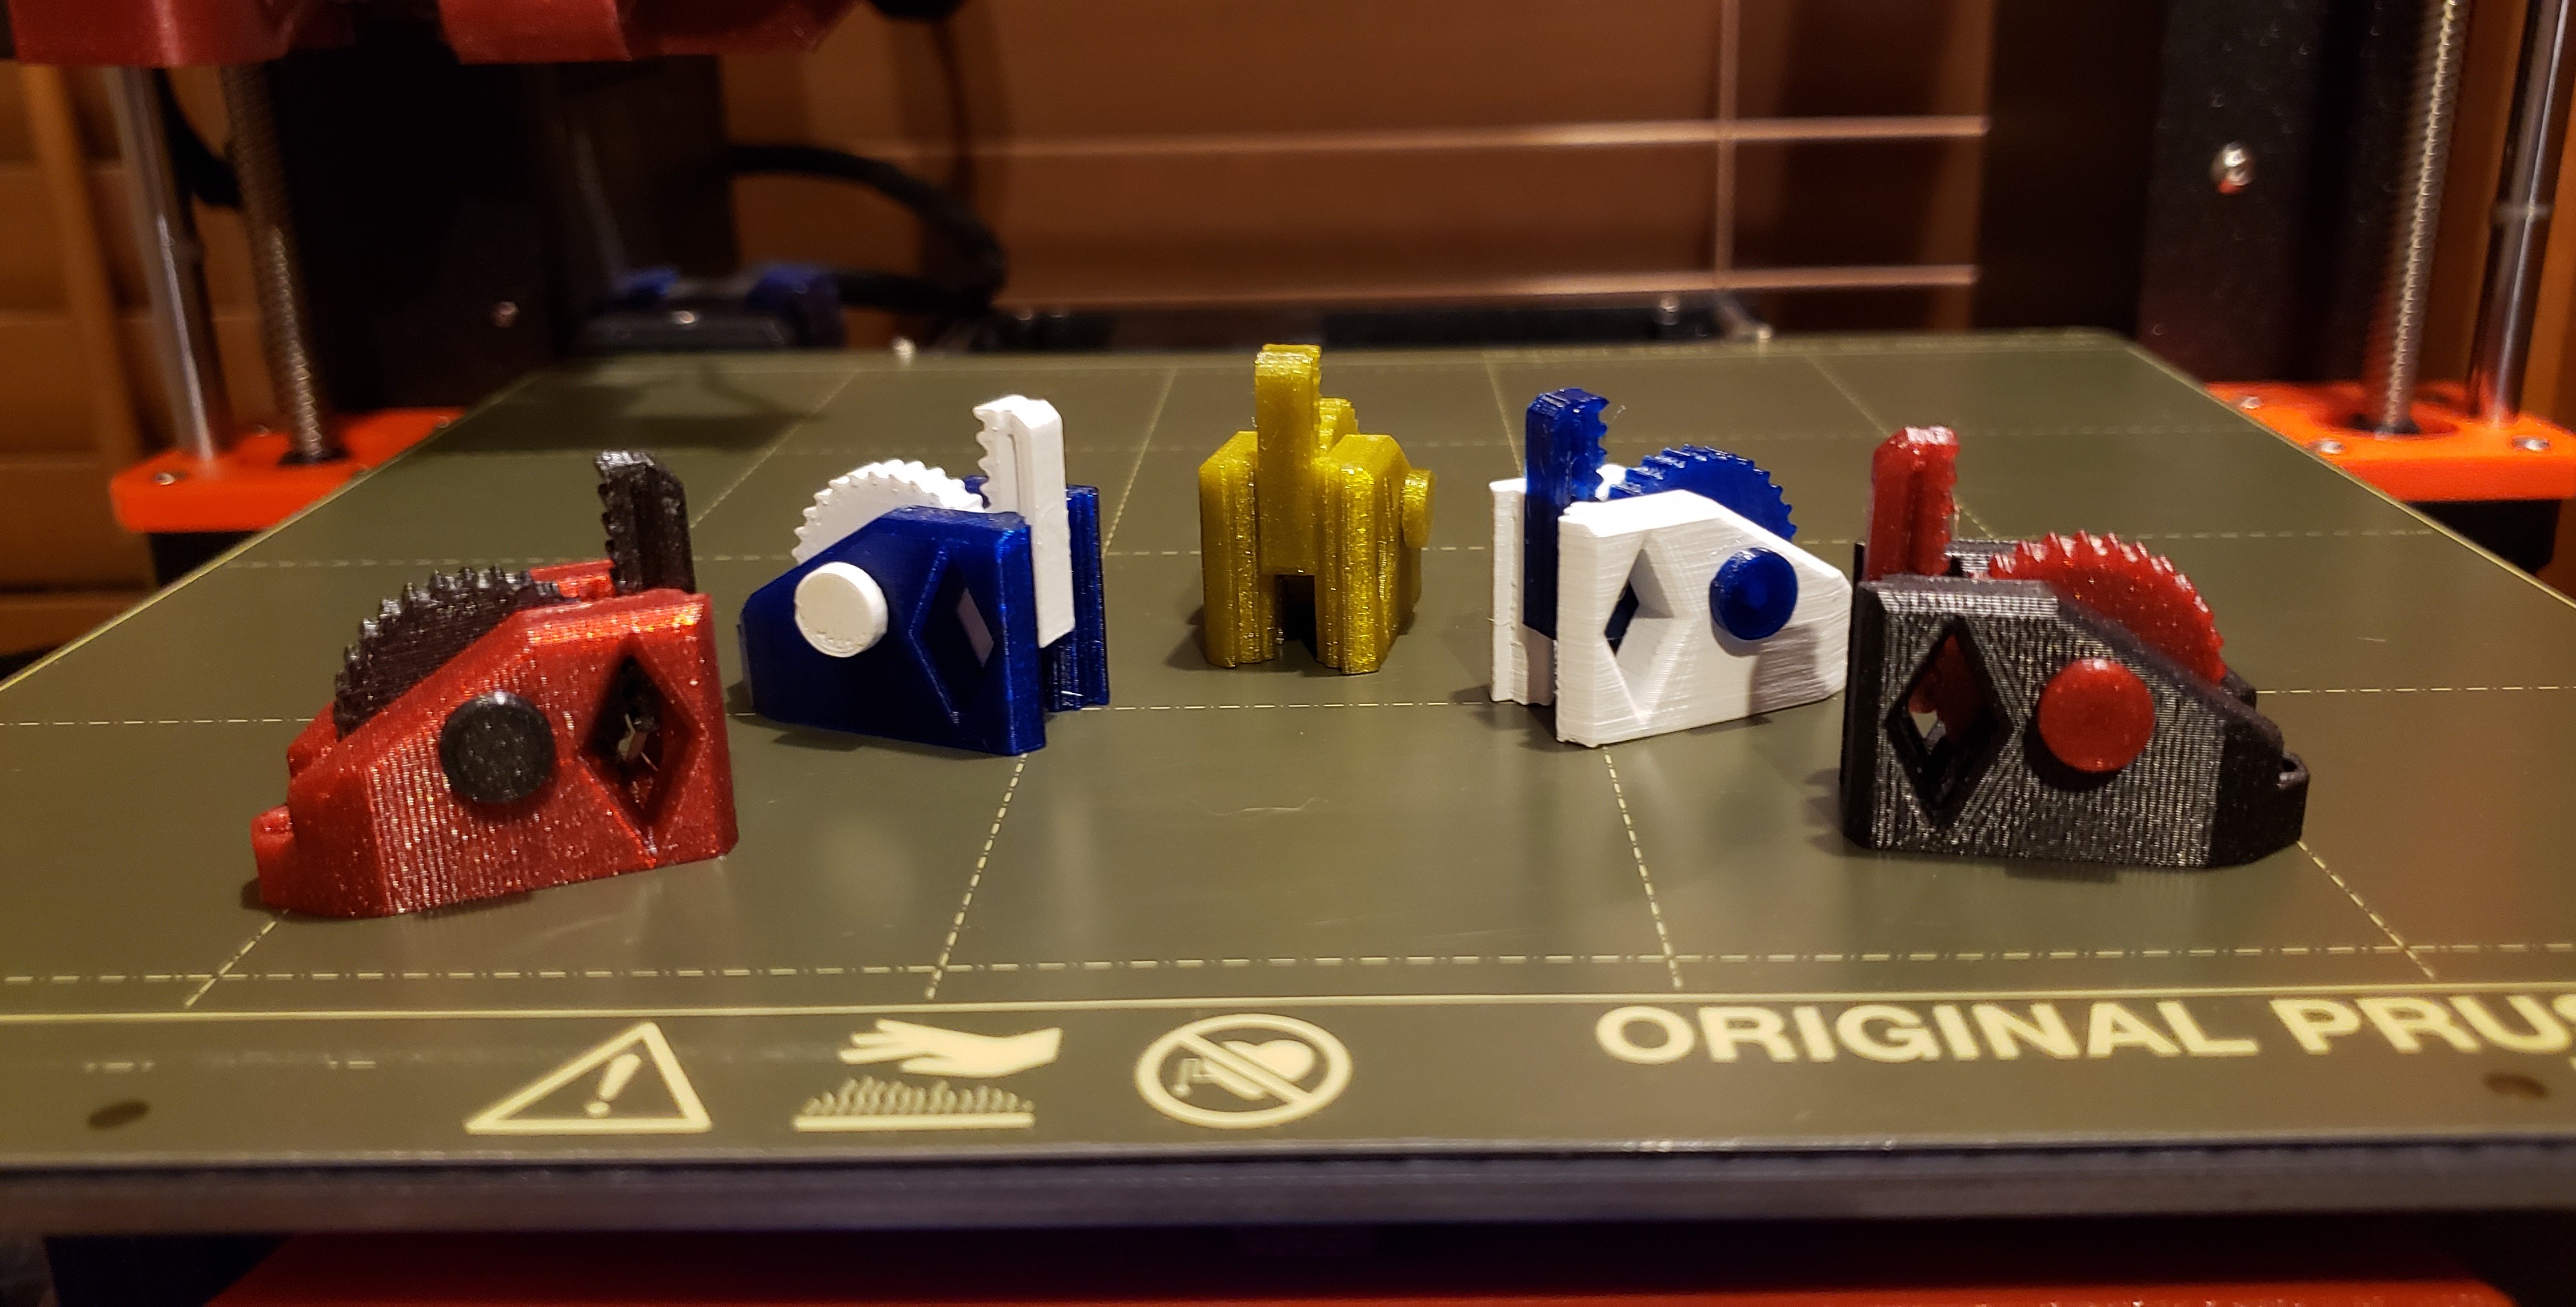
<p><i><strong>Update:</strong> December 1, 2021 – Increased part thickness by the back hole to improve strength. Adjusted where the rail sits to better mesh with the gear. Removed bottom tooth on rail to let the gear free spin. Widened axle cap hole slightly to ease assembly. The included print file has been adjusted accordingly.</i></p><p> </p><p>This neat little gizmo is great for showing off the precision of your 3D printer and is also fun to play with! While it may not be able to lift much, this micro-jack is still a nice set piece and idle toy. The hole in the back allows you to loop this onto your keychain, or elsewhere, if you so desire, and the diamond holes allow you to see the mechanism in action. If your family and friends are somehow not impressed by this tiny lifting device, scale it up so that it becomes a small lifting device. Or, for the truly fearless, you could make it as big as your hand! <i>*gasp* *startled murmurs* *mic drop*</i></p><p><strong>Print Settings</strong></p><ul><li>Nozzle: 0.4mm</li><li>Layer Height – 0.2mm</li><li>Material – PETG, PLA, or other</li><li>Infill – 15% Gyroid</li></ul><p>With all stock settings, this takes just shy of an hour to print on my Mk3s+. It may be even faster on a resin printer, though I don't have one to test it on. Assembly is required, and while glue is not necessary, you may use it if it gives you peace of mind. I used PETG, but PLA and other filaments should work just fine.</p><p><strong>NOTES</strong></p><p>Make sure you print two of the axle caps so that you have one for each side. Be careful when removing parts from the bed, as they are small and can easily be broken or lost.</p><p>If the parts seem stiff at first, repeated use should wear them in over time. If you like this print, or think I should change something, leave a comment!</p><p><strong>Instructions</strong></p><p>Take the Micro-Jack base and insert the gear into the slot. Be sure to line up the holes. The gear will work either way you face it.<img src="https://media.prusaprinters.org/media/prints/88694/rich_content/3e9826d8-1bda-49df-879f-ff5f52c6182c/20211126_192242.jpg#%7B%22uuid%22%3A%22206139cb-6f1f-4430-ac24-835411b94700%22%2C%22w%22%3A4032%2C%22h%22%3A1960%7D"></p><p> </p><p>Insert the axle into the base and push it through the gear. BE GENTLE! There should be little resistance, but the part is small and too much force can break it. It may help to place the base on its side and push the axle down into the gear that way.<img src="https://media.prusaprinters.org/media/prints/88694/rich_content/c835eda6-953a-4177-98ac-d59fe7961bf1/20211126_192321.jpg#%7B%22uuid%22%3A%22ad444762-72d5-4127-a4c7-0d3eeda89b42%22%2C%22w%22%3A4032%2C%22h%22%3A1960%7D"></p><p> </p><p>The axle should stick out a little on either side.</p><figure class="image"><img src="https://media.prusaprinters.org/media/prints/88694/rich_content/a24e8ac6-bc3b-43e0-a0d8-6b7ecf841a7d/20211126_192405.jpg#%7B%22uuid%22%3A%2253590115-95a3-411b-96cc-016bc0263ed4%22%2C%22w%22%3A4032%2C%22h%22%3A1960%7D"></figure><p> </p><p>Take the rail and insert it through the top of the front groove. Make sure the teeth are facing the gear and that the side with the angle is on top. DO NOT PRY THE BASE APART! There is enough flex in the base for you to push the rail past the two little nubs. The purpose of these nubs is to keep the rail from falling out. </p><figure class="image"><img src="https://media.prusaprinters.org/media/prints/88694/rich_content/994016c1-eb6e-49fc-9b5c-1b1761fd85ca/20211126_192846.jpg#%7B%22uuid%22%3A%225f3cd4fb-9eb8-411d-890f-c0479a171492%22%2C%22w%22%3A4032%2C%22h%22%3A1960%7D"></figure><p> </p><p>Take the two axle caps and place them on the ends of the axle. There will be resistance, but they should snap on with an audible click. I did it without breaking it, but if you so choose you may trim the axle ends a little and use a dab of glue to hold the caps on.</p><figure class="image"><img src="https://media.prusaprinters.org/media/prints/88694/rich_content/7e44a235-51b4-42ce-9fc0-c14294e91a87/20211126_192941.jpg#%7B%22uuid%22%3A%222d72f769-8aa0-4f3a-b0c1-63a81075b4ac%22%2C%22w%22%3A4032%2C%22h%22%3A1960%7D"></figure><p> </p><p>Congratulations! You now have a fully functioning Micro-Jack fidget toy and may fidget to your heart's content!</p><figure class="image"><img src="https://media.prusaprinters.org/media/prints/88694/rich_content/65a08e2c-8bd4-4eaa-8509-00d5b0909e54/20211126_193035.jpg#%7B%22uuid%22%3A%22a2c32461-369a-44d0-ae5a-f554398d0898%22%2C%22w%22%3A4032%2C%22h%22%3A1960%7D"></figure><figure class="image"><img></figure><figure class="image"><img></figure>
With this file you will be able to print Micro-Jack Fidget Toy with your 3D printer. Click on the button and save the file on your computer to work, edit or customize your design. You can also find more 3D designs for printers on Micro-Jack Fidget Toy.