Mike In the Box
thingiverse
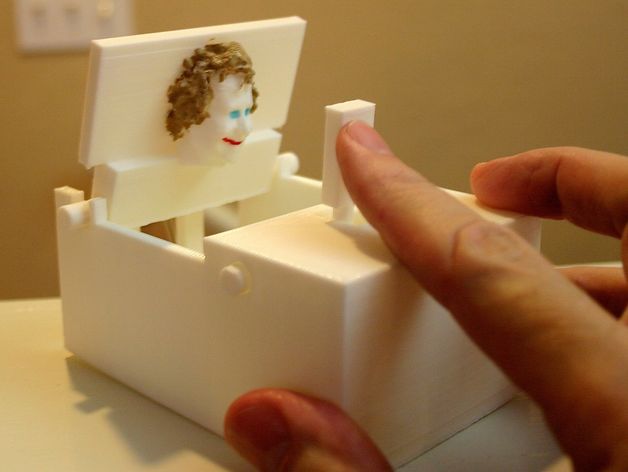
Push the button and up pops a head.http://youtu.be/S_FOx1pVxRw If you want to use something other than Mike's head, look at part B of the instructions. Instructions Print the base, rod, mikeinbox lid and lever. Use supports on the lid. Paint the head on the lid. Push the rod through the hole in the base. Drop the lever through the hole in the rod. Glue the lever and rod together (or touch melt them together with a soldering iron). Run fishing line through the hole in the bottom of the lever. Run this line around the rod in the base and tie it through the hole in the lid. PART B To use a head other than Mike's, you will need a STL file of the head or object you wish to merge with the lid. I used a 3D Systems Sense scanner to scan my head. AutoDesk has free software (Catch) that can be used with a camera (or certain phones and pads) to create a 3D file of an object. After you have acquired the STL file of a head, open TinkerCad.com. Import the "most useless lid.stl" file at 100% size. Move the lid down below the grid in TinkerCad. Import the stl file of your head. You will probably have to import your head file at a reduced size (I'm assuming you have a big head) to fit the lid. Move the lid and head files around in TinkerCad until they look right. Shift/select both files, then use the "Combine" command. Save the combined file as an stl from Tinkercad, then use that as your lid.
With this file you will be able to print Mike In the Box with your 3D printer. Click on the button and save the file on your computer to work, edit or customize your design. You can also find more 3D designs for printers on Mike In the Box.