Millright Mega V tramming collar
prusaprinters
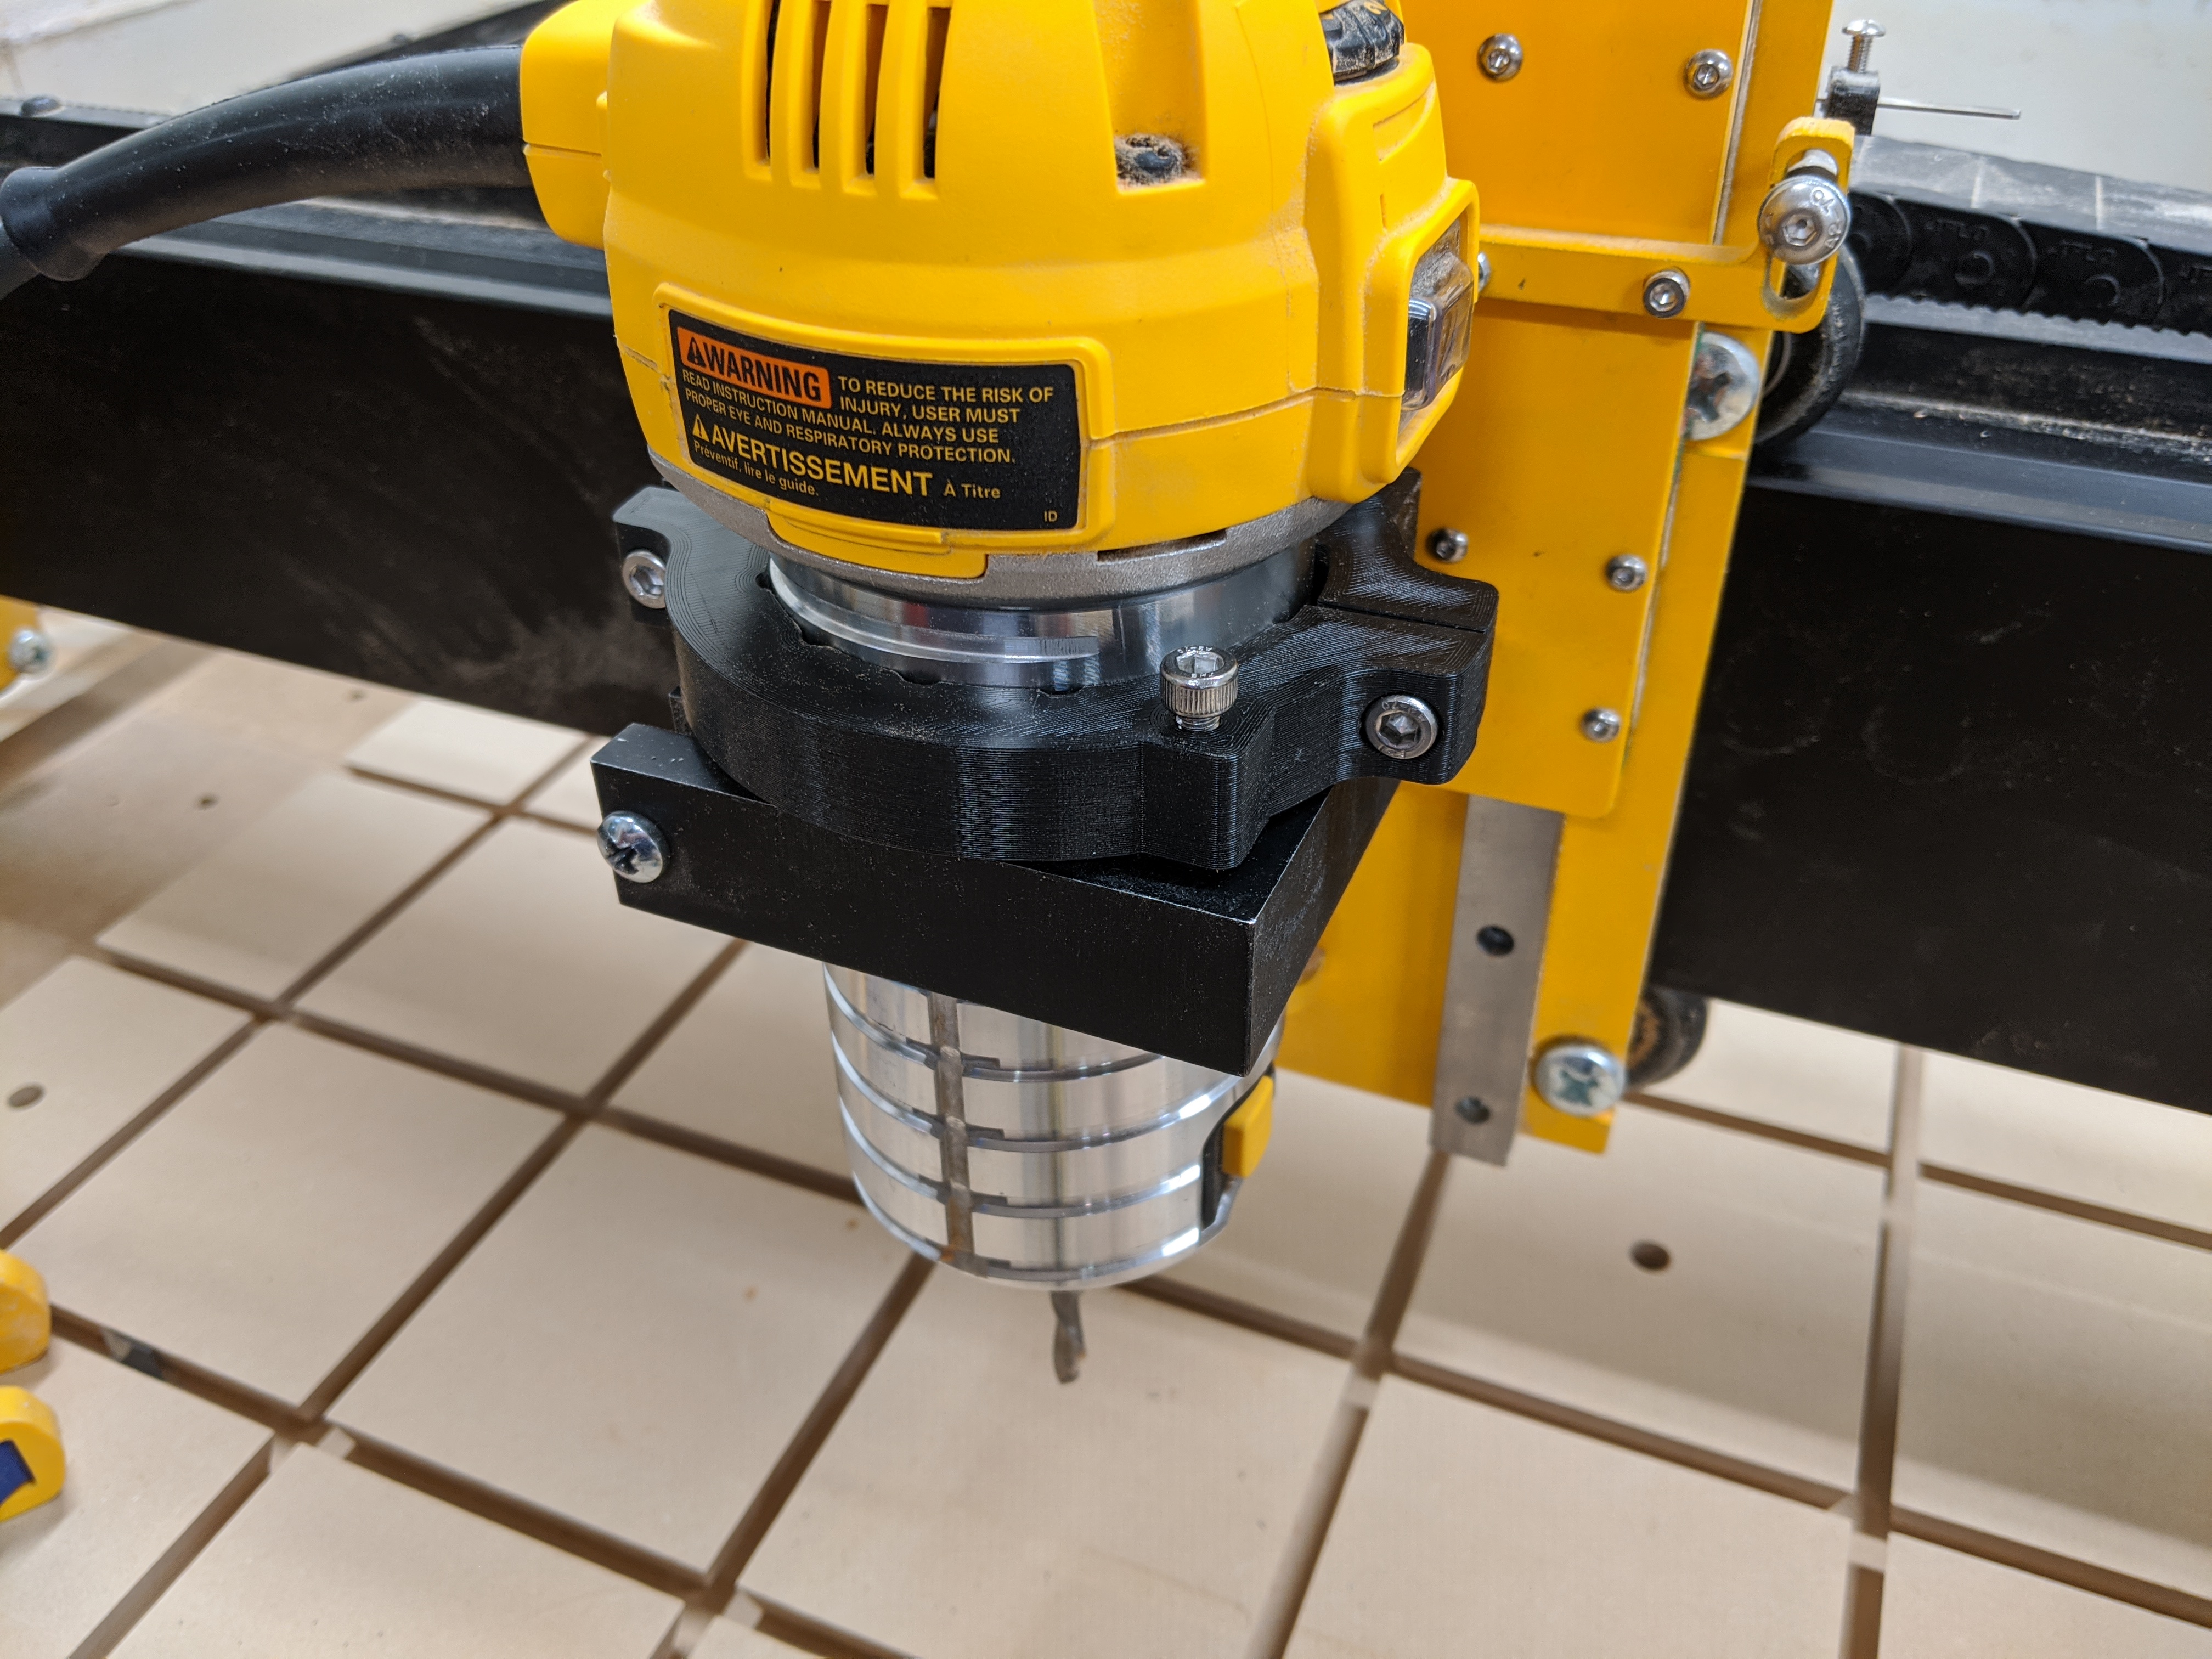
<p>A collar with two screws to help with adjustments while tramming the router.</p> <h3>Print instructions</h3><p><strong>Note:</strong></p> <p>I have abandoned this collar, and the stock router mount. It's here if you need it, but I'm not recommending it :)</p> <p><strong>Instructions:</strong></p> <p>If your router mount screw is on the right when facing the machine, mirror this clamp before printing.</p> <p>I printed at 0.3mm, 40% infill, 6 perimeters, 5 top and bottom layers.</p> <p><strong>Hardware:</strong></p> <ul> <li>2 m5x20 screws and nuts to hold the clamp on (but 22 or 24mm might be better).</li> <li>2 m5x20 screws and nuts for height adjustment</li> <li>1 m3x4 screw upside down in the hole in the bottom, to act as a pivot point.</li> </ul> <p><strong>Install</strong></p> <p>Remove router from router mount, slide clamp on, put router back in router mount.</p> <p><strong>Usage</strong></p> <p>When tramming, loosen the router mount slightly so that the router can move a little bit. Tighten this collar down snug.</p> <p>While maintaining downward pressure on the collar, so that stays resting on all threes screws:</p> <ol> <li>Check your tram</li> <li>Adjust one of the screws</li> <li>Repeat 1 and 2 until good enough</li> <li>Tighten router mount while keeping pressure on the collar.</li> </ol> <p>You may want to loosen the collar when you're done. I'm not sure how long this part will last under tension with PLA.</p>
With this file you will be able to print Millright Mega V tramming collar with your 3D printer. Click on the button and save the file on your computer to work, edit or customize your design. You can also find more 3D designs for printers on Millright Mega V tramming collar.