MINGDA D2 Cura 4.8+ Profiles & Definition Files by cataclism3d
thingiverse
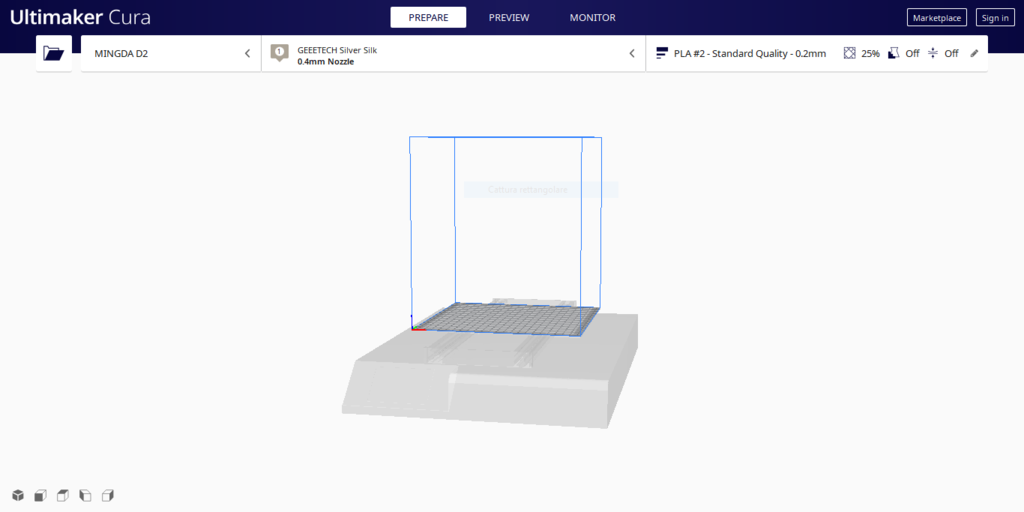
26/03/21 Update Added configuration for MINGDA Rock3/Pro, D3/Pro,D4/Pro !!!!!IMPORTANT!!!!! ~THE FOLLOWING WILL UNINSTALL ALL YOUR CURRENT SETTINGS! YOU MUST MANUALLY BACKUP YOUR CURRENT SETTINGS IF YOU WANT TO KEEP THEM.~ You must completely uninstall ANY old files associated with previous installations of Cura. For some reason Cura doesn't fully uninstall itself. You can do so by following one of the following methods. Method 1: After uninstalling Cura through the windows uninstall utility, you must manually go to C:\Program Files and delete any Cura files and also go to C:\Users(Your username)\AppData\Roaming and delete the entire Cura folder there also. In order to get to the "AppData" folder you must have view hidden files enabled. https://support.microsoft.com/en-us/help/4028316/windows-view-hidden-files-and-folders-in-windows-10#:~:text=Open%20File%20Explorer%20from%20the,folders%2C%20and%20drives%20and%20OK. Method 2 (Provided by user Rszasz): After uninstalling Cura through the windows uninstall utility, open a new file explorer window. In the navigation bar, type "%appdata%" without quotes, hit enter, then delete the folder named "Cura". Once you do all this, only then, are you ready to install Cura 4.8 and these definitions. I personally recommend installing Cura then going through the main setup using a generic/custom FFF printer. Once youre setup, close cura and then copy the definition files to the designated folders. After re-launching cura go to settings>printer>add printer. now you can setup the MINGDA and delete the generic FFF printer (settings>printer>manage printers>remove printer). !!!!!IMPORTANT!!!!! To install, extract and copy the files from the .rar to their respective folders. Usually found under C:Drive>Program files>Ultimaker Cura 4.8> /resources/definitions /resources/extruder /resources/meshes /resources/quality /resources/variants After you're done 1) Launch Cura 2) Select "add a non-networked printer" 3) Scroll down, select MINGDA and click Add. 4) Click next on machine settings and you are ready to go. Install instructions for Linux and Mac users which can be found here https://3d-nexus.com/newsroom/news-announcements-m/3dn-artillery-swx1-and-genius-cura-4-6-1-machines-and-profiles-installation-package-released (The procedure is the same)
With this file you will be able to print MINGDA D2 Cura 4.8+ Profiles & Definition Files by cataclism3d with your 3D printer. Click on the button and save the file on your computer to work, edit or customize your design. You can also find more 3D designs for printers on MINGDA D2 Cura 4.8+ Profiles & Definition Files by cataclism3d.
