Mini C64 Raspberry Pi 3 Case
myminifactory
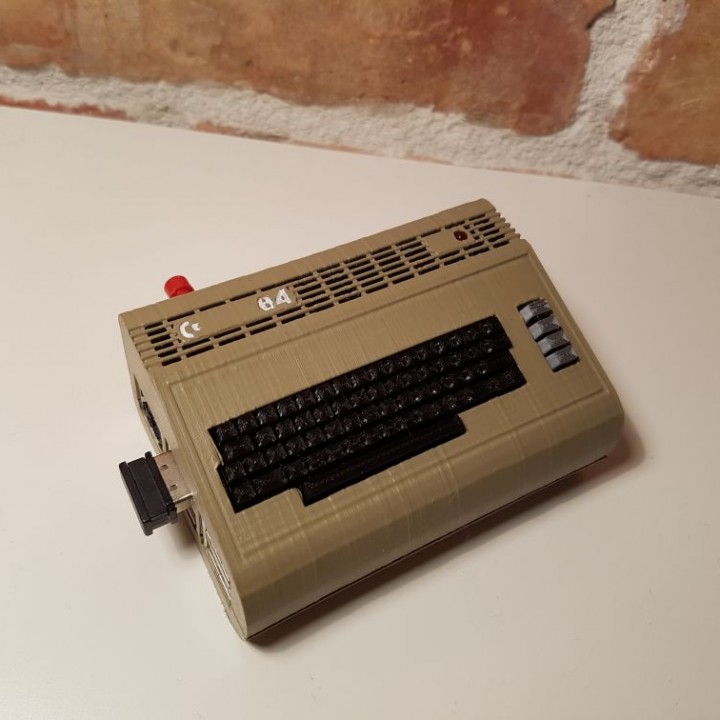
So, this was my first 3D design I did back in 2016, and I published it on Thingiverse (it's still there). Recently, I've gone back and redesigned it to have a cleaner model and also made improvements on the original design with more flavors to choose from. So, I thought I'd publish it here because why not? There are two main branches of design that basically differ in the way the two halves are fixed together. One uses screws, and one is a snap-fit design. Under these branches, I added 2 additional flavors to choose from for the top of the case: normal, or with a hole for a small momentary switch for power-off function. All versions also now have a small hole to fit a 3mm LED diode as the power LED. All parts have been test-printed to make sure everything fits together nicely (snap-fit joints, diode, power switch). For the best surface finish, it's highly recommended to print the top part standing upright with the solid sidewall facing the build plate. This way, the supports will all be vertical and built on the inside of the top part, and even if they leave marks, they won't be visible on the outside. Most of the inside will also have a nice surface finish this way. The bottom part can be printed flat on its back, but you won't get the best model accuracy that way because of the curved side lines. Here, I'd suggest printing the bottom vertically with supports on the inside of the case. Same with the top half - this way, you'll have minimal support scarring and even those will only be in the inside of the case. It takes a bit longer to print in this orientation, but for the better surface finish, it's worth it. For the safe power-off switch function, I used a small momentary switch attached to GPIO pins 5 and 6. You'll also need to add a small script to your Raspberry Pi that does the actual safe power down. You can find it here with detailed instructions: https://retropie.org.uk/forum/topic/14537/tutorial-adding-a-dedicated-on-off-switch. For the Power LED, I used a 3mm 12V diode. You can get these cheap on eBay or on AliExpress. To connect the diode, use GPIO PIN 8 (called GPIO 14) for the positive lead and GPIO PIN 39 (ground) for the negative lead. This way, you won't need to add a resistor to the LED. Additionally, to make this work, go to your Raspberry Pi config and enable Serial by going to Advanced Options and enabling it via menu option Serial. Happy printing!
With this file you will be able to print Mini C64 Raspberry Pi 3 Case with your 3D printer. Click on the button and save the file on your computer to work, edit or customize your design. You can also find more 3D designs for printers on Mini C64 Raspberry Pi 3 Case.