Mini FPV Rover
thingiverse
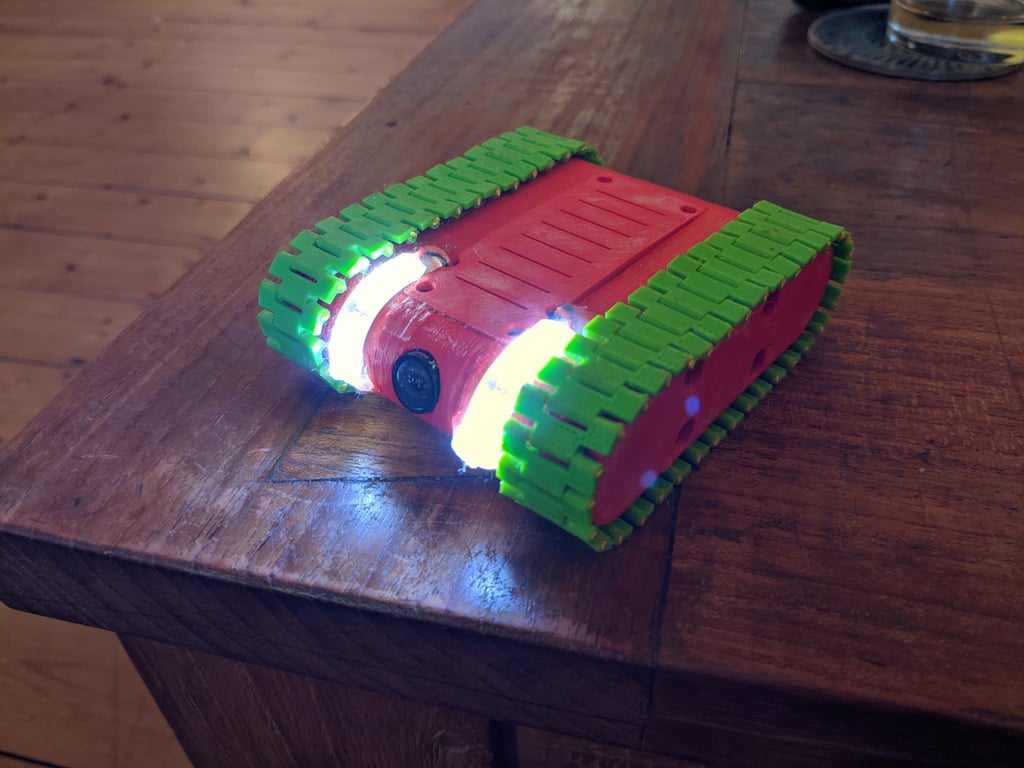
Check my rover in action: https://www.youtube.com/watch?v=WTT5baSq0dM This rover is a modification of this one: https://www.instructables.com/Mini-FPV-Rover/ https://www.thingiverse.com/thing:2478547 Props go out to Markus Purtz for inventing that lil thing. However, I changed a various things and thats why I publish this mod. My modifications: - I created a new cover because the original one cover was not fitting, - The original rover's cam mount was made for that whoop AIO nano cams and image was crap. I modified it to hold a good quality 19mm micro cam at 20° angle - motor mounts did not fit the geared motors I used so I made them fit - body was to wide for my liking, I made it slimmer - I added LEDs (non-LED cover STL is available as well) to explore dark reas of my house - changed various small details, will mention them in the assembly instructions BOM Here is a complete BOM. Most parts are the same as the original rover but a few original parts are not needed anymore. This are the required ones for the rover: 2x 4Pcs bearings: https://banggood.app.link/VxrvY3sxfhb 2x Motors: Orlandoo OH35P01 KIT RC Car Parts Gear Motor 300RPM version: https://banggood.app.link/YKkaZ6Dxfhb 2x ESC: DORCRCMAN DIY Micro Mini 3A Brushed ESC https://banggood.app.link/pUTbUlNxfhb 8x 3mm screws 10mm length - no link because you'll have some at home If you want LEDs: 1x 5V BEC: https://banggood.app.link/QMxULlXxfhb 1x 5V LED Strip: 200CM 3528 120LED 9.6W USB LED Strip Light TV Background Lighting IP65 Kit 5V https://banggood.app.link/6F5kpA4xfhb FPV Gear: 1x Camera: Foxeer Micro Predator Naked: https://banggood.app.link/Mq3gLBkyfhb 1x VTX: TBS Unify Pro32 nano: https://www.team-blacksheep.com/products/prod:unifypro32_nano 1x FPV Antenna: Short linear antenna which came with the VTX 1x Receiver+Goggles: I use my Fatshark HDO Goggles with Rapidfire module and Powerplay recorder. Use what you own or buy what you can afford. RC components: 1x Transmitter: I use a FrSky Taranis X9D 1x Receiver: I used a FrSky X8R because I had ony lying around. Its basically to big but still fit in, however, you'll need 2 pwm channels Power: 1x Battery: I use this one: https://hobbyking.com/de_de/turnigy-nano-tech-300mah-2s-45-90c-lipo-pack.html But every 2S lipo will do which fits inside the frame 1x Battery Plug: I use JST plugs: https://banggood.app.link/8UMFBSGzfhb Printing materials: I used ASA for all parts but the track elements, PLA should do as well but just in case the VTX is running hot I used ASA to prevent the rover from melting. However, the VTX is not that hot after all and it does not touch any printed parts because I glued it to the receiver. I printed the tracks with flexible material. I used Ninjaflex Semiflex but TPU etc will do as well. Construction Check out Markus Purtz' instructions, they are pretty clear. However, there are some differences: This rover uses 34 elements per track because its flexible. You don't need the drills as well, simply stick some filament through and you are good to go. You don't need magnets for the lid. it sits tight enough. however, I added fitting holes so you can still use magnets if you like. Fix everything with your glue of choice, I simply hot glued everything. Electronics are pretty straightforward with one caveat: This rover runs on 2S, so you should make sure that your receiver can handle that. VTX, cam, escs are all fine with 8.4V. simply use the receiver for power distribution. plug battery to it, plug ESCs into channels 1+2, plug vtx and cam into it. Btw, the cam offers a VSEN pin. connect it to receivers positive pole and you'll get voltage display in OSD. I however first disabled it in camera menu and then lost the remote control because I'm not a smart man. The LEDs are 5V only. so set up the BEC to output 5V, solder led wires to it, a power plug and plug it into the receiver as well. Finally you should set up channel mixing for tracked models in your transmitter. I added 2 photos of my mixer setup, but this video here explains it very well: https://tinyurl.com/bdns4pj5 It took me half an hour of trial&error negating channels and mixers until it was fine. I'm sure you figure it out faster. Alright, have fun. One more thing: You'll find FreeCAD files of all my modifications. Modify and publish everything and make that thing even better :)
With this file you will be able to print Mini FPV Rover with your 3D printer. Click on the button and save the file on your computer to work, edit or customize your design. You can also find more 3D designs for printers on Mini FPV Rover .