Mini Fume Extractor
thingiverse
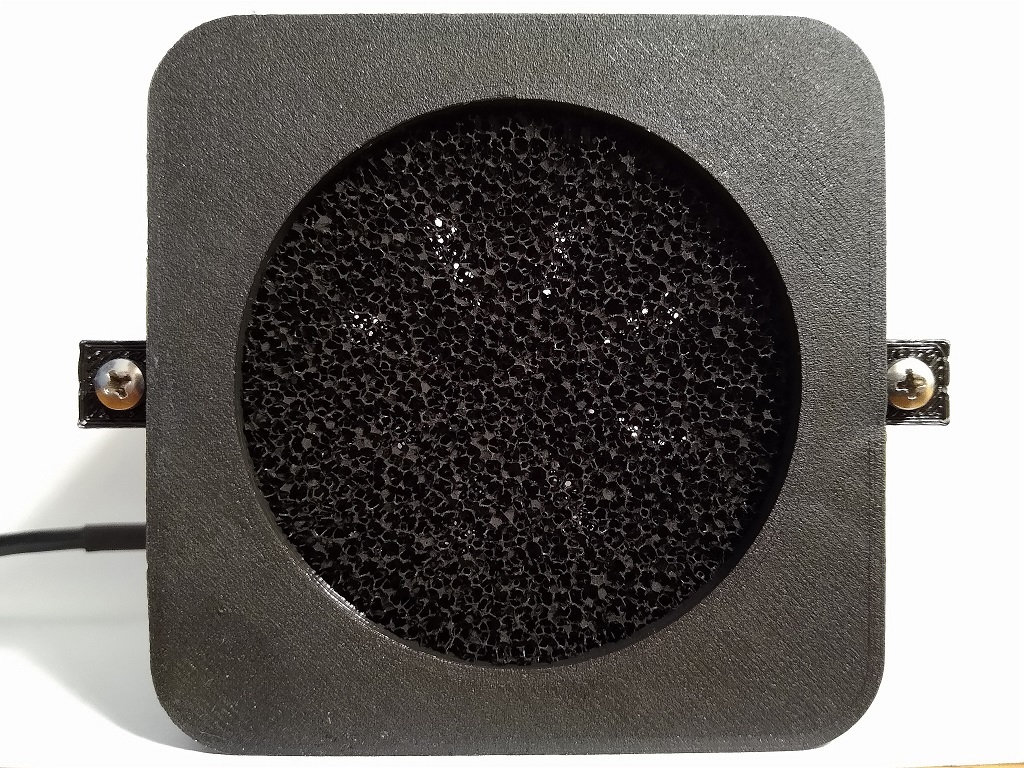
Here is a mini fume extractor I designed for removing soldering fumes. You will need two M3 12mm screws, two M3 nuts, a small DC motor, a carbon filter, and a USB cable to power it. After printing the case, you will need to remove the single layer that supports the holes on the case. Use tweezers or something similar for this. First, put the M3 nuts into their slots on the sides of the case. A point of the hexagon should go into the accordingly-shaped slot, and it may take some effort to force them in. After you get past the outer shell, you will need to use a sharp object to push the nut all the way in. Next, solder the positive and negative wires of the USB cable to the right and left terminal of the motor, respectively. Most smartphone chargers can provide 5V and enough amps to power the motor, so this can be plugged into any portable battery, wall wart, etc. Then, press the motor into its housing and attach the fan to the motor's shaft. Make sure that both are pressed in fully. Cut a carbon filter into at least a 60x60mm square (cutting 130mm filters into fours works great). Put the filter into the recess of the faceplate, and use the screws to attach it to the case. There is no switch on this design, so once you plug in the fan, it will start running. You may want to weigh it down with something heavy, since it likes to move around on smooth surfaces. The fume extractor picks up soldering fumes up to 8cm away.
With this file you will be able to print Mini Fume Extractor with your 3D printer. Click on the button and save the file on your computer to work, edit or customize your design. You can also find more 3D designs for printers on Mini Fume Extractor.