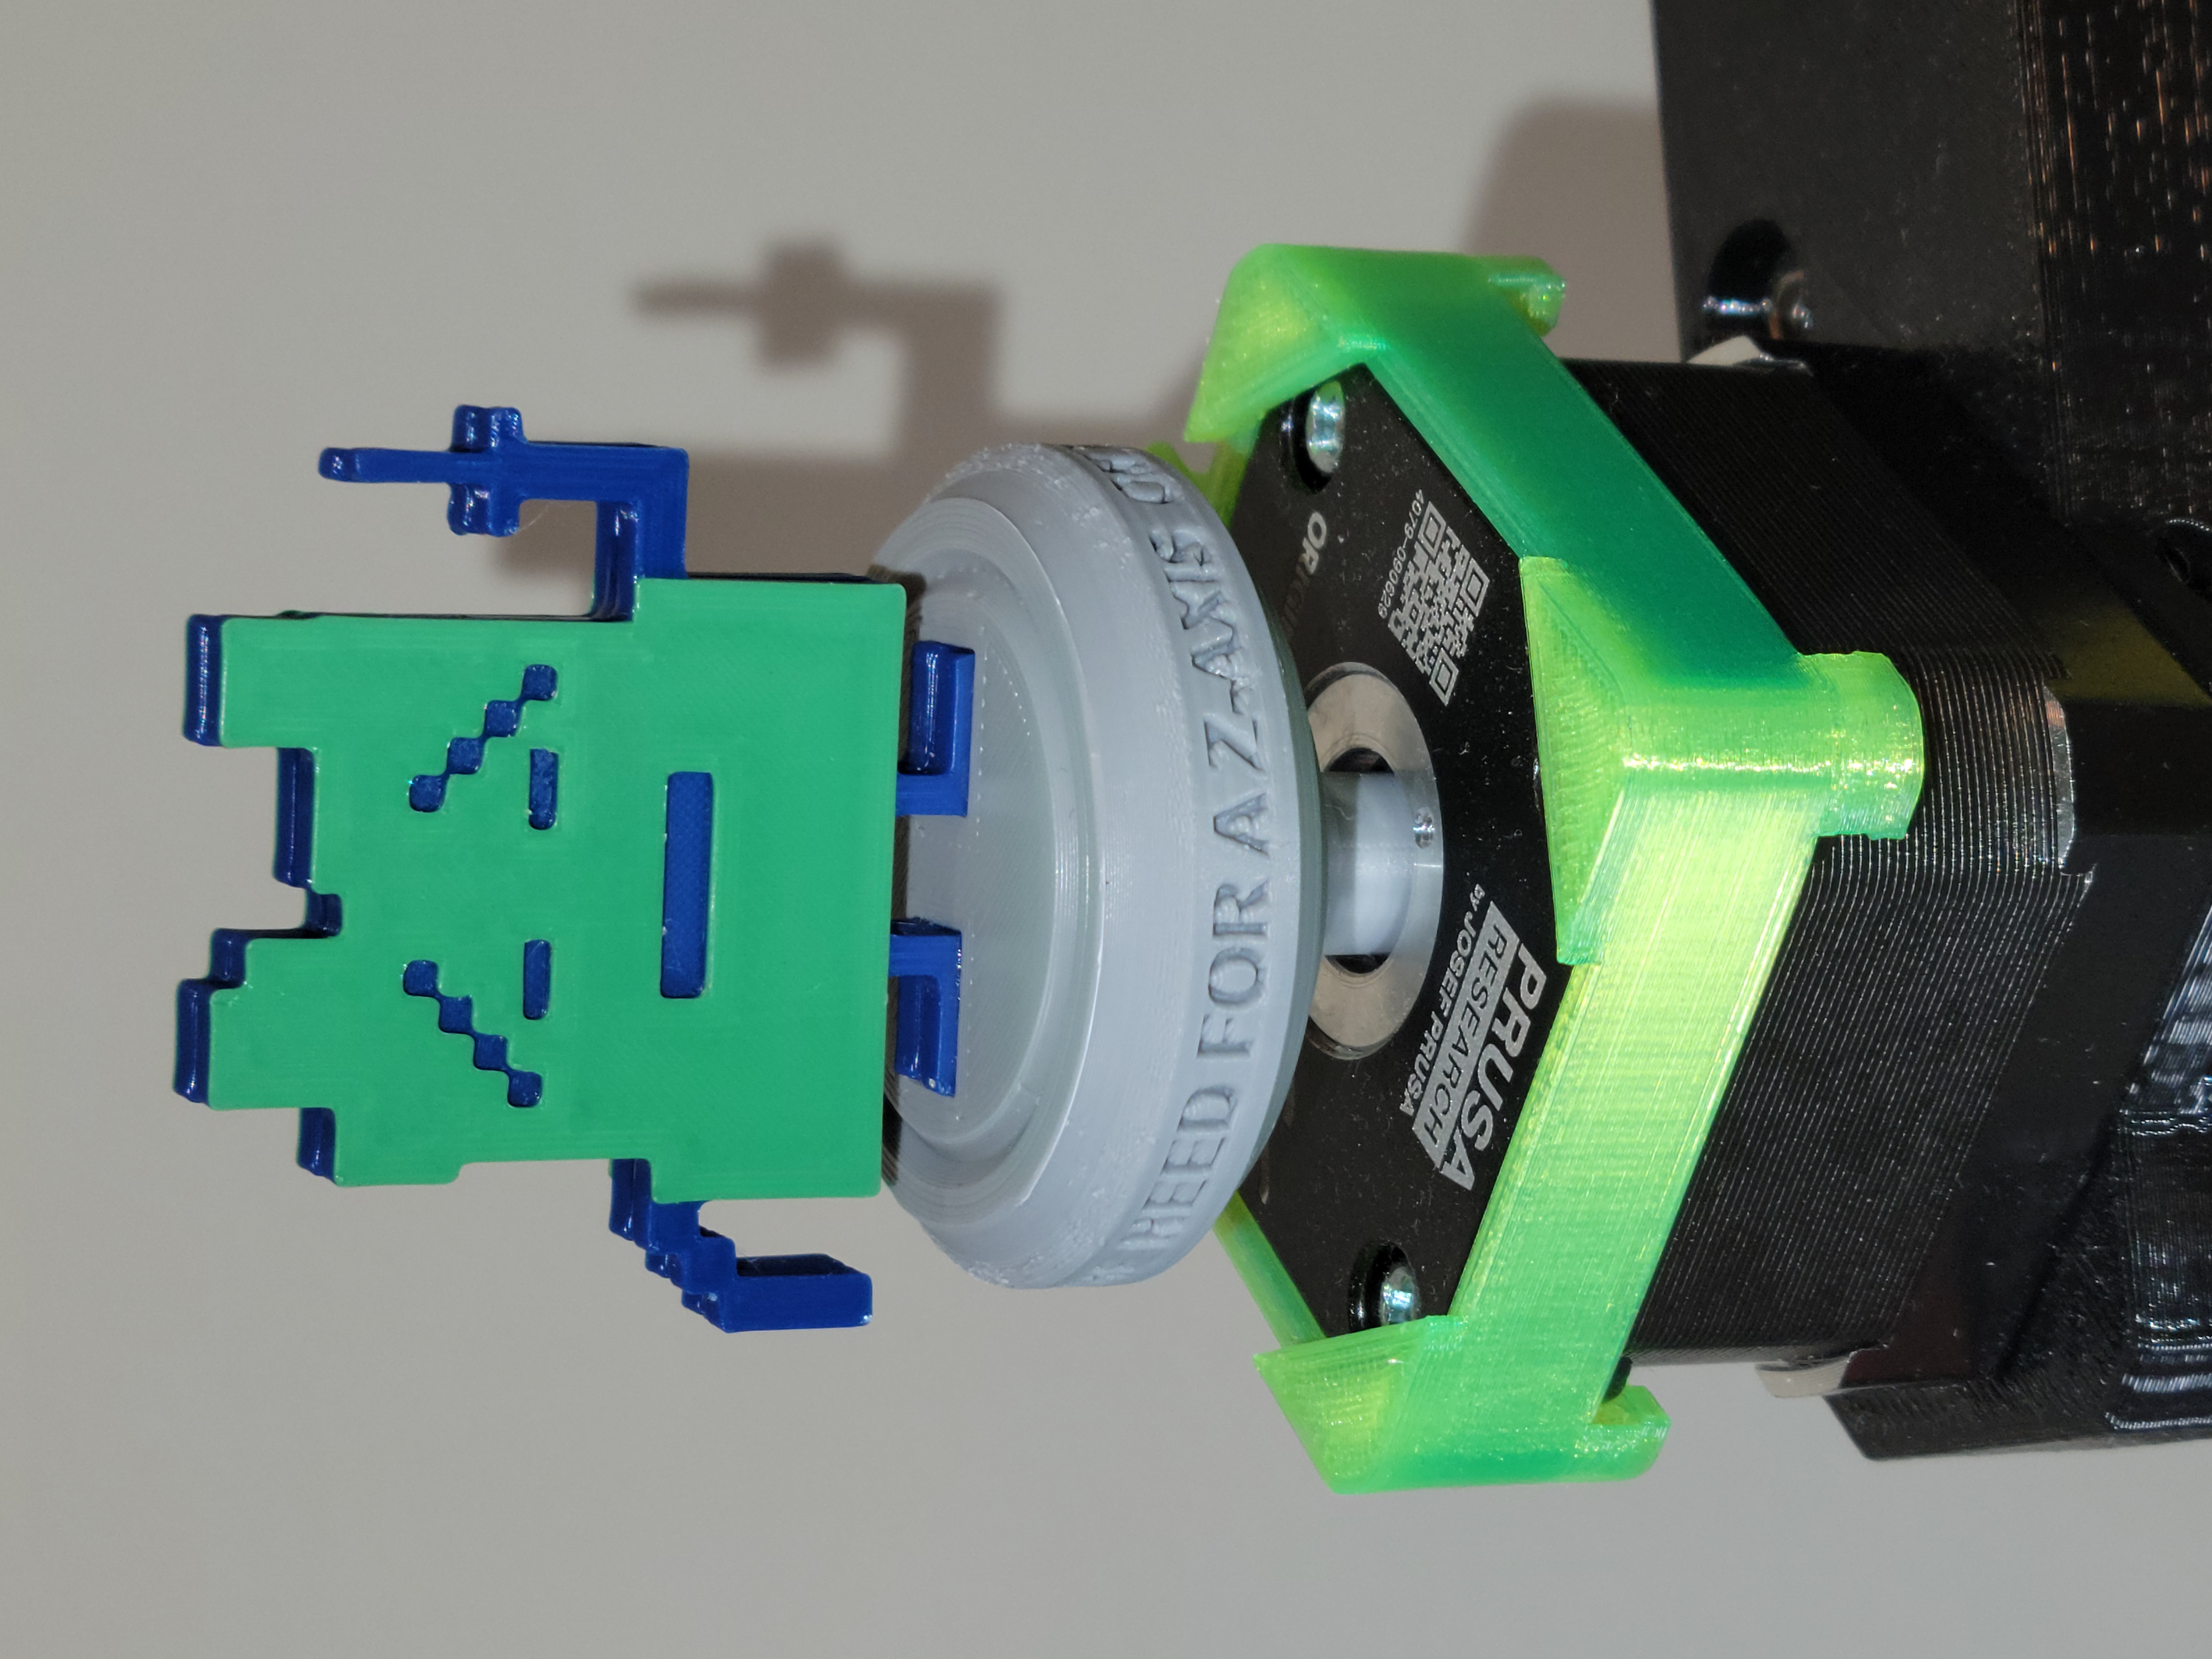
Mini+ Ignignokt Z-Axis Visualizer
prusaprinters
<figure class="media"><oembed url="https://youtu.be/SfNWLx9kQQU"></oembed></figure><p><i>I hope you can see this, because I'm doing it as hard as I can.</i></p><p> </p><p>I can't tell you how to live your life, but you could glue a magnet onto the back of one of the bodies to make this an extruder/x-axis visualizer as well. Anyways here's my dumb instructions.</p><p>Print the Ignignokt bodies and glue them together back to back. Once dried, glue his feet into the square slots on the base. The tolerances on mine where small enough to hold him up while it dried but your mileage may vary. </p><p>If you have a Mini+, and likely any other printer that uses the same z-axis stepper, you can use the “no magnet” version that uses a 2mm pin that pushes into the tiny hole in the top of your z stepper rod. I'd recommend dragging the model below your bed and just printing out the end with the tip to see how it fits.</p><p>I originally made the base for a 6x6mm magnet but it didn't stick to the stepper rod very well. This meant the base wouldn't spin at higher speeds. Most magnet based visualizers I've tried on my Mini+ haven't worked very well but you could succeed where I failed.</p><p> </p><p>Print Recommendations:</p><ul><li>Layer height - 0.1 or 0.15 - If using variable, lower it for the embossed text on base</li><li>Infill - 15% - for the Ignignokt bodies you should 100% infill or 99 bottom layers</li><li>Supports - I didn't need them</li><li>Ironing - All top surfaces (only for Ignignokt and optional but worth it)</li><li>Color Change - Prusa Slicer 2.4 should ask you to add a color change when you slice. Otherwise you can use my Gcode, or make sure yours has a manual color change after Ignignokt's arms are finished. </li></ul><p> </p><p><strong>ATTENTION</strong> - When using the no magnet base make sure you're careful with the small push pin. It shouldn't take a ton of force to push it in and mine holds on great but your printer tolerances are different than mine so take extra care. Don't twist the base or rock it back and forth while its inserted. Always pull it straight up and out, not at an angle or with a rocking/twisting motion. If the pin breaks off you'll need to use a hot paperclip end or something to snag it out. It hasn't happened to me but it's something that could happen. </p><p> </p>
With this file you will be able to print Mini+ Ignignokt Z-Axis Visualizer with your 3D printer. Click on the button and save the file on your computer to work, edit or customize your design. You can also find more 3D designs for printers on Mini+ Ignignokt Z-Axis Visualizer.
