Mini ITX Computer Case - Modular / Stackable
thingiverse
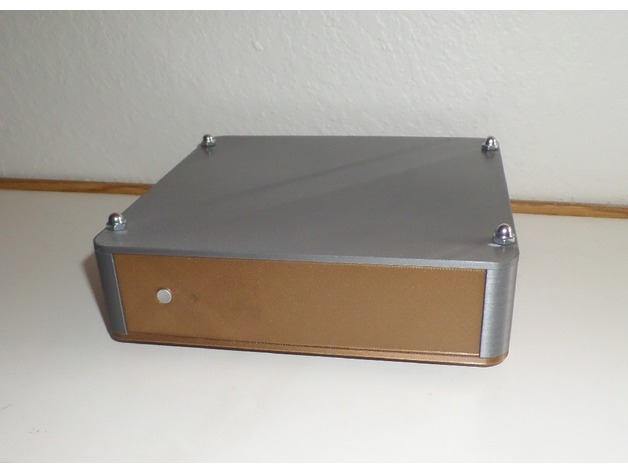
This is a project I've been working on for some time now. It's finally coming into fruition, a design that will require onboard power or pico-PSU style power supplies. Project Goals: Modularity - Inspired by Legos Stackable - Each self-contained module can be stacked in a tower Minimalistic - Small footprint, as little wasted inner space as possible Print-ability - No supports, little waste, low warp risk Marketability - Anyone interested? There are two versions to choose from: The slim version is designed for Slim-ITX boards and doesn't allow space for hard drives. The standard version should fit any ITX board and has space for two hard drives with the included bracket. Future Plans: I'd like to add modules to hold various PSU and VGA cards. This will enable this case to be used for a gaming or desktop style system. If anyone would like customization, please message me. Additions: 3.5 inch Hard Drive Module (currently untested, 1/27/17) Print Settings Printer Brand: Robo 3D Printer Model: R1 ABS + PLA Model Rafts: No Supports: No Layer Thickness: 0.2mm Infill Density: 20% Top Speed: 100mm/s Bottom Speed: 50mm/s Feed Rate: 300mm/min Retraction Distance: 3mm Retraction Speed: 30mm/s Extruder Temperature: 200°C Bed Temperature: 60°C Print Mode: Single Extrusion Fan Setting: On Retraction Type: Spiral Vase Start G-Code: G28 M82 G1 F100 X0 Y0 Z5 G92 E0 M82 End G-Code: G28 M84 G1 F50 X0 Y0 Z5 G92 E0 M84 Assembly To create one "module" you will need three universal corners, one back plate corner, and a combination of the four side panels. The fan panel and vent panels can be swapped and doubled up, should you choose a passively cooled or intake/outtake fan setup. Multiple modules can be stacked up to accommodate the number of systems you have. The flange can be used optionally to visually separate the modules. The top or bottom part only needs to be printed twice, as any expansion will only increase the height of the stack. All modules in the stack are bound together with #10-32 threaded rods. These are cut to length with a cap nut on each side. The rods will only need to be recut if more modules are added to the stack. Glue may also be used between the corner and side panel joints for extra rigidity, but not necessary.
With this file you will be able to print Mini ITX Computer Case - Modular / Stackable with your 3D printer. Click on the button and save the file on your computer to work, edit or customize your design. You can also find more 3D designs for printers on Mini ITX Computer Case - Modular / Stackable.